These Conchas are a Traditional Mexican sweet bread with a streusel topping that are perfect for your morning coffee or for a delicious dessert!
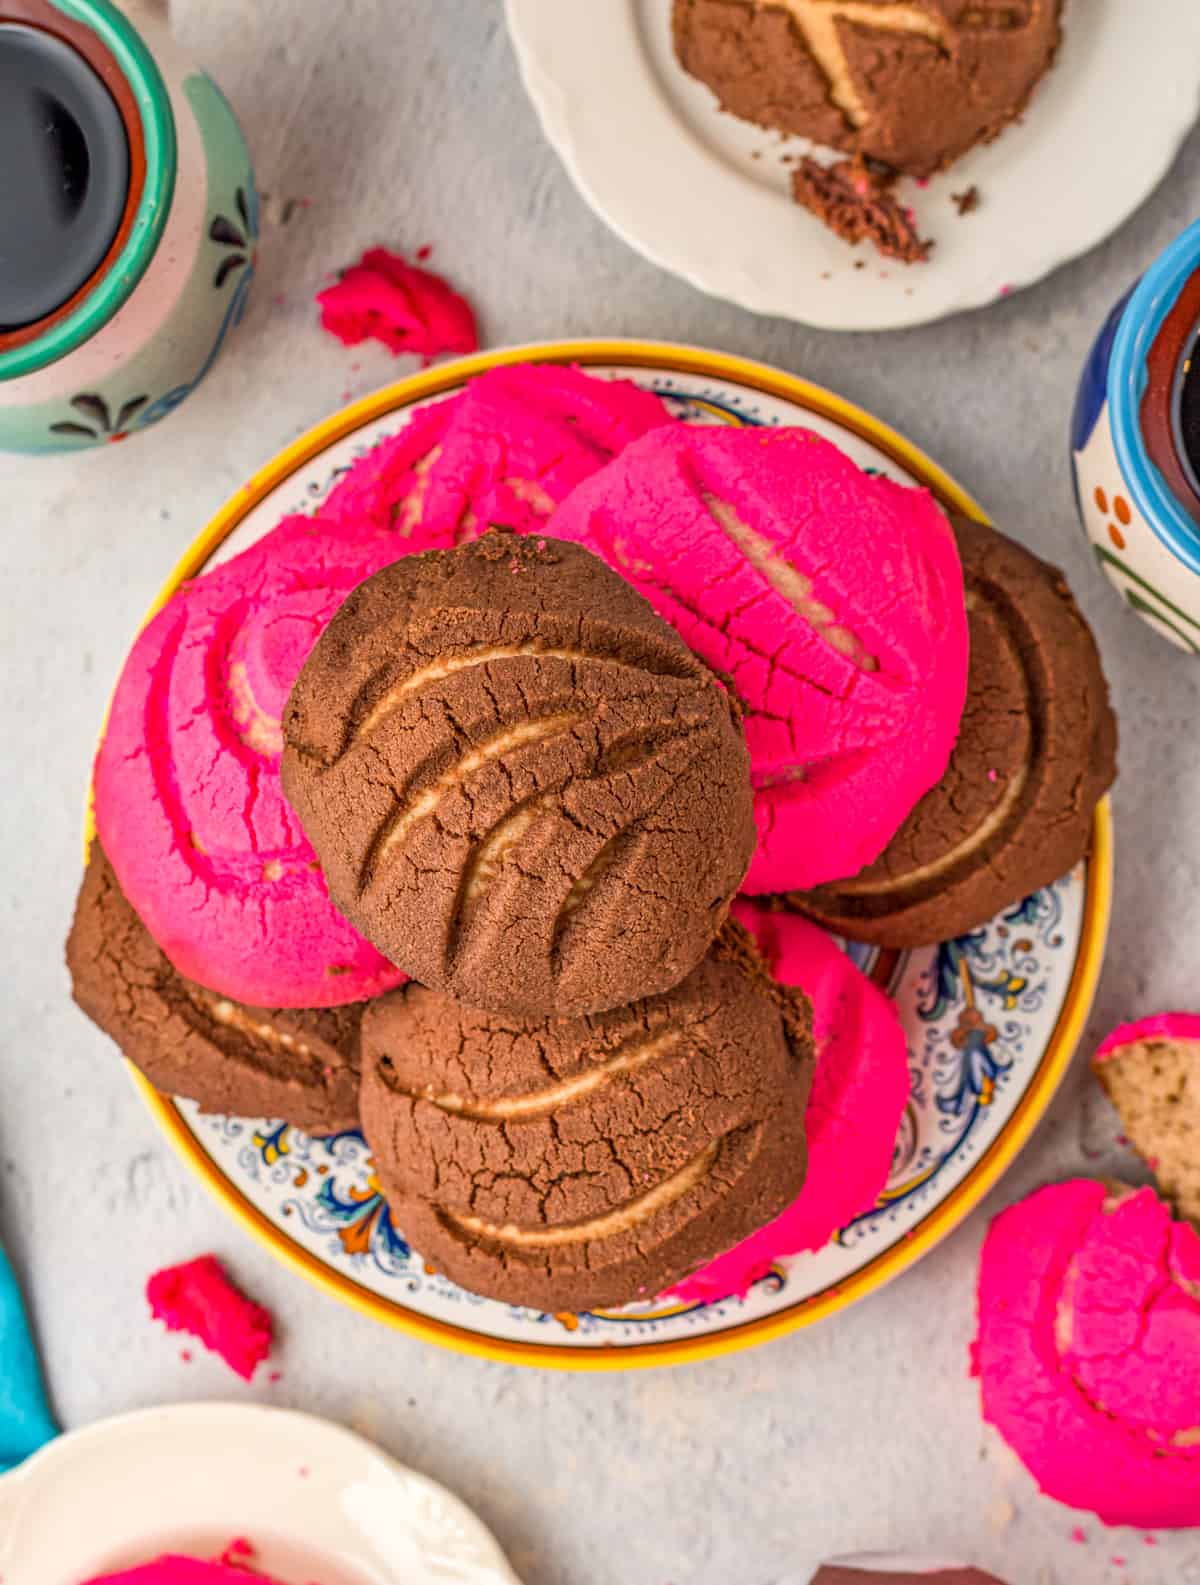
If you haven’t had the chance to ever try a Concha, then you are absolutely missing out. They are a fun, yet time consuming sweet bread that is full of flavor.
We have been trying our hand at making Conchas for the last few years after our friend Mona gave us the recipe because she would always have them when we would visit.
She lived in Mexico for 23 years and this was her recipe that she passed graciously down to us to make for our family because our kids absolutely love them.
We usually make them for special occasions and get togethers and they are gone in minutes. I like to eat them for breakfast with my coffee and my kids like them for dessert.
So there is no specific time of day that you have to eat a Concha, all I know is that they are absolutely delicious and time after time we are getting better at perfecting the recipe!
I finally wanted to share it with all my readers because it really is absolutely delicious, and I’m always trying to perfect my technique on these. I always say it doesn’t have to be pretty, just good!
That is exactly what these Conchas are, good! So that is why I love when I do get the chance to make them because I could devour a whole pan myself.
Some of our other favorite sweet bread recipes we have on our site include Lemon Blueberry Zucchini Bread, Chocolate Banana Bread and Lemon Poppy Seed Bread.
WHY THIS RECIPE WORKS:
- Easy pantry staple ingredients make up this recipe.
- You can make the topping any color you like.
- Double the recipe to have more for guests or later for you.
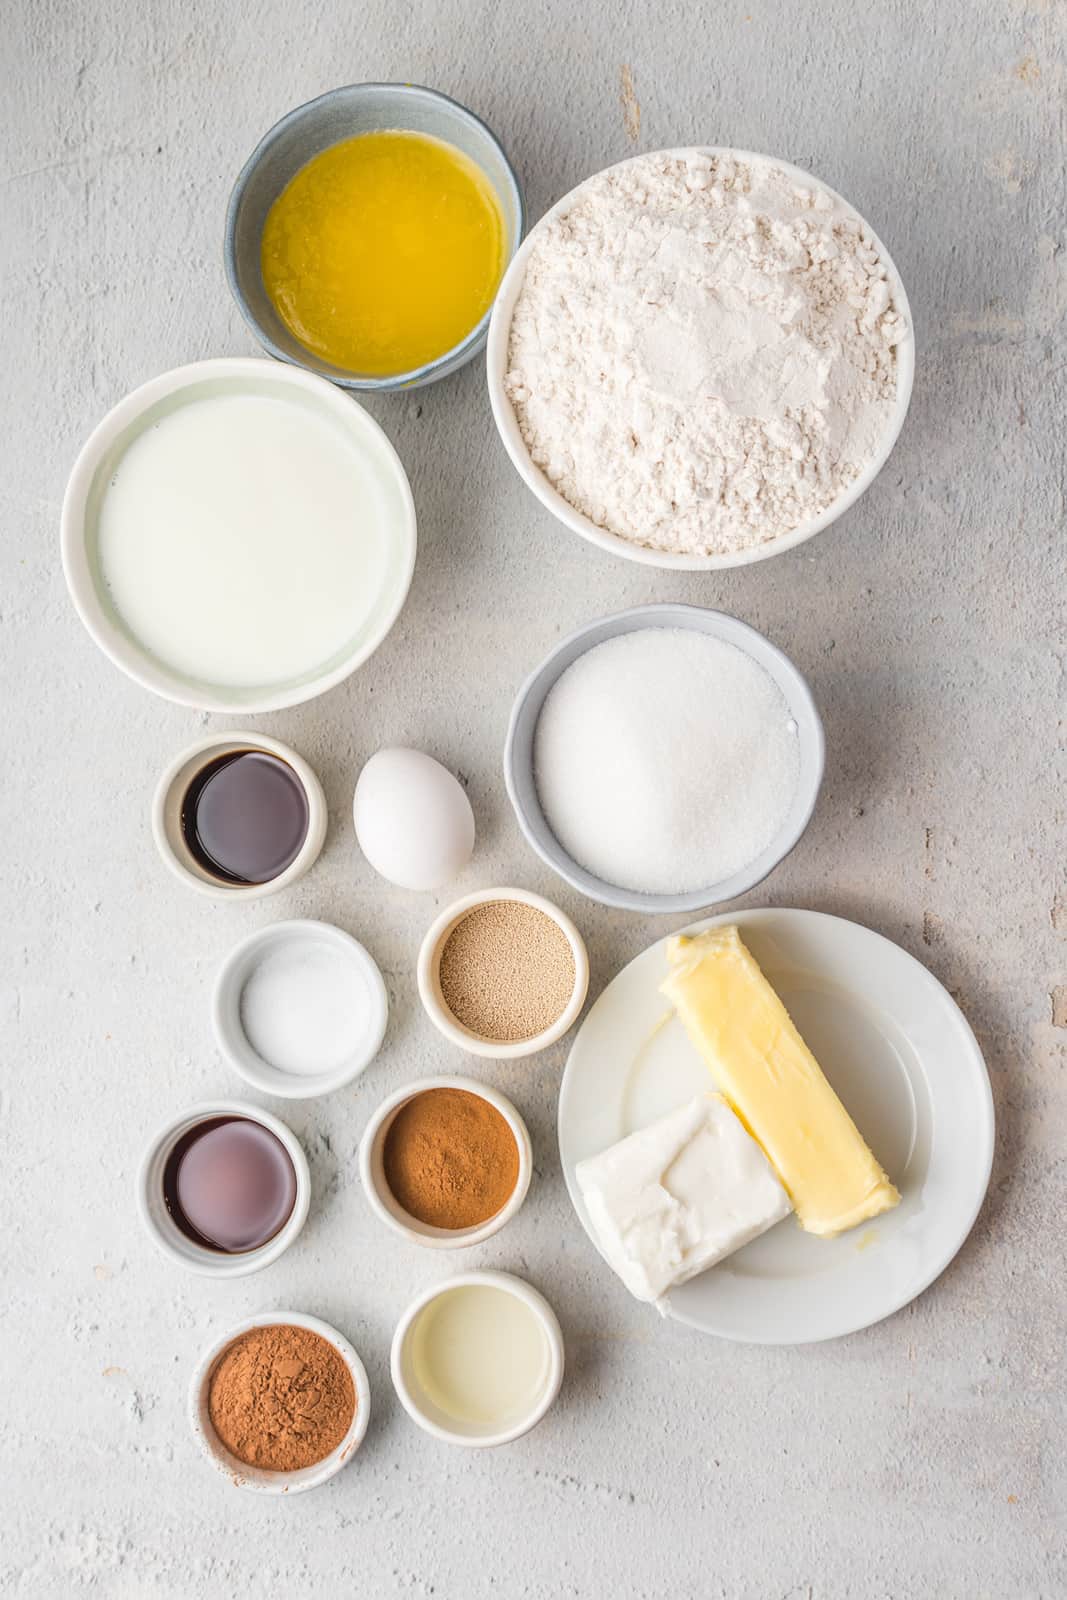
INGREDIENTS NEEDED (FULL RECIPE AT BOTTOM):
Rapid rise yeast
Milk
Granulated sugar
Butter
Egg
Vegetable oil
Cinnamon
Salt
Flour
Crisco shortening
Cocoa powder
Food coloring
HOW TO MAKE CONCHAS, STEP BY STEP:
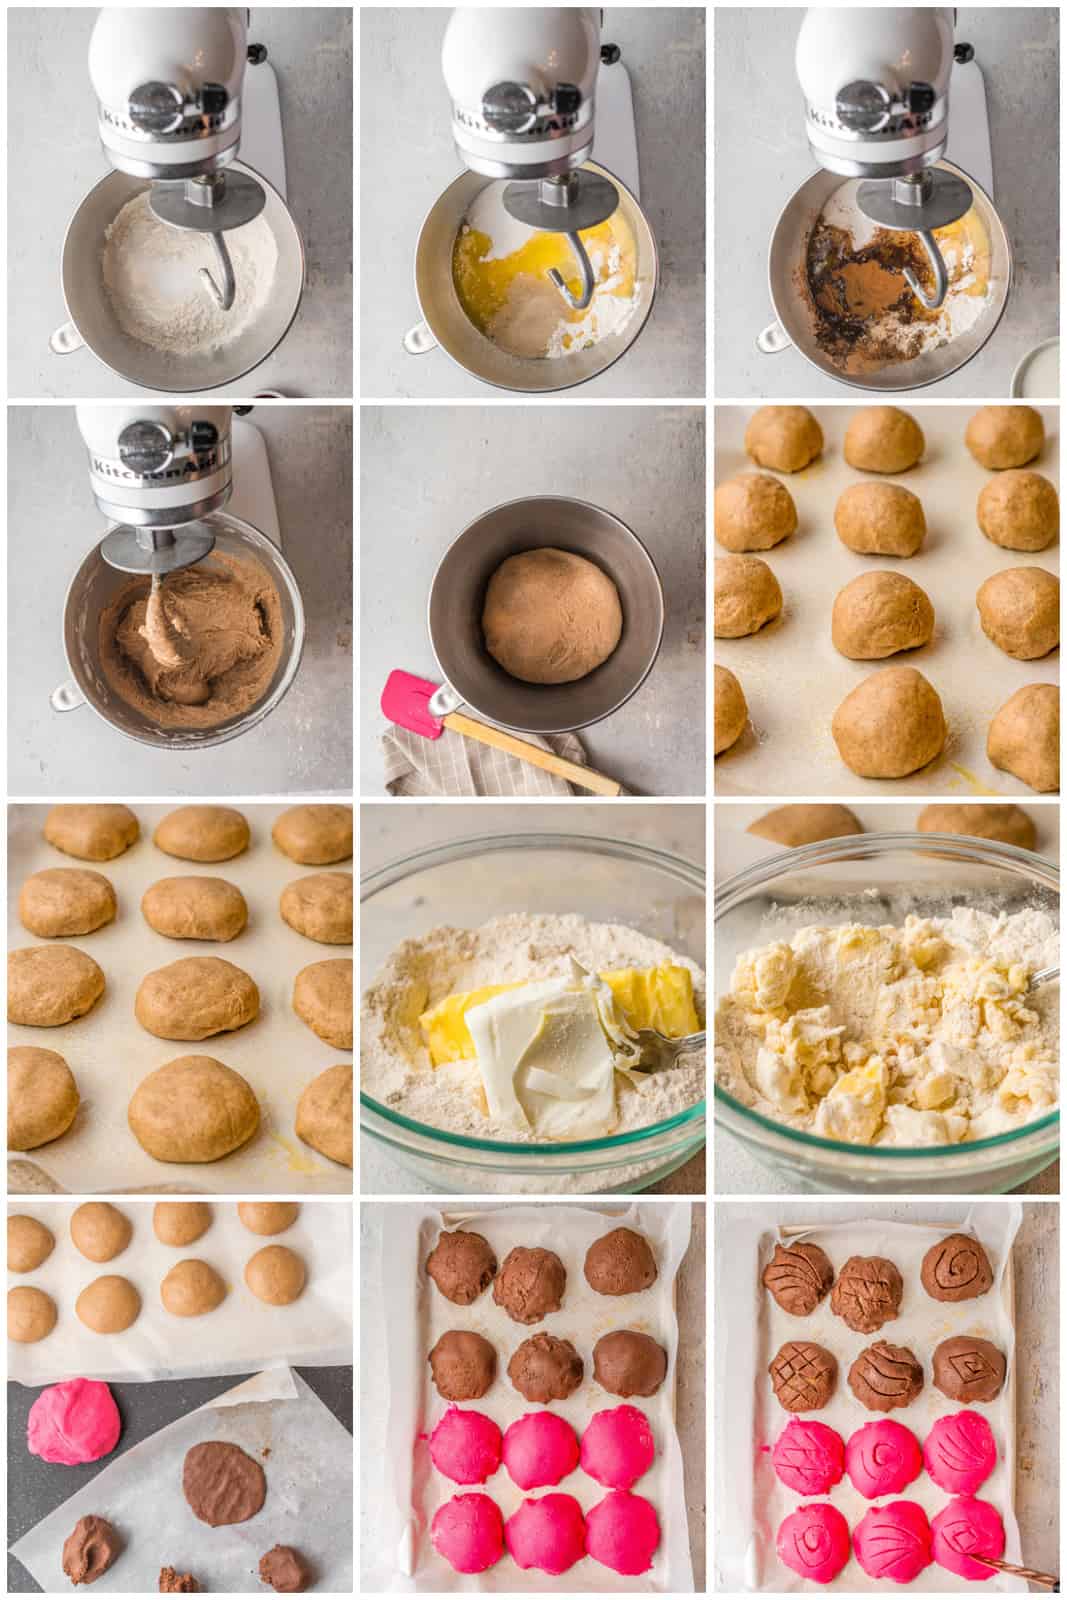
- Place the warm milk, sugar, and yeast into the bowl of the stand mixer with the dough hook attachment (or in a large mixing bowl if you are going to knead by hand). Let sit for 5 minutes until bubbles begin to form. If there are no bubbles your yeast is not good and you will need to start again with fresh yeast.
- Mix all the dry ingredients in the stand mixer.
- In a separate bowl, add the butter, egg, oil, vanilla and salt and mix to combine.
- Add the egg mixture and turn on medium speed for 5 minutes. The dough should be soft and smooth. If kneading by hand this will take about 10 minutes.
- Grease a large bowl and place the dough in the middle, lightly grease the dough and place a towel or saran wrap over the bowl. Place in a warm place and let rise for an hour.
- Punch the dough down and knead for about 2 minutes. Divide into 12 equal pieces or weigh the pieces on a scale approx 90 grams each.
- Roll the pieces into a ball and space out on the cookie sheet. Press down slightly on the ball of dough to spread it in a flat circle.
- Let the dough rise for another 30 minutes to an hour. If the room is warm, the dough will rise faster (30-40 minutes), if it is cooler it will take a bit longer (up to 1 hour). Dough doesn’t have to double in size, but they will get bigger.
- To make the topping add all the ingredients to the bowl of the mixer and use the paddle attachment to mix them together for 1 minute.
- Divide the dough into 2 pieces, add the cocoa to one piece and knead in quickly so the shortening and butter don’t melt.
- In the second piece add the food coloring and knead to mix.
- Place in saran wrap in the refrigerator until ready to use.
- To assemble, divide each piece of topping into 6 equal portions. Sprinkle just a tiny bit of flour under a topping piece and use a rolling pin or just your hand to “smash” the pieces out, roll the pieces into circles, you don’t want them thin pieces.
- Place a piece on top of each roll. Cut designs into the topping, but not the roll.
- Preheat the oven to 350° and bake the rolls for 20 minutes.
See this Choncha recipe can be easy and hard at the same time. There are multiple steps to making them so that is what takes the longest along with having to wait for it to rise.
Which we don’t mind because the end result of this recipe is absolutely delicious and like I said we can’t get enough of it but don’t make them allll the time either.
You can find Conchas at your local Mexican grocery store or even on the menu at some of the restaurants. We love going to the store a lot of the times and grabbing a half dozen of these.
Since like I said we only usually make them for special occasions doesn’t mean that we don’t enjoy them, so we do stop and grab them a lot when we are downtown.
This Concha Recipe is worth trying though, trust me! When I first started, I never thought I would get the hang of it, and now I think they are starting to look better and better each time.
WHAT IS A CONCHA?
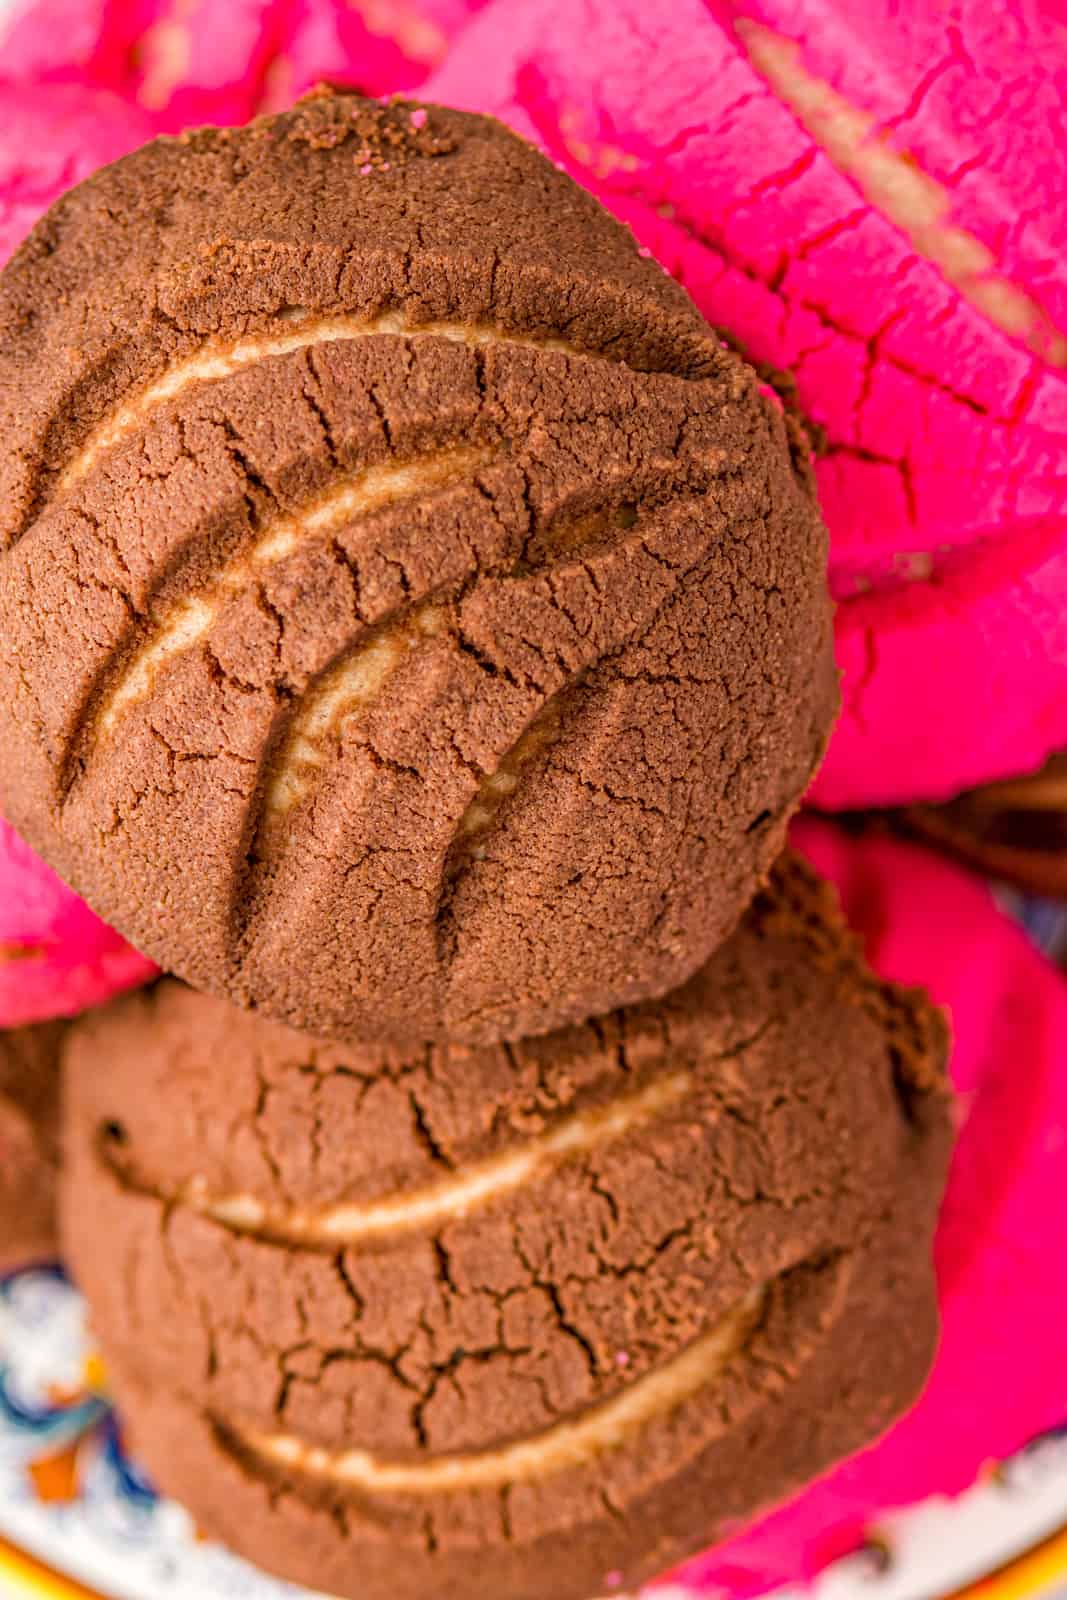
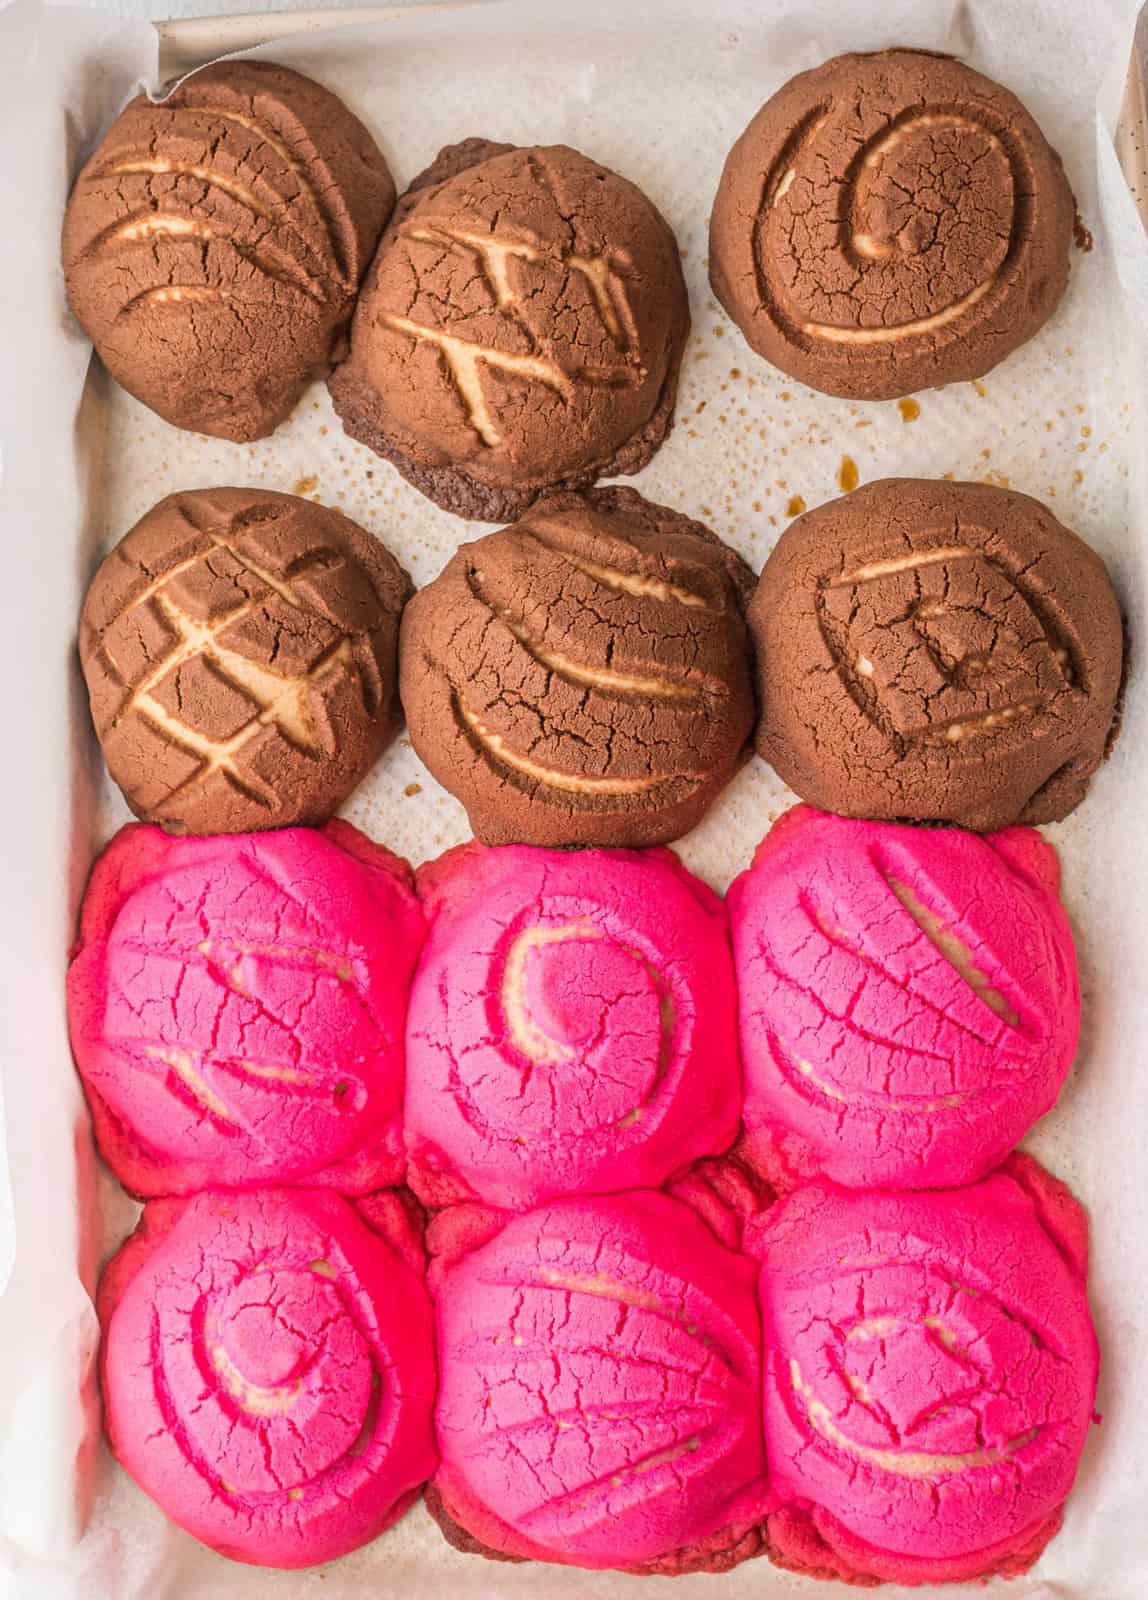
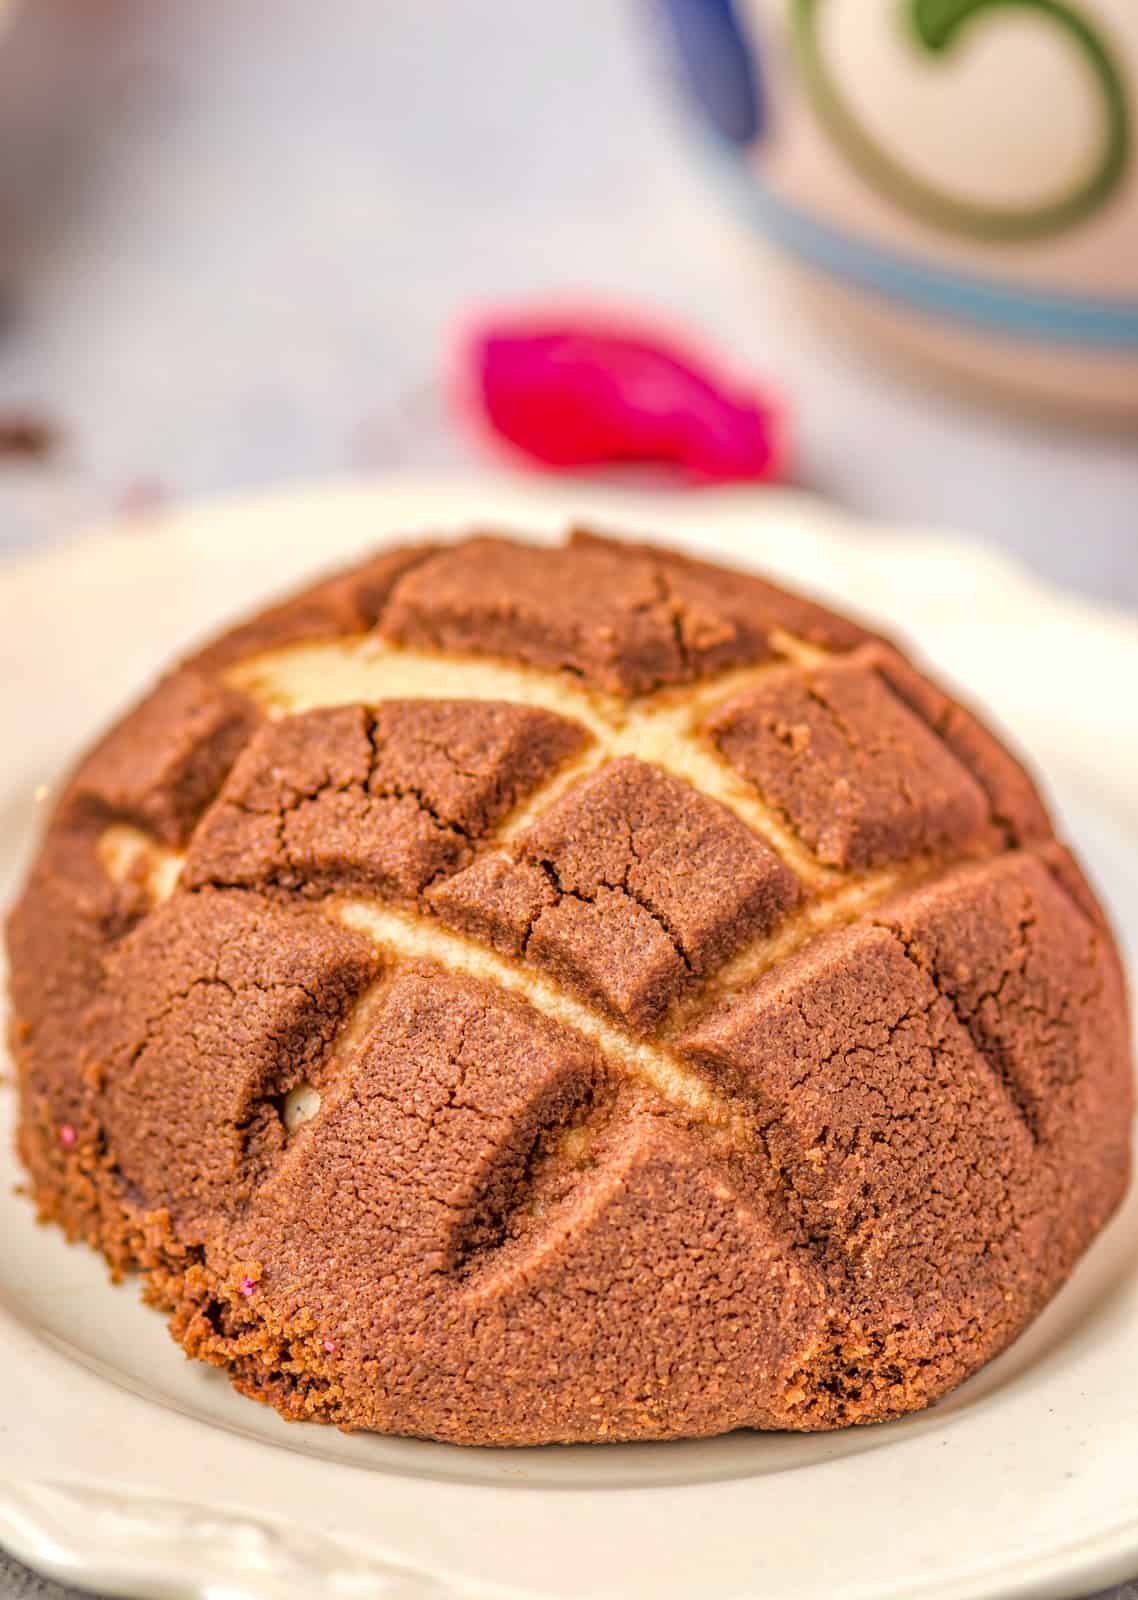
A Concha is a traditional Mexican sweet bread that has a crunchy and streusel like topping that is usually flavored in vanilla or chocolate which are them designed to look like the shape of shells.
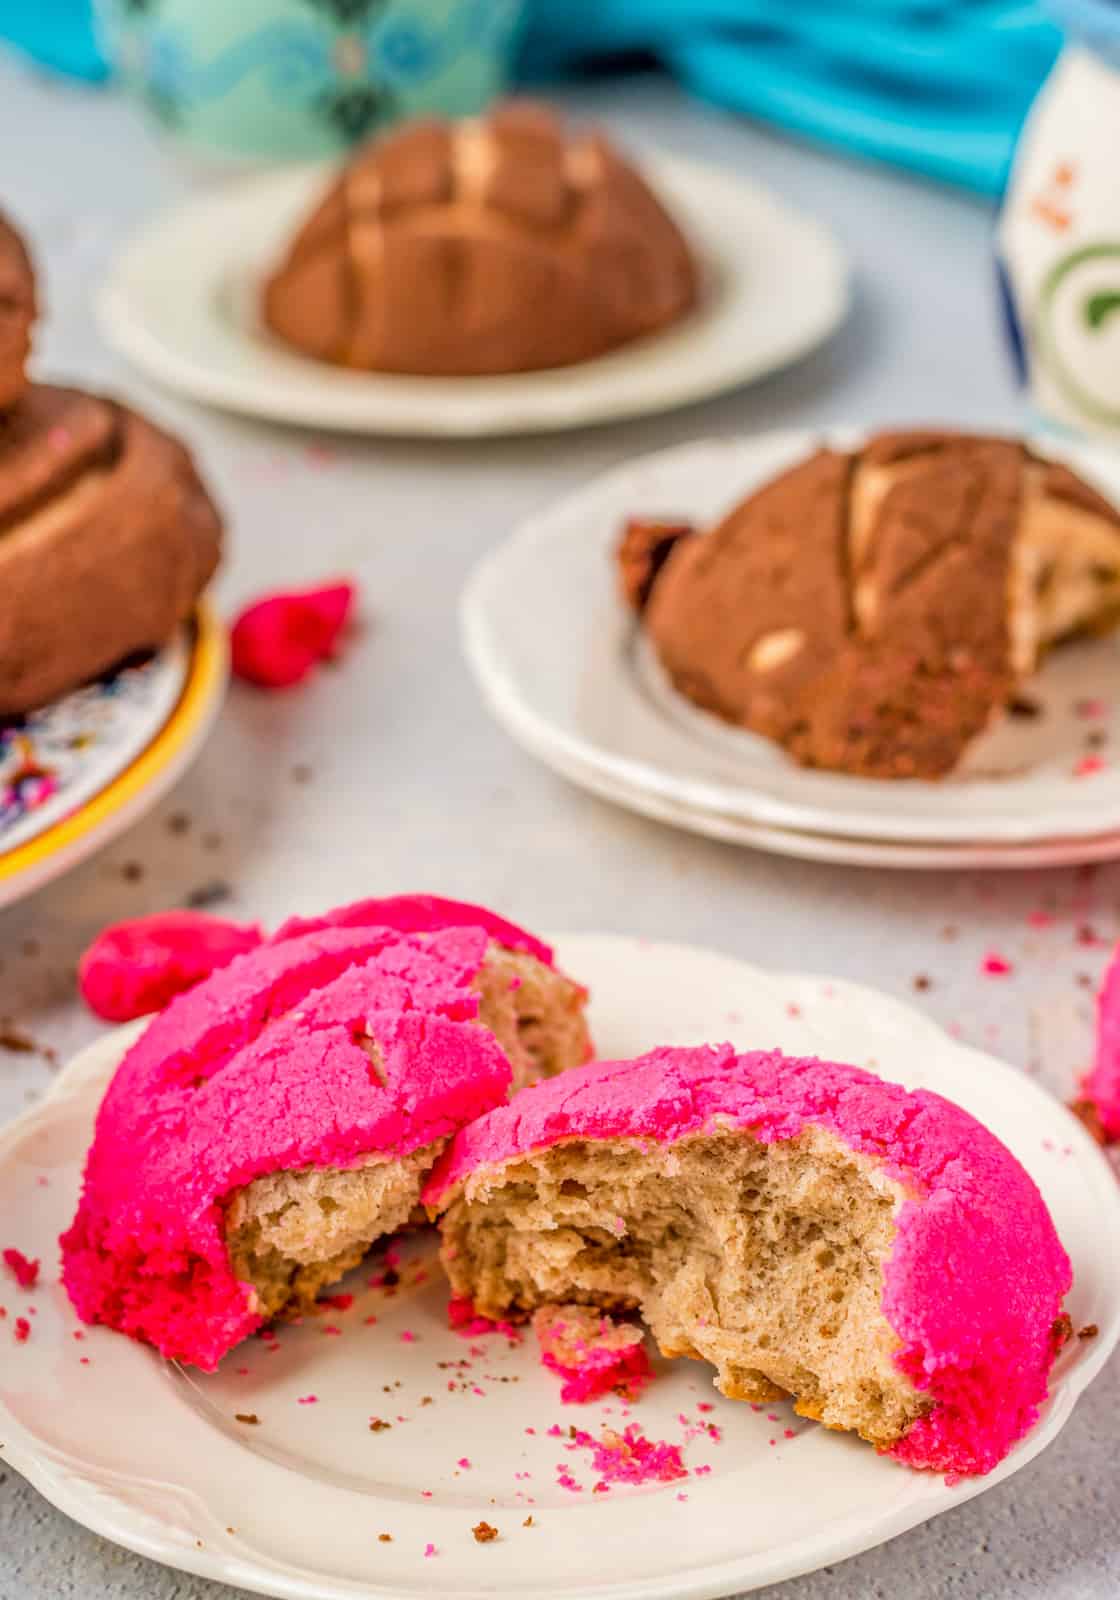
Concha means shell in Spanish so that is where you get the look of these delicious breads from. The topping is traditionally white but can also be colored brown, pink or any other color that you choose.
We like to do the brown and pink colors just because I’m a colorful person and we do like the cocoa flavor so we usually make two different colors each time that we do make these.
You can buy cutters to make the cuts in the tops of Conchas but we just freehand it, so they could look a lot better if we did have one of those, but we are getting better!
I’m more worried about the flavor anyways, and these have flavor! Once you try one you will want more, trust me! That’s how I got hooked, thanks Mona!
HOW TO STORE:
To store these place in an airtight container or ziptpop bag and you can store on the counter for up to 7 days.
Theses Conchas freeze well, too. After they have baked and cooled for at least an hour, place in a freezer bag and place in the freezer. They can be frozen for up to 3 months. To thaw, take what you want from the bag and place on a pan or plate on the counter until defrosted.
TIPS AND TRICKS:
- This dough doesn’t rise as high as bread dough during the rising but don’t worry, it bakes up nicely and will definitely be larger.
- You can split your topping to add cocoa to half and food coloring to the other half if you like or do noting and use the topping as is.
- You can use either rapid rise yeast or active dry for this recipe, the rising times will just be different.
- We light to weigh out our dough to be 90 grams each, but you can eyeball it and try to get 12 equal portions.
- When making the topping, you may need to add a bit more flour if your dough is too sticky. Don’t overwork it, or the butter and crisco will get hot and melt. The topping will need to cool in the refrigerator so it can be rolled.
If you want a delicious sweet Mexican treat that you will fall I love with, then you have to make these Conchas! You will fall in love.
If you like this recipe you might also like:
If you’ve tried these CONCHAS or any other recipe on my site, let me know in the comment section how it turned out, we love hearing from our readers! You can also follow along with me on PINTEREST, FACEBOOK and INSTAGRAM to see more amazing recipes and what shenanigans I’m getting into!
Conchas
Ingredients
Concha Dough:
- 1 package rapid rise yeast or regular
- 1 cup warm milk
- 3/4 cup granulated sugar
- 1 tsp cinnamon
- 1 tsp salt
- 3 1/2 -3 3/4 cups all-purpose flour don’t add the extra ¼ cup flour unless dough is too sticky
- 1/2 cup unsalted butter melted
- 1 egg
- 1 Tbs vegetable oil
- 2 tsp vanilla extract
Topping:
- 1 cup all-purpose flour
- 1 cup granulated sugar
- 1/2 cup unsalted butter
- 1/2 cup crisco shortening
- 1 tsp vanilla extract
- 2 Tbs cocoa
- Food coloring
Instructions
- If you are using regular yeast, you will need to follow this step. Skip to step #2 if using rapid rise or instant yeast. Place the warm milk, sugar, and yeast into the bowl of the stand mixer with the dough hook attachment (or in a large mixing bowl if you are going to knead by hand). Let sit for 5 minutes until bubbles begin to form. If there are no bubbles your yeast is not good and you will need to start again with fresh yeast. .
- Mix all the dry ingredients in the stand mixer.
- In a separate bowl, add the butter, egg, oil, vanilla and salt and mix to combine.
- Add the egg mixture and turn on medium speed for 5 minutes. The dough should be soft and smooth. If kneading by hand this will take about 10 minutes.
- Grease a large bowl and place the dough in the middle, lightly grease the dough and place a towel or saran wrap over the bowl. Place in a warm place and let rise for an hour.
- Punch the dough down and knead for about 2 minutes. Divide into 12 equal pieces or weigh the pieces on a scale approx 90 grams each.
- Roll the pieces into a ball and space out on the cookie sheet. Press down slightly on the ball of dough to spread it in a flat circle.
- Let the dough rise for another 30 minutes to an hour. If the room is warm, the dough will rise faster (30-40 minutes), if it is cooler it will take a bit longer (up to 1 hour). Dough doesn’t have to double in size, but they will get bigger.
Topping:
- Add all the ingredients to the bowl of the mixer or regular bowl with hand mixture and use the paddle attachment to mix them together for 1 minutes.
- Divide the dough into 2 pieces, add the cocoa to one piece and knead in quickly so the shortening and butter don’t melt.
- In the second piece add the food coloring and knead to mix.
- Place in saran wrap in the refrigerator until ready to use.
To assemble:
- Divide each piece of topping into 6 equal portions. Sprinkle just a tiny bit of flour under a topping piece and use a rolling pin or just your hand to “smash” the pieces out, roll the pieces into circles, you don’t want them thin pieces.
- Place a piece on top of each roll. Cut designs into the topping, but not the roll.
- Preheat the oven to 350° and bake the rolls for 20 minutes.
Notes
- This dough doesn’t rise as high as bread dough during the rising but don’t worry, it bakes up nicely and will definitely be larger.
- You can split your topping to add cocoa to half and food coloring to the other half if you like or do noting and use the topping as is.
- You can use either rapid rise yeast or active dry for this recipe, the rising times will just be different.
- We light to weigh out our dough to be 90 grams each, but you can eyeball it and try to get 12 equal portions.
- When making the topping, you may need to add a bit more flour if your dough is too sticky. Don’t overwork it, or the butter and crisco will get hot and melt. The topping will need to cool in the refrigerator so it can be rolled.
Nutrition
Tornadough Alli is not a nutritionist or dietitian, and any nutritional information shared is an estimate. If calorie count and nutritional value is important to you, we recommend running the ingredients through whichever online nutritional calculator you prefer. Calories and values can vary depending on which brands were used.


Leave a Reply