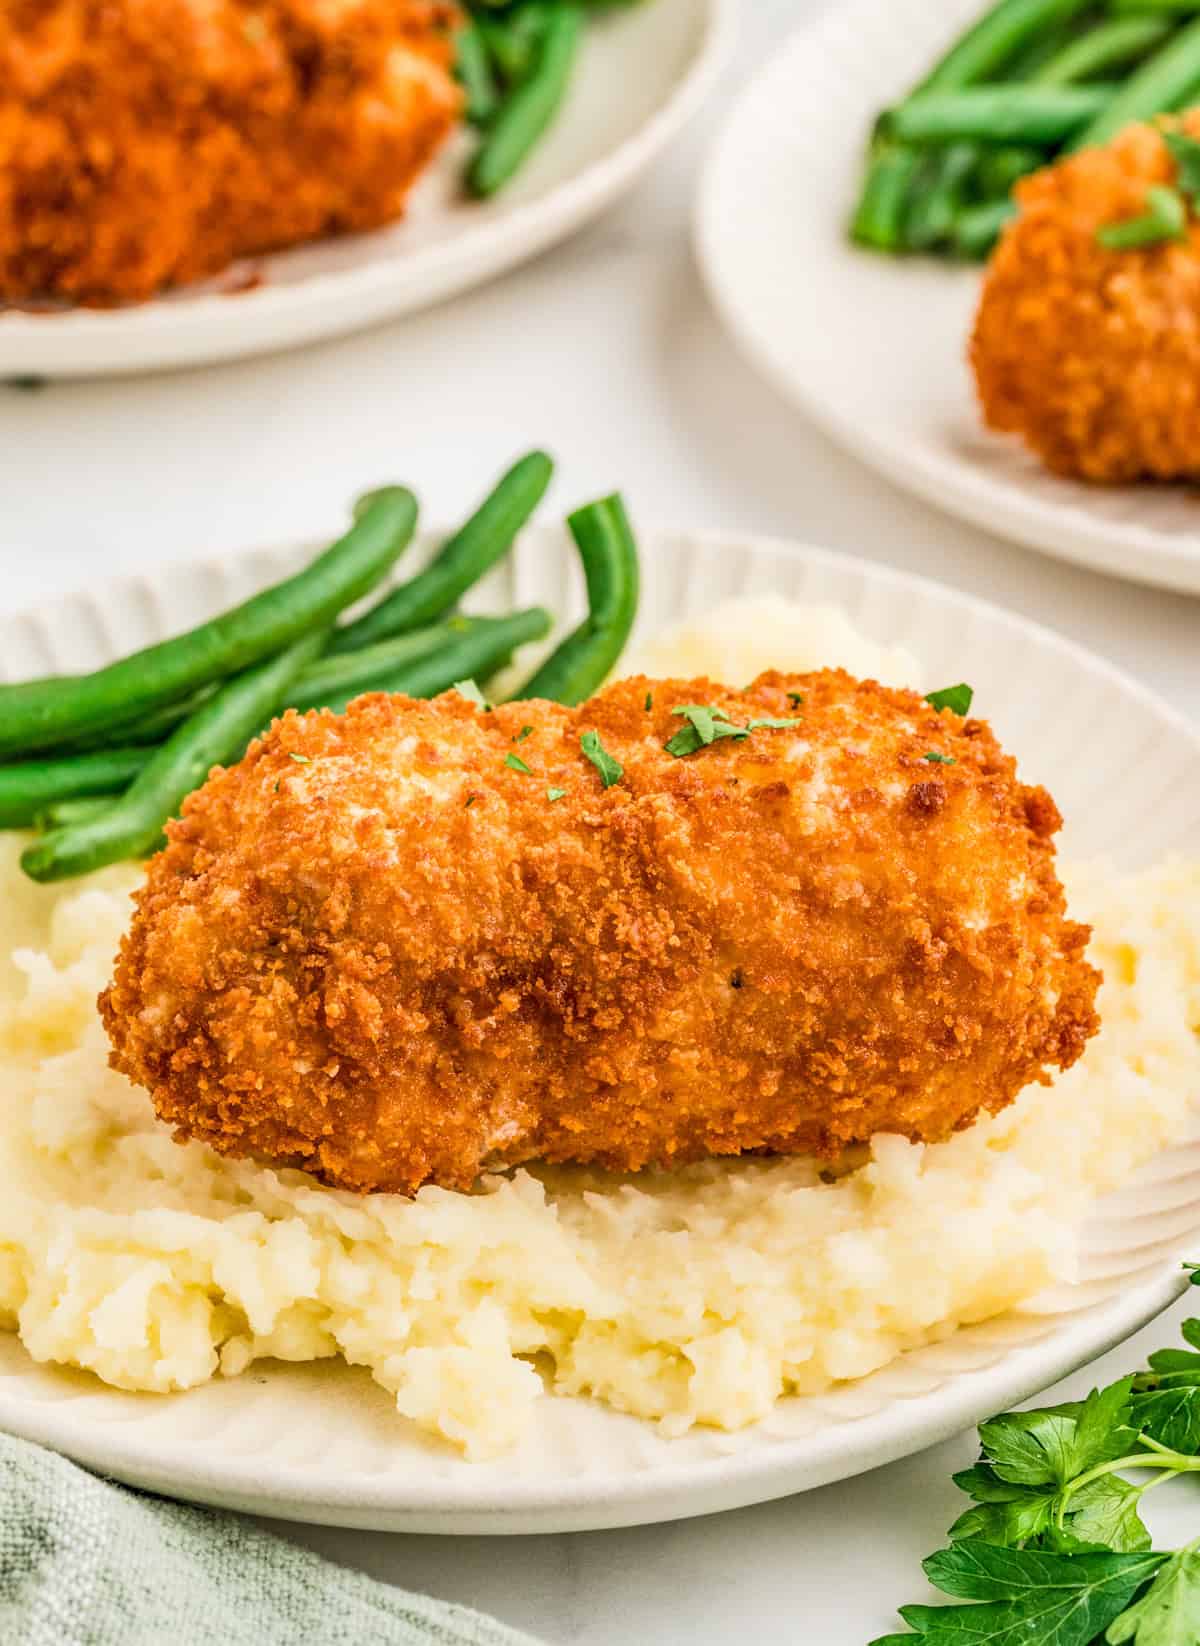
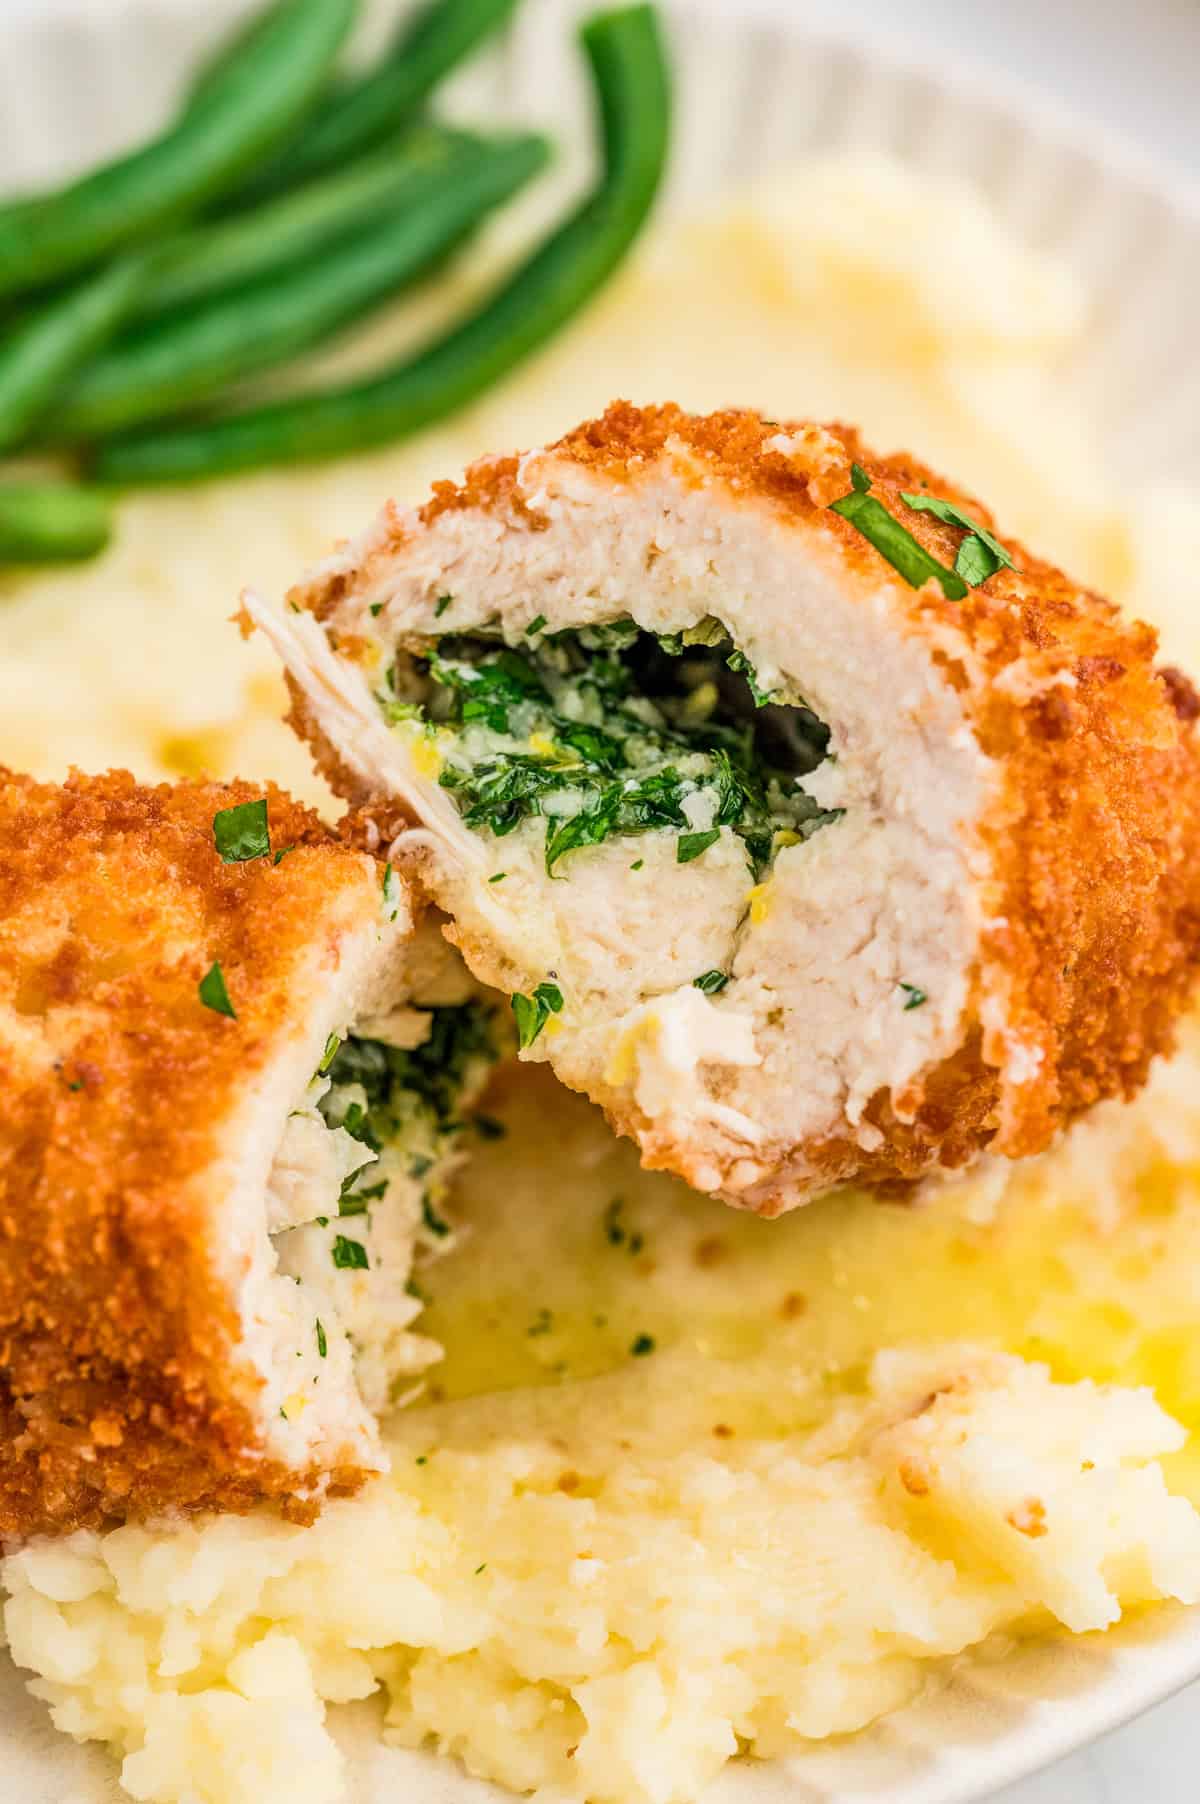
With an irresistible herbed butter filling, this Chicken Kiev is a tasy, hearty and family friendly dinnertime meal.
We are huge chicken eaters in our family, I keep stockpiles of chicken in my freezer since we eat it so much.
This Chicken Kiev is one of our favorite dinnertime meals. It is a little slight labor of love but the end result is totally worth it.
The best thing is that all the ingredients are readily available and most home cook will have them in their pantry or refrigerator.
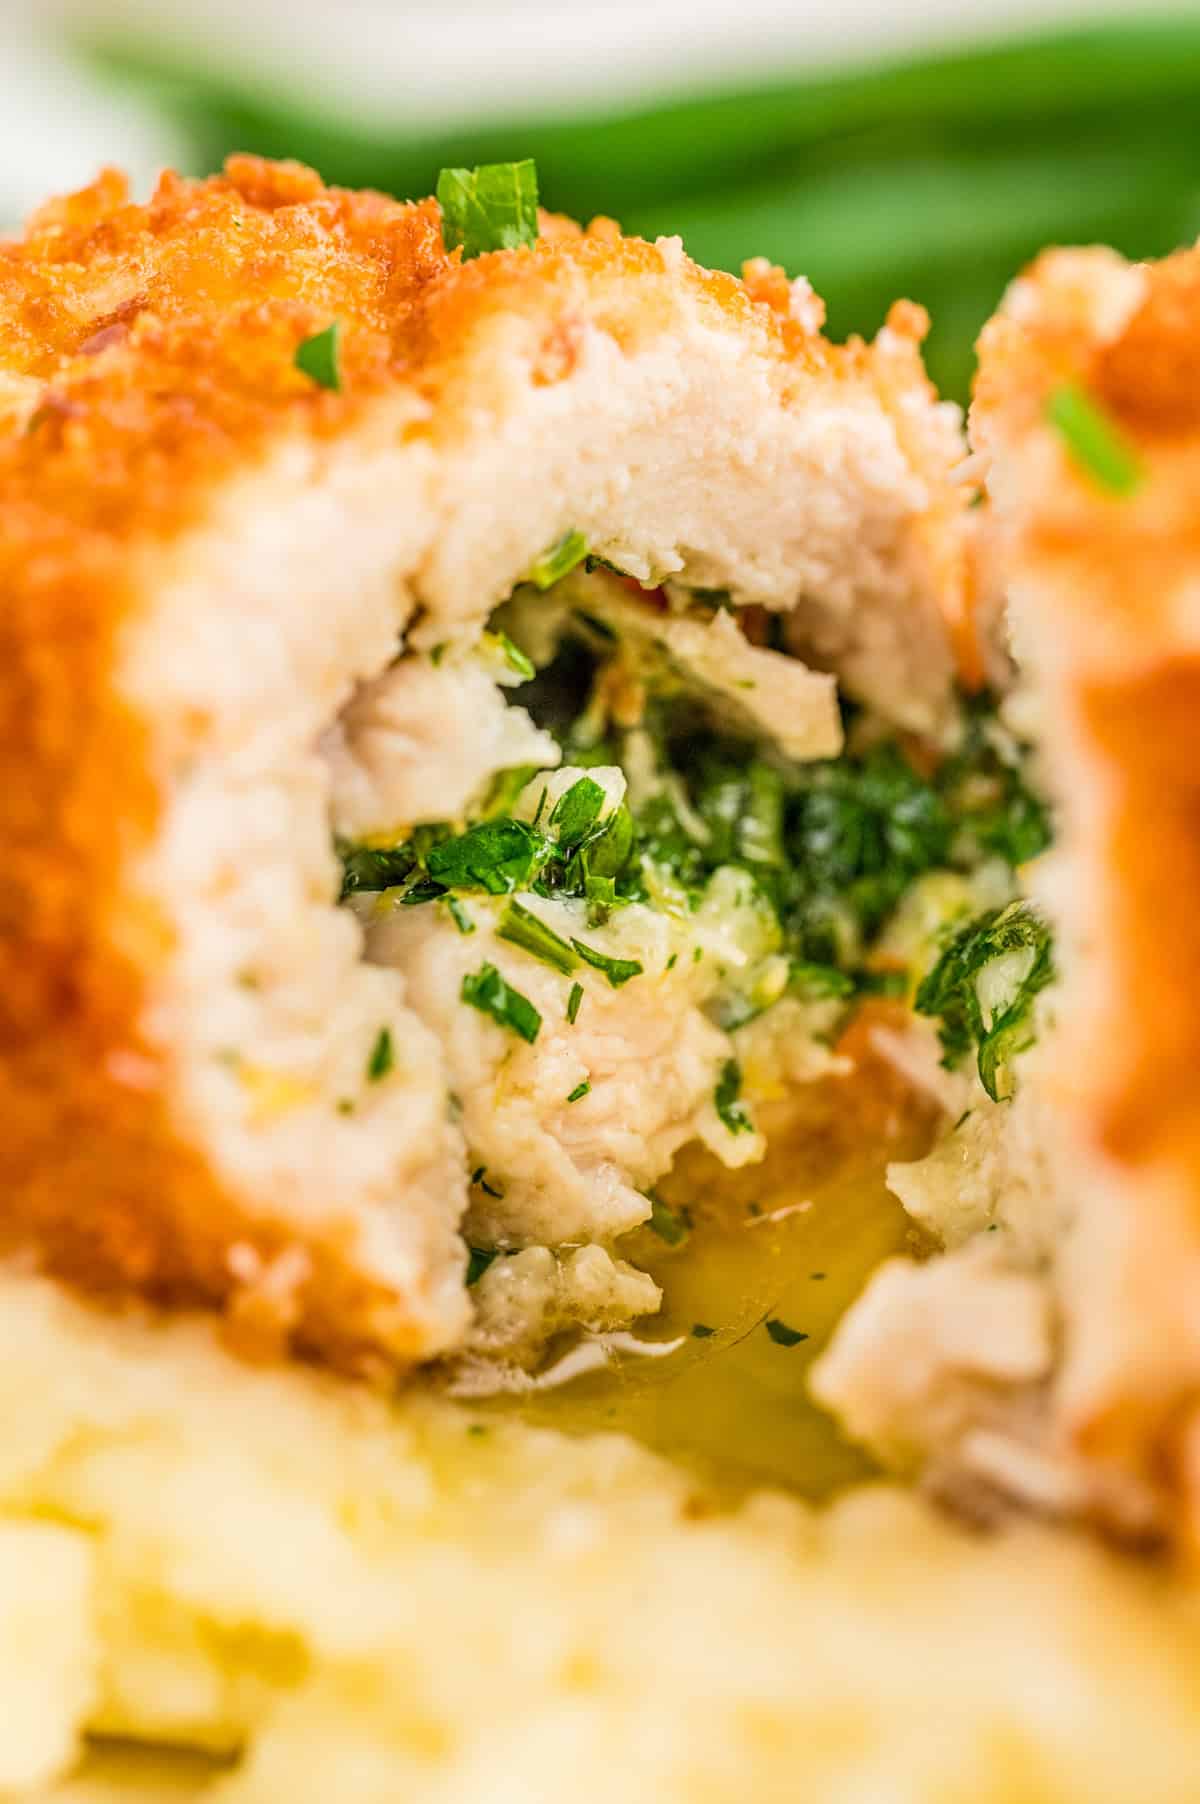
Inside with the butter, garlic, parsley and lemon mixture creates this undeniably tasty “sauce” that once you cut it open you can’t help but dip your chicken into.
Chicken Kiev is one of those things that we use to buy in the stores, but when you make it homemade – you realize really what you’ve been missing out on.
If you are looking for a delicious chicken recipe that is popular but not often thought of, then you need to make this Chicken Kiev Recipe ASAP.
Some of our other favorite chicken recipes that we have on our site include: Chicken Spaghetti, Marry Me Chicken and Roasted Chicken Thighs.
WHY THIS RECIPE WORKS:
- Easily available ingredients helps this come together easier.
- The filling is the star of the show and works great for dipping.
- You can easily double this recipe to serve a larger crowed or to have more on hand.
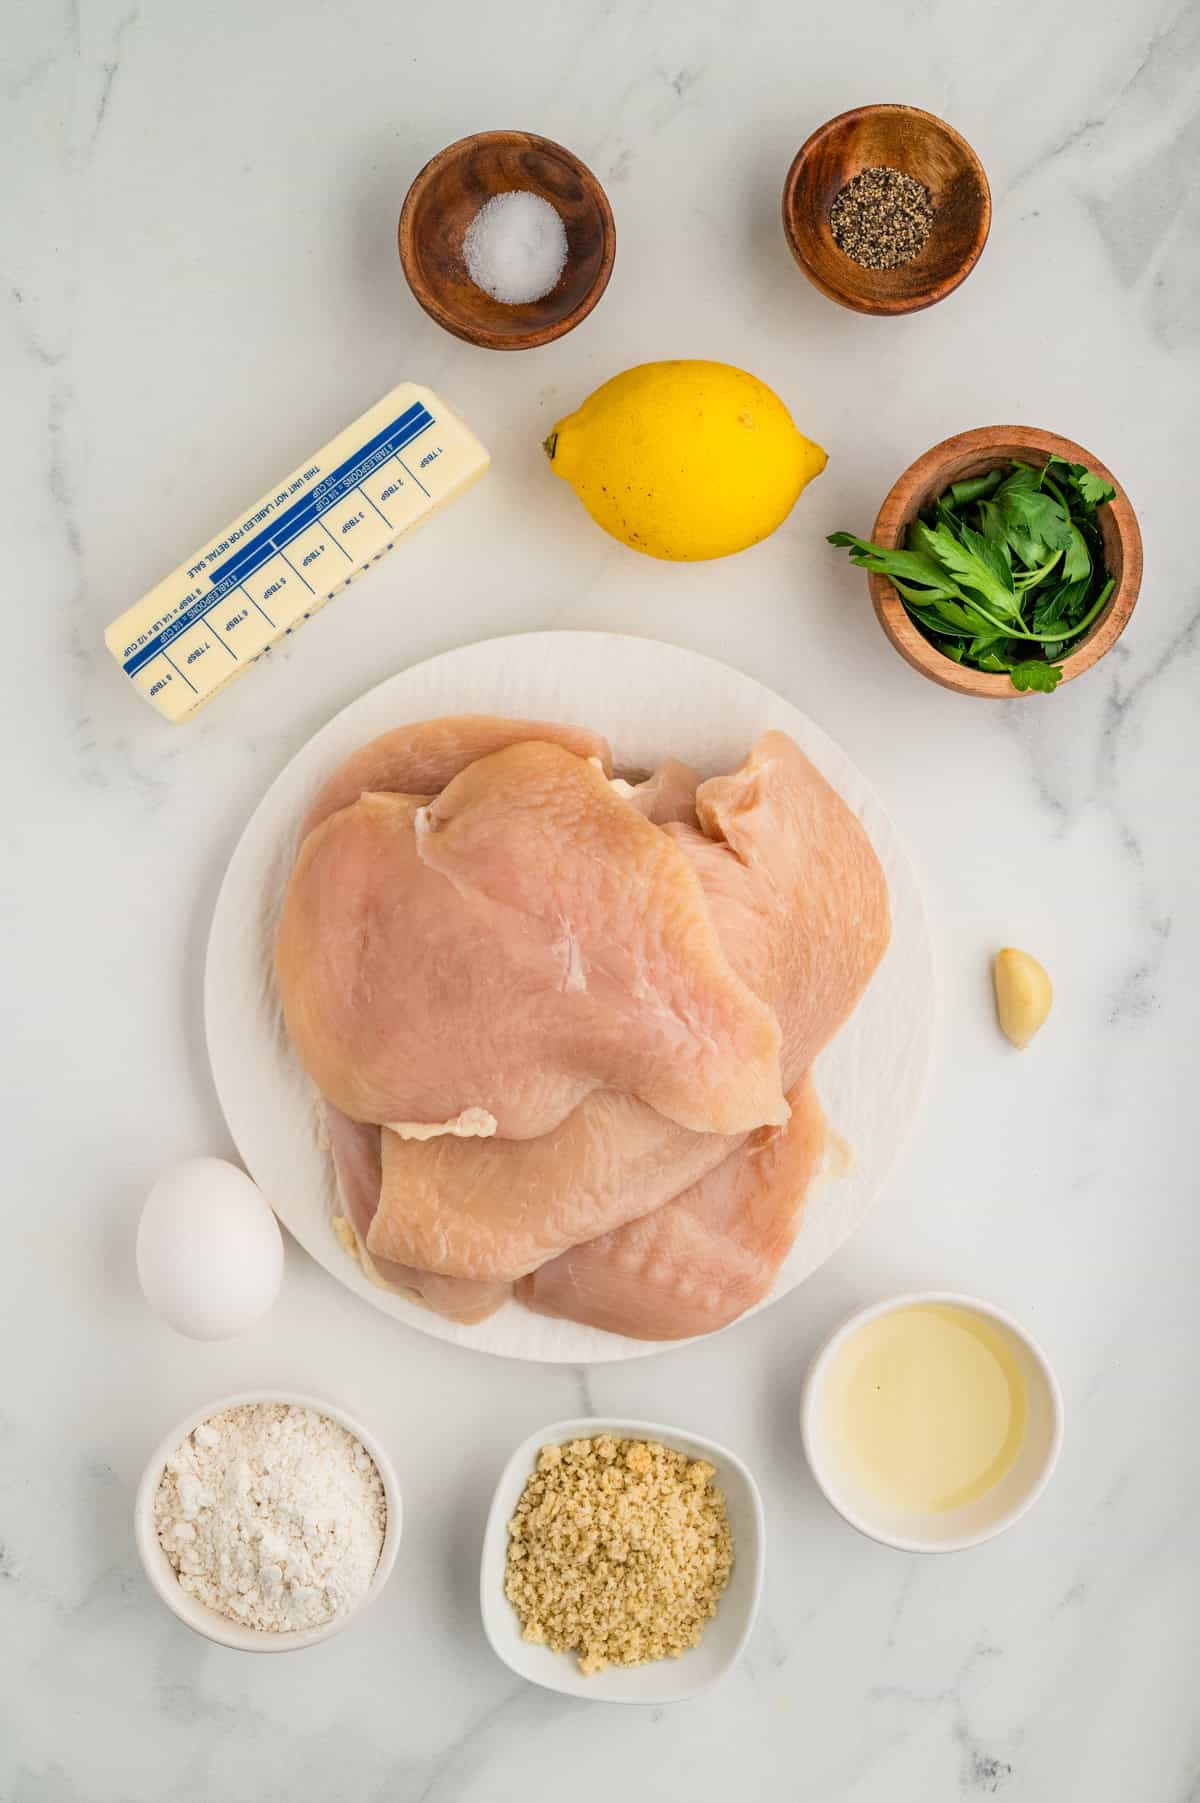
INGREDIENTS NEEDED (FULL RECIPE AT THE BOTTOM OF THE POST):
Salted butter
Garlic
Italian parsley
Lemon
Chicken breasts
Salt
All-purpose flour
Salt
Pepper
Eggs
Panko breadcrumbs
Canola oil, for frying
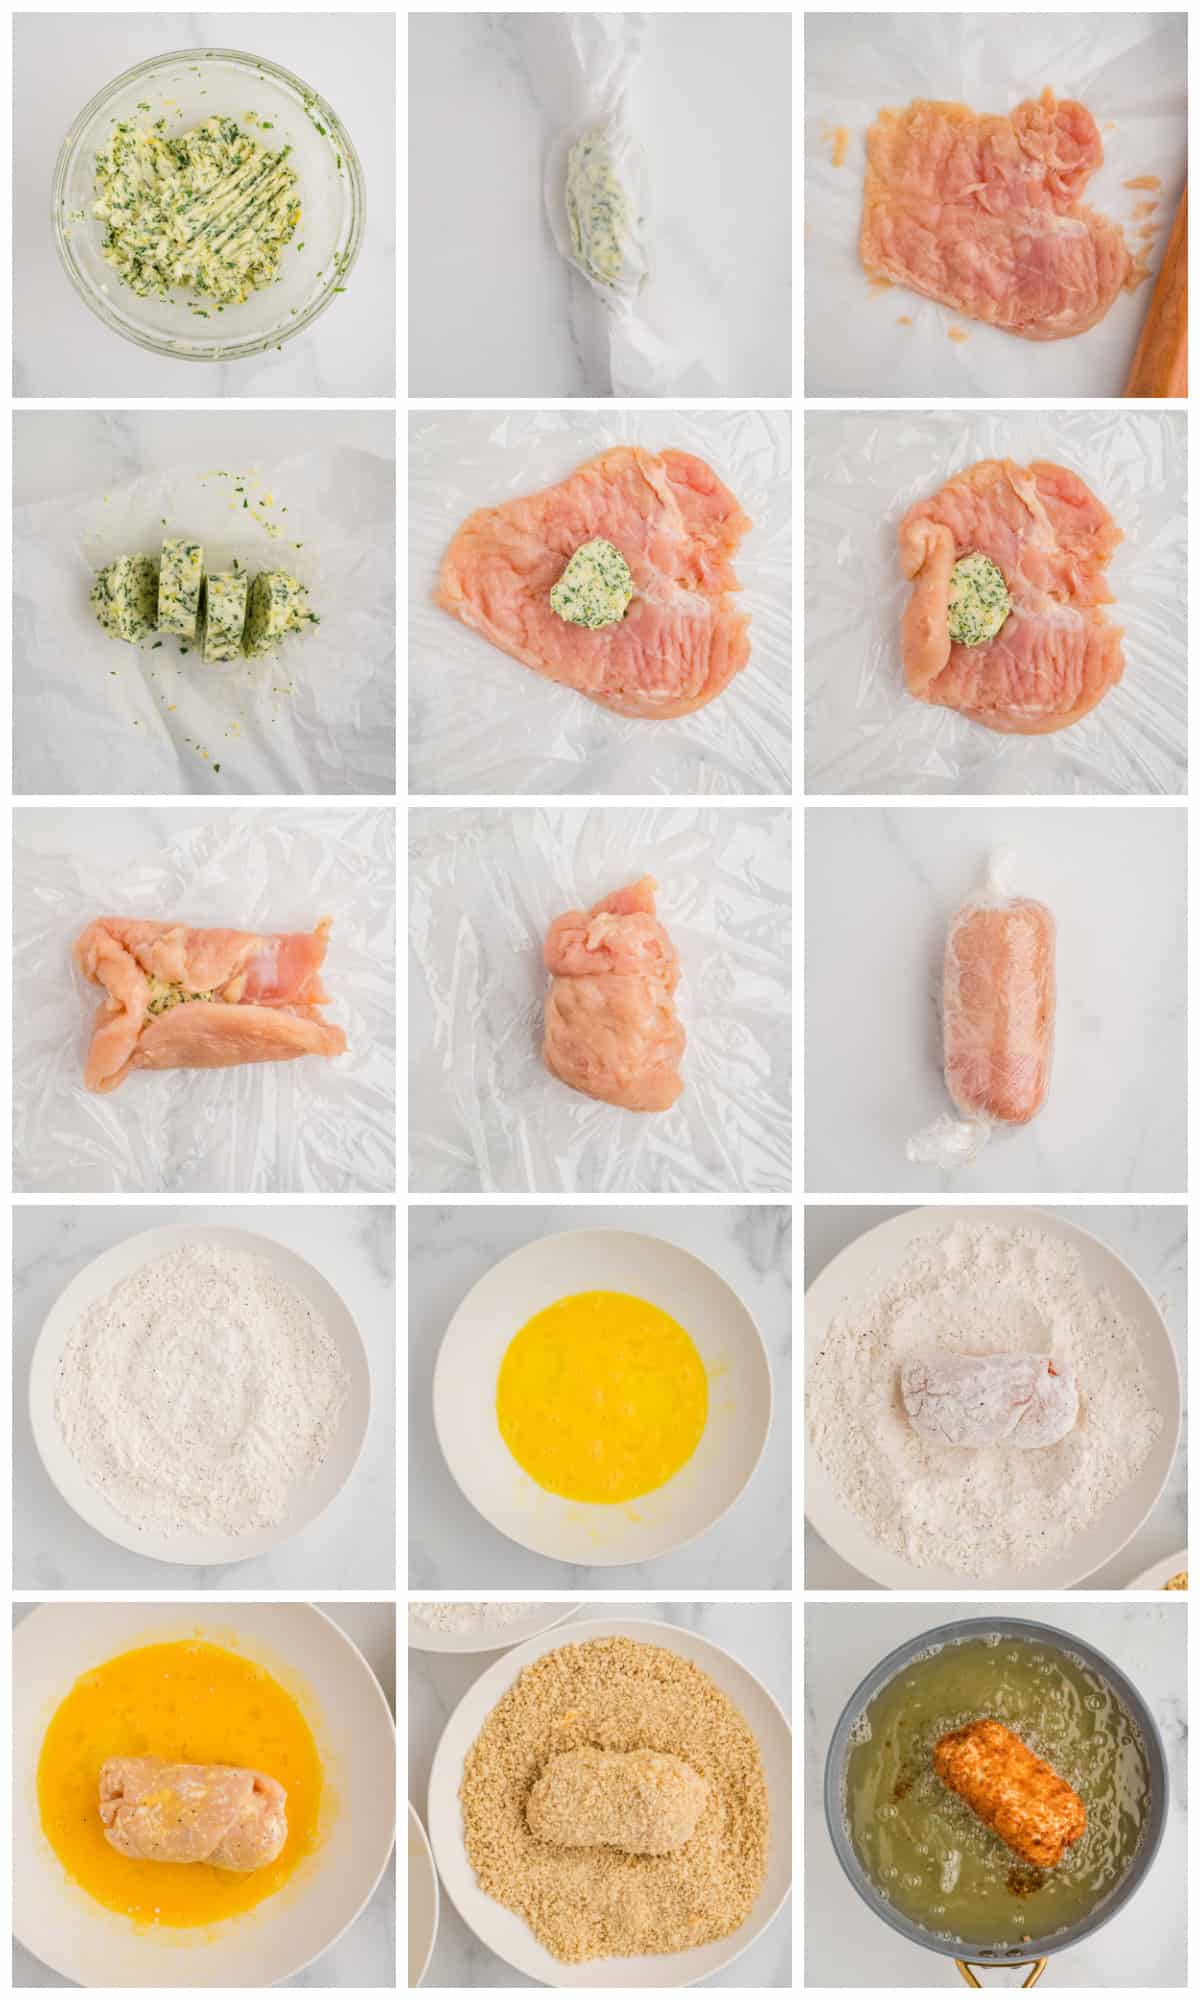
HOW TO MAKE CHICKEN KIEV, STEP BY STEP:
- Mix the butter with the garlic, parsley, and lemon zest until thoroughly combined. You can use a hand mixer or use a fork.
- Form into a log shape about 4 inches long on a piece of parchment paper. Roll the paper till the butter is covered and twist the ends to hold it tightly. Place in the freezer for 30 minutes to firm it up quickly. If you do this.
- Once your chicken is pounded into about ¼ inch thick pieces, lightly salt it.
- Remove the butter from the freezer and cut it into 4 pieces.
- Place 1 chicken on a piece of plastic wrap (smoothest side down) and put one piece of butter in the middle.
- Roll the chicken up first by starting on one side. Fold the sides in as you roll and roll the chicken tightly.
- Roll the plastic wrap up around the chicken tightly and twist the sides to make it even tighter.
- Freeze the rolled chicken for 45-60 minutes. This will ensure the butter doesn’t spill out when cooking.
- While the chicken firms up in the freezer, put the flour, salt and pepper in one shallow bowl, the beaten eggs in another shallow bowl and the panko in a third shallow bowl. Preheat the oven to 400 degrees and line a baking sheet with parchment paper. Place a rack on top of the baking sheet for best results.
- Once the chicken is firmed up in the freezer, add the oil to a pan so that the oil will cover half the chicken when placed in it. Heat the oil to medium high. Ideally your oil temperature will be about 350 degrees.
- First roll a piece of chicken in the flour, brushing off any extra flour. Dip the floured chicken in the egg and then roll in the breadcrumbs. Repeat with remaining pieces of chicken.
- Fry the chicken for about 3 minutes per side, until golden brown on both sides.
- Place the chicken on the prepared baking sheet on the rack. Bake for about 15-20 minutes until the chicken is cooked through. To check this easiest, use a thermometer. When the center reaches 165 it is fully cooked. Do not overcook.
- Let the chicken rest for 10 minutes before slicing, for best results.
WHAT IS THE BEST WAY TO POUND OUT MY CHICKEN?
Pound your chicken between sheets of parchment paper or in a freezer bag for less mess.
You can use a meat mallet or we also use a rolling pin for this, use whatever you have on hand to get it to the desired thickness.
CAN I MAKE THIS IN THE AIR FRYER?
You can, it may not turn out as dark and crispy, but you can also spray it with some olive oil spray to try to make it crispier.
To make it in the air fryer, do all the steps and then place your Chicken Kiev in batches in the air fryer and heat at 350 degrees F for about 20-25 minutes or until an internal thermometer reads 165 degrees F.
HOW LONG DO I NEED TO FREEZE MY ROLLED UP CHICKEN FOR?
To ensure or at least to try to not let the butter seap out when cooking, you will want to freezer your chicken for at least 45-60 minutes prior to cooking.
This will keep keep everything together and hard enough where it should cook evenly with less spillage.
WHAT CAN I SERVE WITH THIS CHICKEN KIEV RECIPE?
There is so many good side dishes that go great with chicken, some our our favorites include:
- Potatoes
- Steamed Vegetables
- Side Salad
- Garlic Bread
- Southern Style Green Beans
- Cheesy Broccoli Casserole
- Cheddar Biscuits
HOW TO STORE:
This can be stored in the refrigerator in an airtight container where it will keep for up to 4 days.
To freeze, place on a baking sheet and place in freezer until frozen. Transfer to a freezer bag or container and they will keep for up to 3 months.
To defrost, remove from the freezer into the refrigerator until thawed. To reheat, you can put in the oven at 350 for about 10 minutes for best results, or heat in the microwave for faster reheating.
TIPS AND TRICKS:
- We deep fry and bake this recipe so it comes out golden and crispy but also cooked on the inside without burning.
- This can be made in the air fryer, see above on how to do that.
- There will be two freezings, the butter and then the assembled chicken around the butter. Do not skip the freezing.
- If your butter is too soft, it will be harder to form into a log, but if it’s too hard it will be hard to mix. Take the butter out of your fridge about 30-40 minutes before starting, if possible.
- This can be frozen, see above on how to do that.
- Serve this recipe with many different side dishes. I provided some of my favorites above.
- Double this recipe to serve more people.
- If you want to make the butter log the day before you make the chicken this is a great idea. Place it in the refrigerator instead of the freezer if you want to make the butter log in advanced.
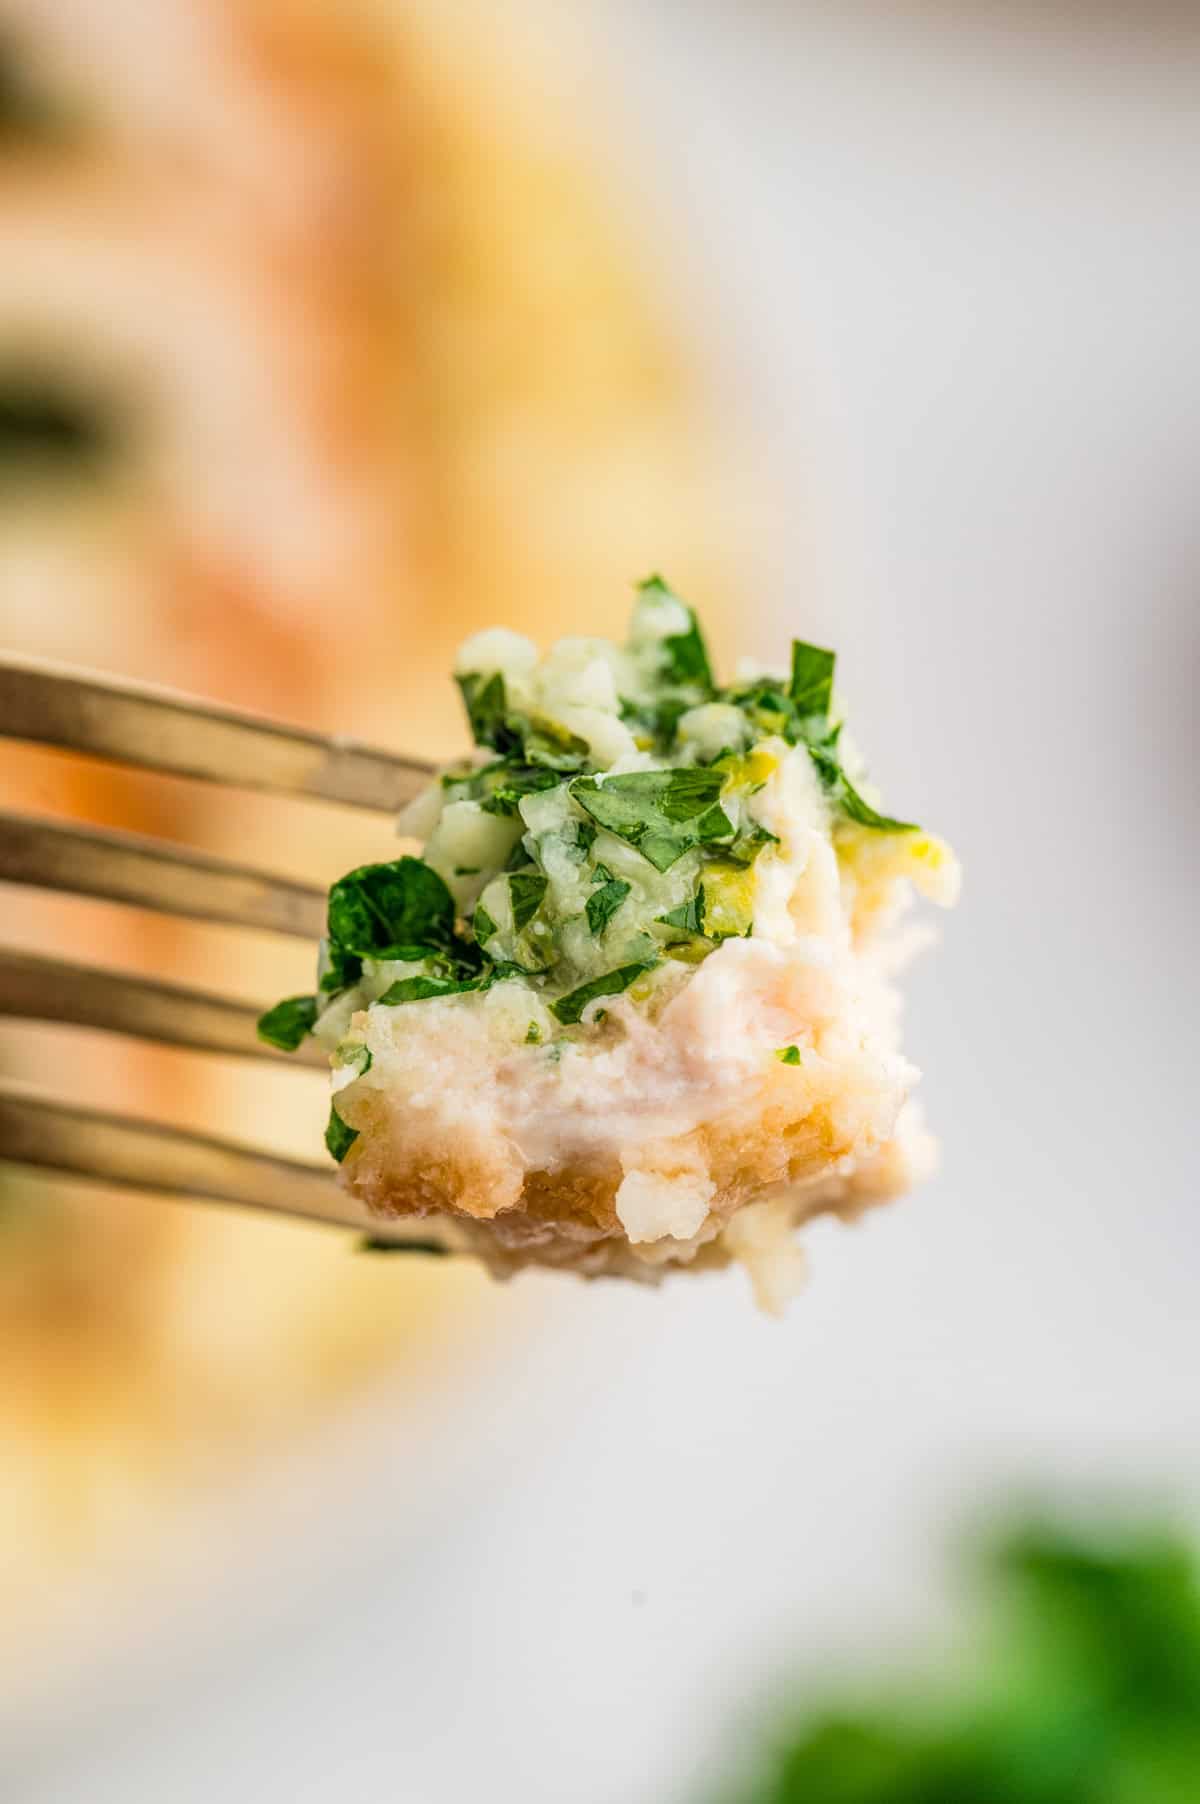
Love a good chicken recipe, especially if it oozes tasty butter? Then this Chicken Kiev needs to be on your menu.
If you like this recipe you might also like:
- Air Fryer Chicken Cordon Bleu
- Parmesan Crusted Chicken
- French Onion Chicken
- Brown Sugar Bacon Wrapped Chicken
If you’ve tried this CHICKEN KIEV or any other recipe on my site, let me know in the comment section how it turned out, we love hearing from our readers! You can also follow along with me on PINTEREST, FACEBOOK and INSTAGRAM to see more amazing recipes and what shenanigans I’m getting into!

Chicken Kiev
Ingredients
- 6 Tablespoons salted butter halfway softened
- 3 cloves garlic minced
- 2 Tablespoons finely chopped Italian parsley
- ½ lemon zested
- 4 boneless skinless chicken breasts cut in half if your chicken breasts are too thick and pounded into ¼ inch thickness.
- ¼ teaspoon salt
Breading:
- 1 cup all-purpose flour
- 2 teaspoons salt
- 1 teaspoon pepper
- 2 large eggs beaten
- 2 cups panko breadcrumbs
- About 2 cups canola oil for frying
- More parsley for garnish
Instructions
- Mix the butter with the garlic, parsley, and lemon zest until thoroughly combined. You can use a hand mixer or use a fork.
- Form into a log shape about 4 inches long on a piece of parchment paper. Roll the paper till the butter is covered and twist the ends to hold it tightly. Place in the freezer for 30 minutes to firm it up quickly. If you do this.
- Once your chicken is pounded into about ¼ inch thick pieces, lightly salt it.
- Remove the butter from the freezer and cut it into 4 pieces.
- Place 1 chicken on a piece of plastic wrap (smoothest side down) and put one piece of butter in the middle.
- Roll the chicken up first by starting on one side. Fold the sides in as you roll and roll the chicken tightly.
- Roll the plastic wrap up around the chicken tightly and twist the sides to make it even tighter.
- Freeze the rolled chicken for 45-60 minutes. This will ensure the butter doesn’t spill out when cooking.
- While the chicken firms up in the freezer, put the flour, salt and pepper in one shallow bowl, the beaten eggs in another shallow bowl and the panko in a third shallow bowl. Preheat the oven to 400 degrees and line a baking sheet with parchment paper. Place a rack on top of the baking sheet for best results.
- Once the chicken is firmed up in the freezer, add the oil to a pan so that the oil will cover half the chicken when placed in it. Heat the oil to medium high. Ideally your oil temperature will be about 350 degrees.
- First roll a piece of chicken in the flour, brushing off any extra flour. Dip the floured chicken in the egg and then roll in the breadcrumbs. Repeat with remaining pieces of chicken.
- Fry the chicken for about 3 minutes per side, until golden brown on both sides.
- Place the chicken on the prepared baking sheet on the rack. Bake for about 15-20 minutes until the chicken is cooked through. To check this easiest, use a thermometer. When the center reaches 165 it is fully cooked. Do not overcook.
- Let the chicken rest for 10 minutes before slicing, for best results.
Notes
- We deep fry and bake this recipe so it comes out golden and crispy but also cooked on the inside without burning.
- This can be made in the air fryer, see above on how to do that.
- There will be two freezings, the butter and then the assembled chicken around the butter. Do not skip the freezing.
- If your butter is too soft, it will be harder to form into a log, but if it’s too hard it will be hard to mix. Take the butter out of your fridge about 30-40 minutes before starting, if possible.
- This can be frozen, see above on how to do that.
- Serve this recipe with many different side dishes. I provided some of my favorites above.
- Double this recipe to serve more people.
- If you want to make the butter log the day before you make the chicken this is a great idea. Place it in the refrigerator instead of the freezer if you want to make the butter log in advanced.
Nutrition
Tornadough Alli is not a nutritionist or dietitian, and any nutritional information shared is an estimate. If calorie count and nutritional value is important to you, we recommend running the ingredients through whichever online nutritional calculator you prefer. Calories and values can vary depending on which brands were used.


Leave a Reply