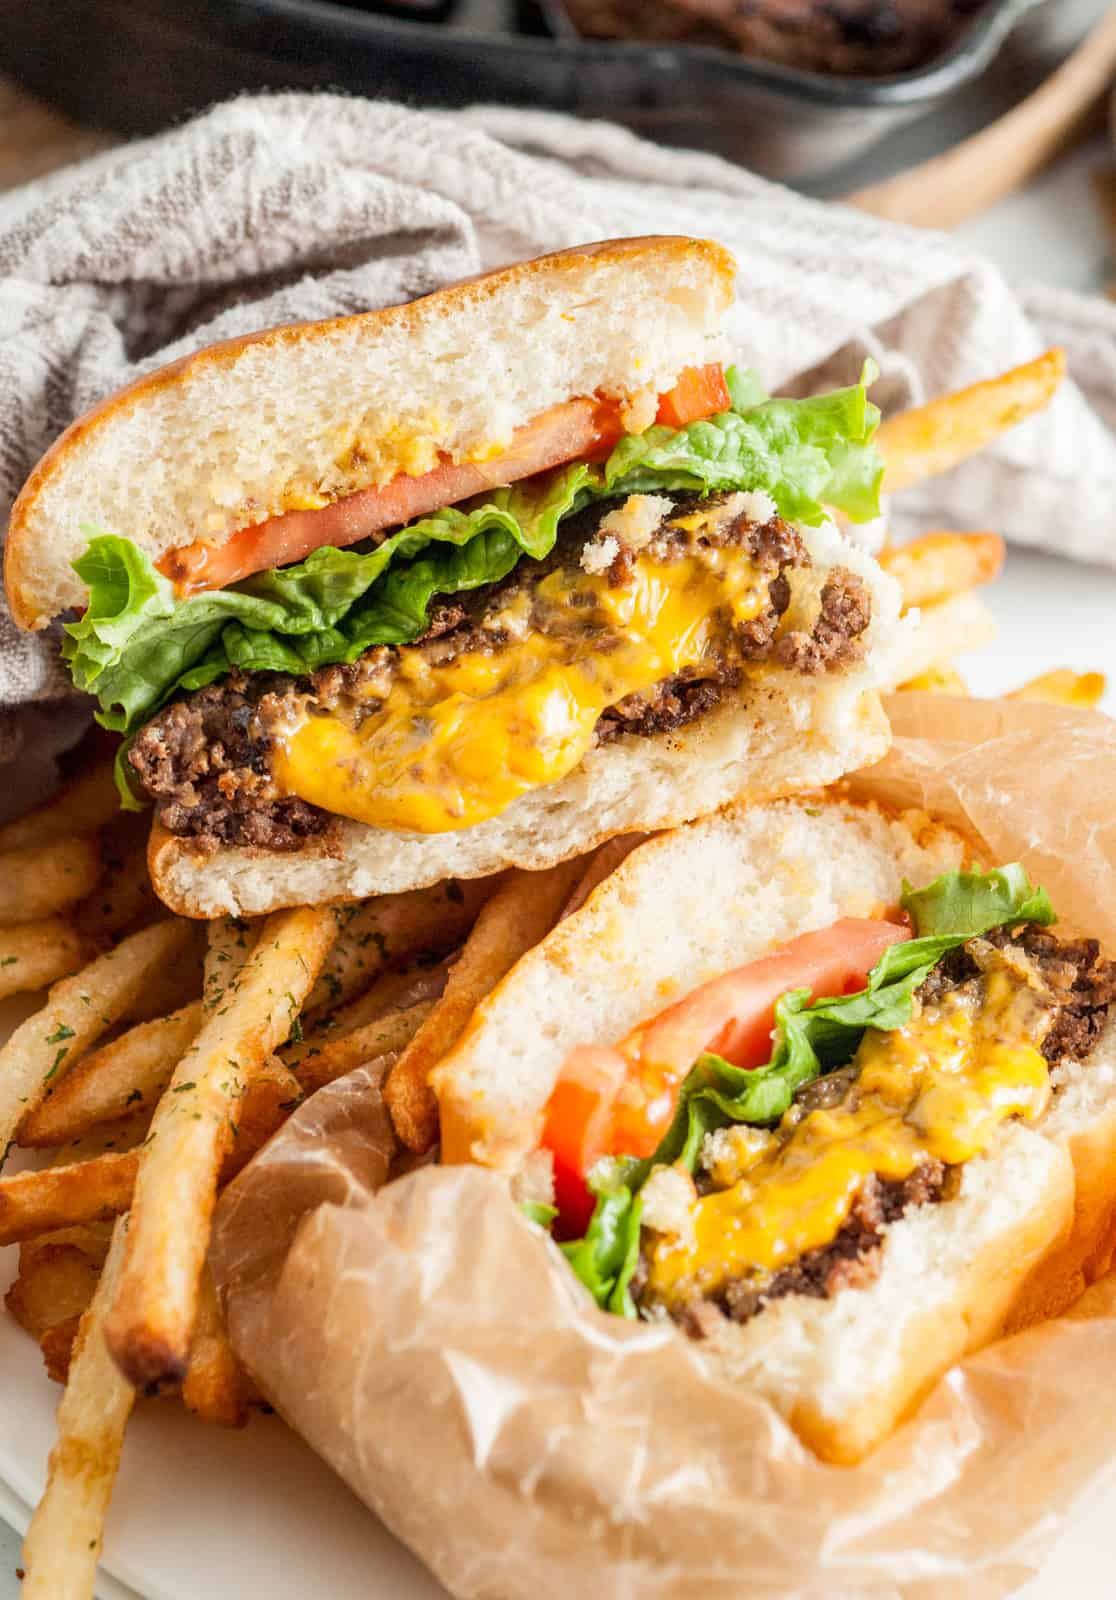
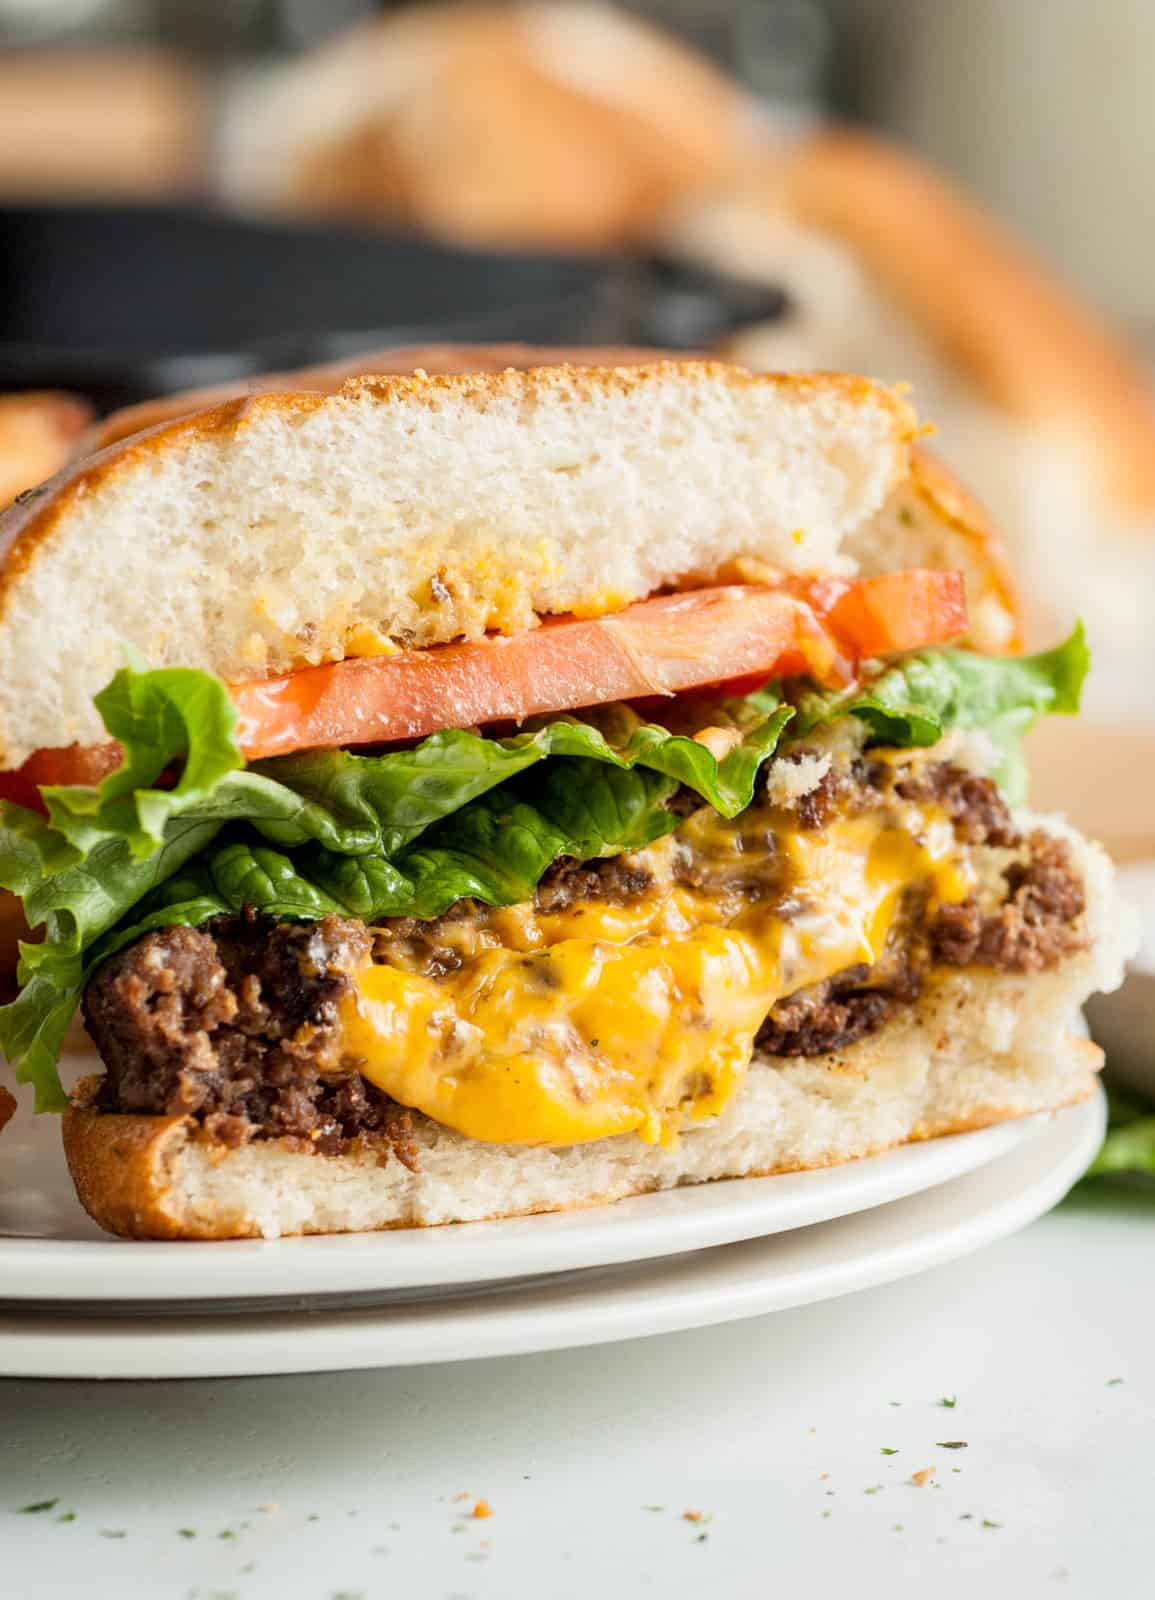
This Juicy Lucy Recipe lives up to its name. Two mouthwatering burger patties pressed together and stuffed with your favorite cheese in between. Melty, gooey and 100% delicious!
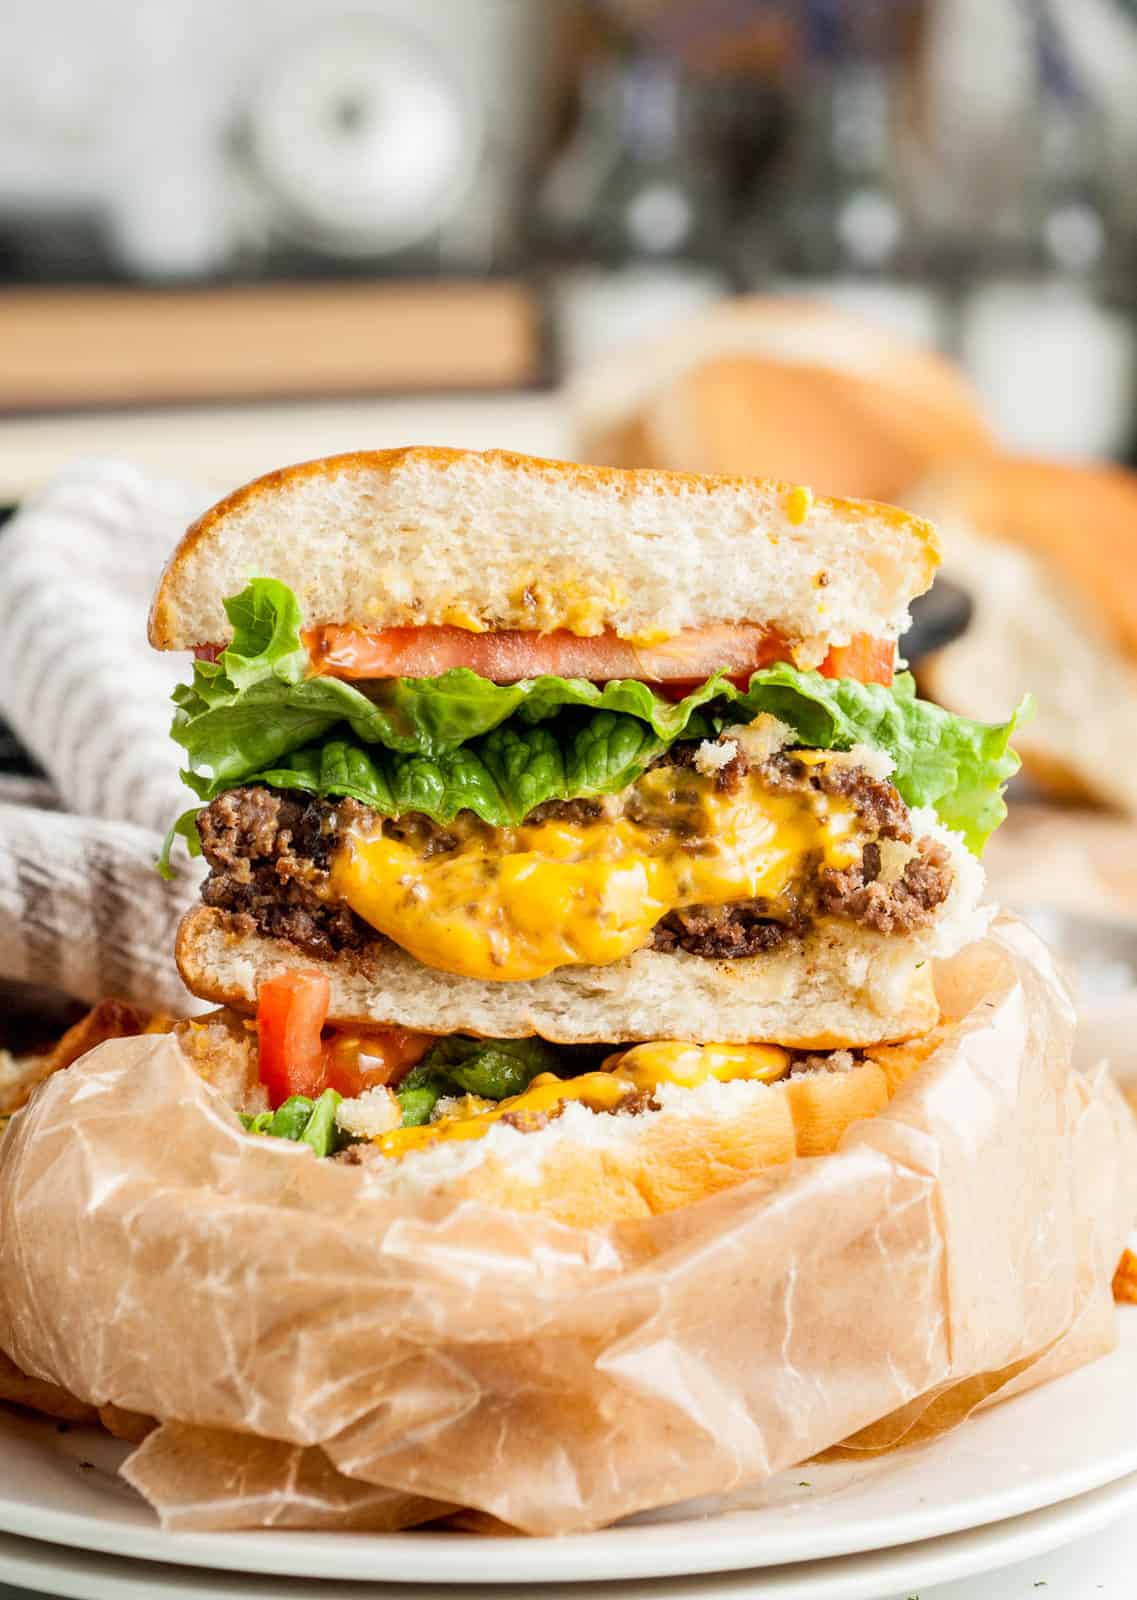
Enjoy this incredibly easy Juicy Lucy Recipe with two ground beef patties stuffed with your favorite o0ey, gooey cheese and seared to perfection. Served on your favorite hamburger buns topped with the best burger fixin’s.
You really can’t go wrong when you make this fantastic burger. This is a staple here in Minnesota where it was created, the place is debatable it is between Matt’s Bar and the 5-8 club.
It has been in debate since the 1950’s when it first came out, so we will just say that south Minneapolis was the birthplace of this Famous Juicy Lucy Recipe!
We’ve been making this Juicy Lucy Recipe for quite a while. It always gets rave reviews at barbeques, parties where we’re grilling, get-togethers, and is something the whole family gets excited about for dinner during the week.
There is no right or wrong time to make this delicious sandwich, you can make it indoors in the winter on a grill pan or outdoors the rest of the year on the grill, it’s too delicious not to enjoy year round.
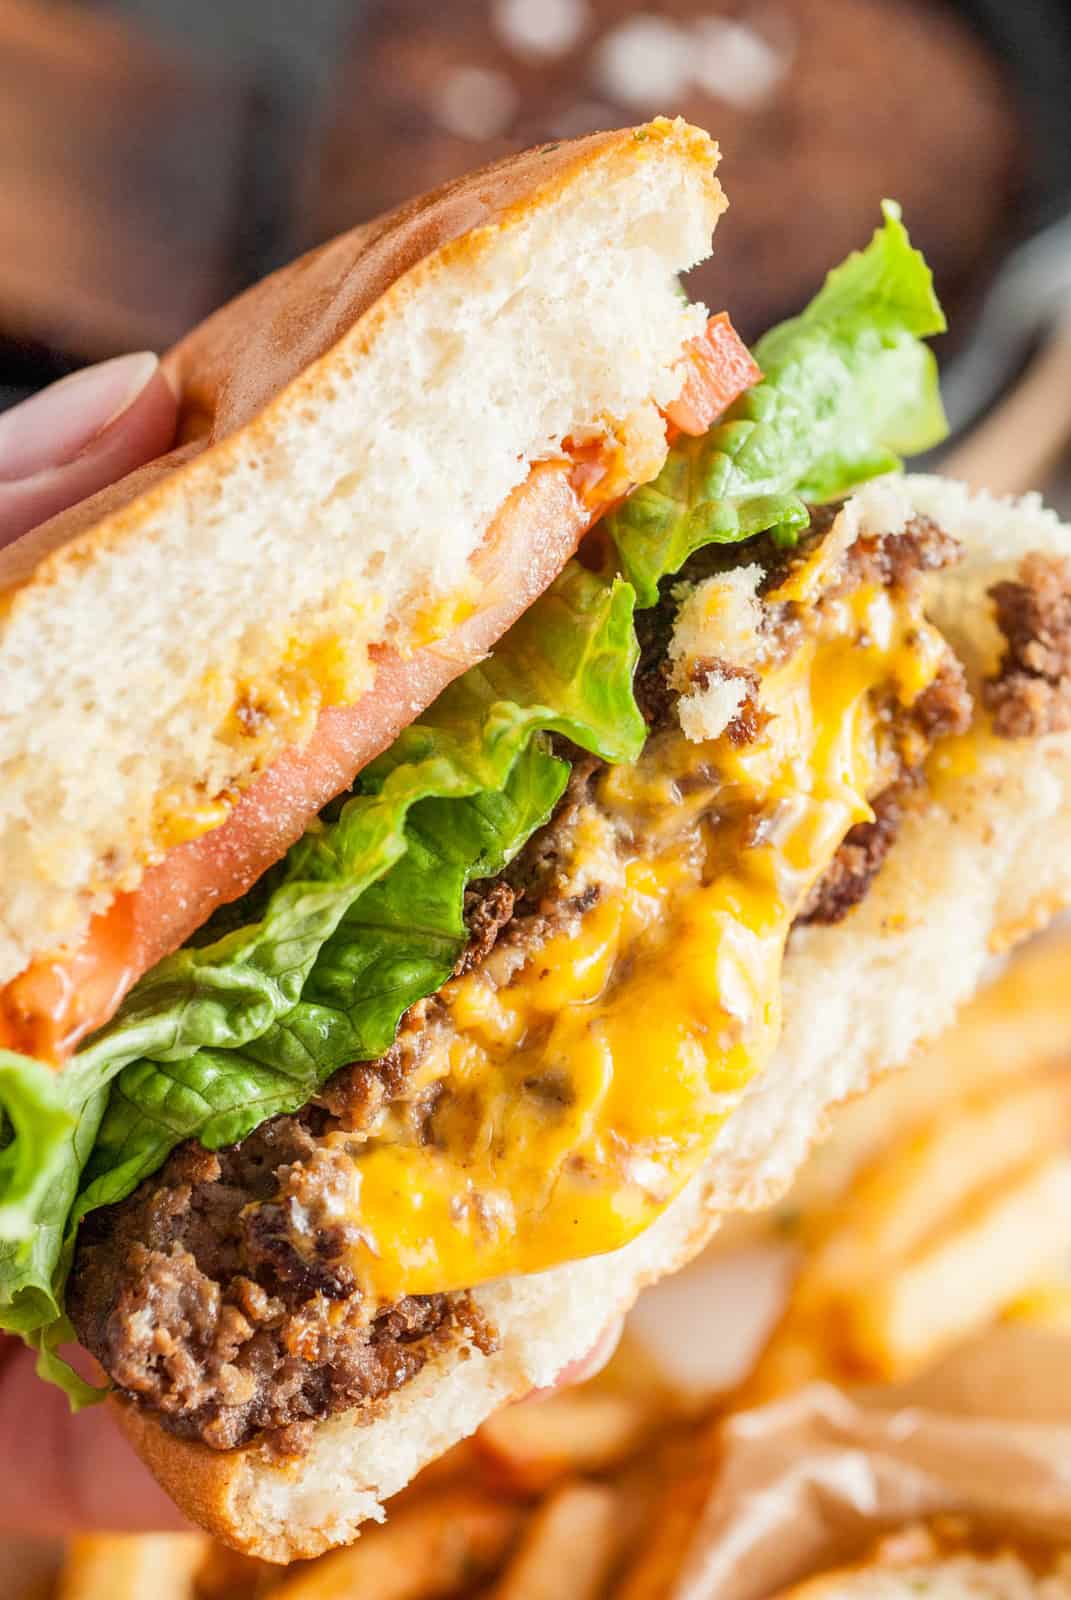
Top it with whatever you like, we usually just go for a classic with ours like the photos show, but the recipe will work with whatever toppings you want to add.
Some of our other favorite sandwich recipes on our site include: Beer Can Burgers, Whiskey Bacon Burgers, and Crispy Chicken Sandwiches.
WHY THIS RECIPE WORKS:
- Takes the everyday cheeseburger up a level but still uses everyday ingredients.
- A fun recipe to make that your tastebuds will appreciate.
- Kids and adults love the oozing melty cheese with every bite.
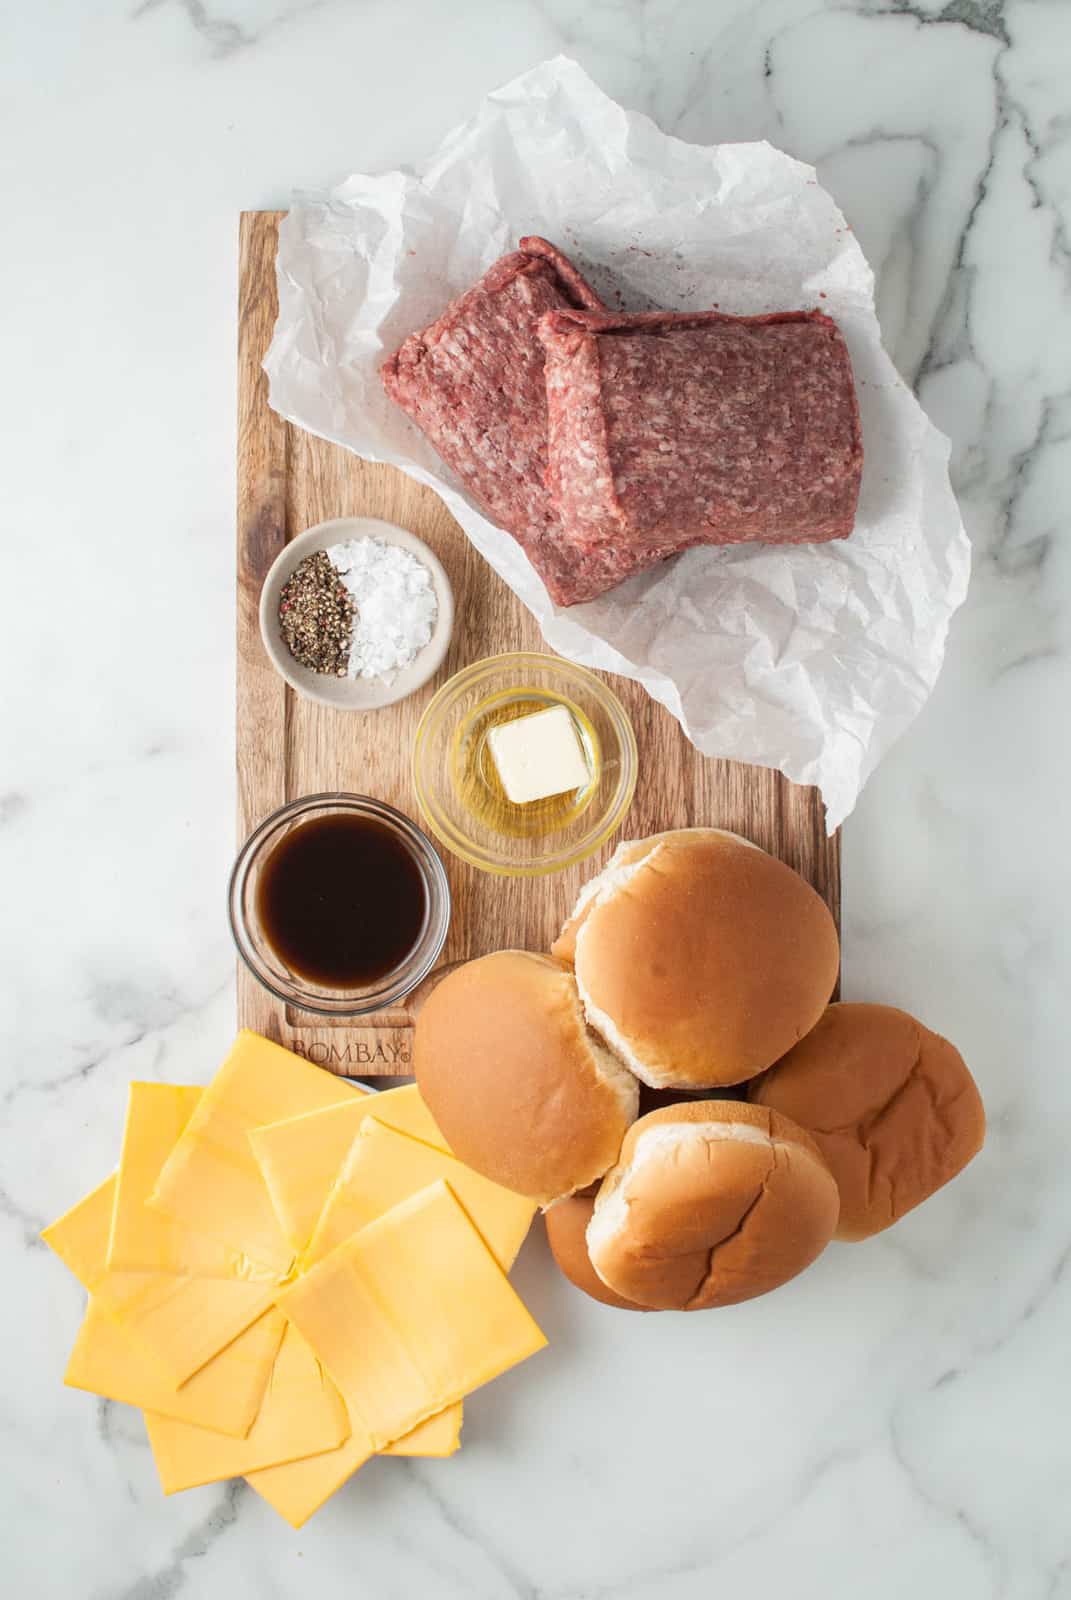
INGREDIENTS NEEDED (FULL RECIPE AT BOTTOM)
Hamburger buns
Ground beef
American or Cheddar cheese
Worcestershire sauce
Oil
Butter
Salt
Pepper
HOW TO MAKE THIS JUICY LUCY RECIPE, STEP BY STEP:
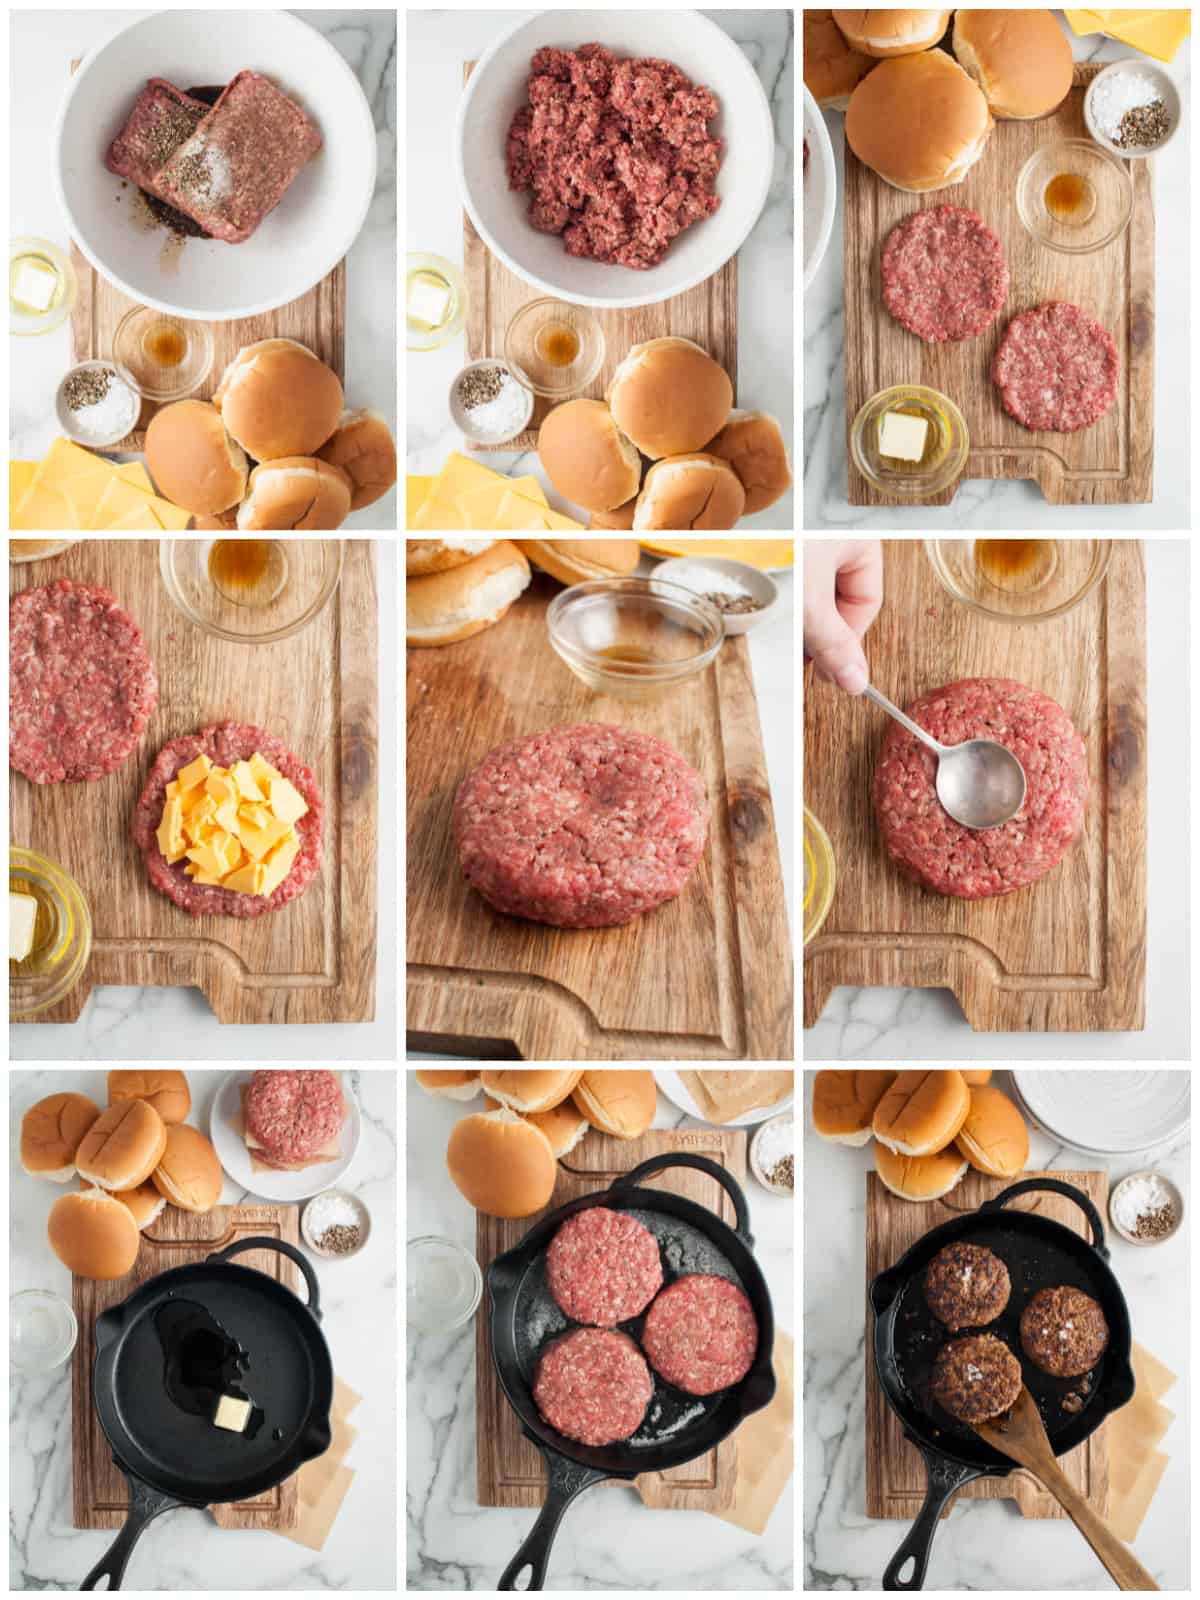
- In a mixing bowl, add the ground beef and lightly break it apart. Season it with salt, pepper, and Worcestershire sauce.
- Divide the beef into 6 portions and split each of the portions into 2 pieces. Flatten both pieces into patties that are slightly larger than your burger bun.
- Break 2 slices of cheese into small pieces and place them into the center of one of the patties.
- Put the other patty on top of the cheese, crimp the edges together making sure there aren’t any cracks, and flip the burger over. Carefully press the burger down and crimp around the edges again. Using the back of a large spoon, press a small dimple into the middle of the burger. This helps the burger to stay flat while cooking and not become rounded.
- Once you’ve made all the patties, melt the butter and oil in a cast-iron pan over medium heat.
- Once the oil is hot, transfer a couple of patties to the pan and cook for 4 minutes on each side.
- Burgers are best served immediately on a bun with your favorite toppings.
WHERE WAS THE JUICY LUCY BURGER INVENTED?
Two places in Minnesota claim to be home of the Juicy Lucy burger from the 1950’s. Matt’s Bar calls it a Jucy Lucy and the 5-8 Club calls it the Juicy Lucy.
Matt’s bar only offers American cheese stuffed in your burger and the 5-8 Club offers an assortment of cheese choices to pick from. The battle still goes on today as I explained in the beginning.
So we will just say that this delicious burger was invented in South Minneapolis in the 1950’s and the rest is history, it is now so popular is is served at so many burer joints!
WHAT KIND OF CHEESE TO USE?
You can use whatever cheese you add to your burger but I prefer American or Cheddar Cheese.
Any cheese that melts easily is something that would work best. Keep in mind the flavor of the cheese because you don’t want it to compete with your burger flavors.
Some of my other favorites that we have used in the past include pepper jack, monterey jack, colby jack, gouda, etc. You can use shredded if you’d like as well.
WHAT TOPPINGS TO USE?
Originally this burger was only served with sliced pickles, but you can serve it however you like. Many people enjoy this burger with lettuce, onions, pickles, tomatoes, and whatever else you like on your burger.
Add your favorite condiments too. There is really so many ways that you can enjoy a Juicy Lucy that all the toppings and condiments will compliment the burger itself.
HOW TO STORE:
If you have leftovers, you can store them in an airtight container in the refrigerator where they will keep for up to 3 days.
You can also freeze burger patties uncooked. Place them in a freezer bag wrapped in parchment paper to keep the patties separated. They should keep for up to 3 months.
Thaw your patties, place in the refrigerator overnight. Check that they’re still crimped nice and tight together before cooking, the cook.
Reheat your cooked Juicy Lucy’s in the cast-iron pan for a few minutes on each side or in the microwave.
TIPS AND TRICKS:
- Use a leaner ground beef such as 80/20 or higher, this helps them not to dry out.
- Any kind of cheese that melts well should work for the center but Cheddar and American are my favorite, see my tips above.
- It is important to take time to form the patties and crimp the edges. You want to be sure they are sturdy and have no cracks or holes that the cheese will melt through.
- You can easily double this Juicy Lucy Recipe to serve more burgers for friends and family.
- These can be frozen, see my tips above.
- Top with any of your favorite toppings and condiments.
Looking for that nicely seasoned cheesy burger that can be jazzed up with your favorite toppings and sides? This Juicy Lucy Recipe is what you’ve been searching for! Grab your everyday ingredients and whip these up in no time.
IF YOU LIKE THIS RECIPE YOU MIGHT ALSO LIKE:
If you’ve tried this JUICY LUCY RECIPE or any other recipe on my site, let me know in the comment section how it turned out, we love hearing from our readers! You can also follow along with me on PINTEREST, FACEBOOK and INSTAGRAM to see more amazing recipes and what shenanigans I’m getting into!
Juicy Lucy Recipe
Ingredients
- 6 hamburger buns
- 2 lbs ground beef
- 12 slices American or Cheddar cheese
- 3 Tablespoons Worcestershire sauce
- 1 Tablespoon Oil for cooking
- 1 Tablespoon Butter for cooking
- 1 teaspoon salt
- 1 teaspoon black pepper
Instructions
- In a mixing bowl, add the ground beef and lightly break it apart. Season it with salt, pepper, and Worcestershire sauce.
- Divide the beef into 6 portions and split each of the portions into 2 pieces. Flatten both pieces into patties that are slightly larger than your burger bun.
- Break 2 slices of cheese into small pieces and place them into the center of one of the patties.
- Put the other patty on top of the cheese, crimp the edges together making sure there aren't any cracks, and flip the burger over. Carefully press the burger down and crimp around the edges again. Using the back of a large spoon, press a small dimple into the middle of the burger. This helps the burger to stay flat while cooking and not become rounded.
- Once you've made all the patties, melt the butter and oil in a cast-iron pan over medium heat.
- Once the oil is hot, transfer a couple of patties to the pan and cook for 4 minutes on each side.
- Burgers are best served immediately on a bun with your favorite toppings.
Notes
- Use a leaner ground beef such as 80/20 or higher, this helps them not to dry out.
- Any kind of cheese that melts well should work for the center but Cheddar and American are my favorite, see my tips above.
- It is important to take time to form the patties and crimp the edges. You want to be sure they are sturdy and have no cracks or holes that the cheese will melt through.
- You can easily double this Juicy Lucy Recipe to serve more burgers for friends and family.
- These can be frozen, see my tips above.
- Top with any of your favorite toppings and condiments.
Nutrition
Tornadough Alli is not a nutritionist or dietitian, and any nutritional information shared is an estimate. If calorie count and nutritional value is important to you, we recommend running the ingredients through whichever online nutritional calculator you prefer. Calories and values can vary depending on which brands were used.


Leave a Reply