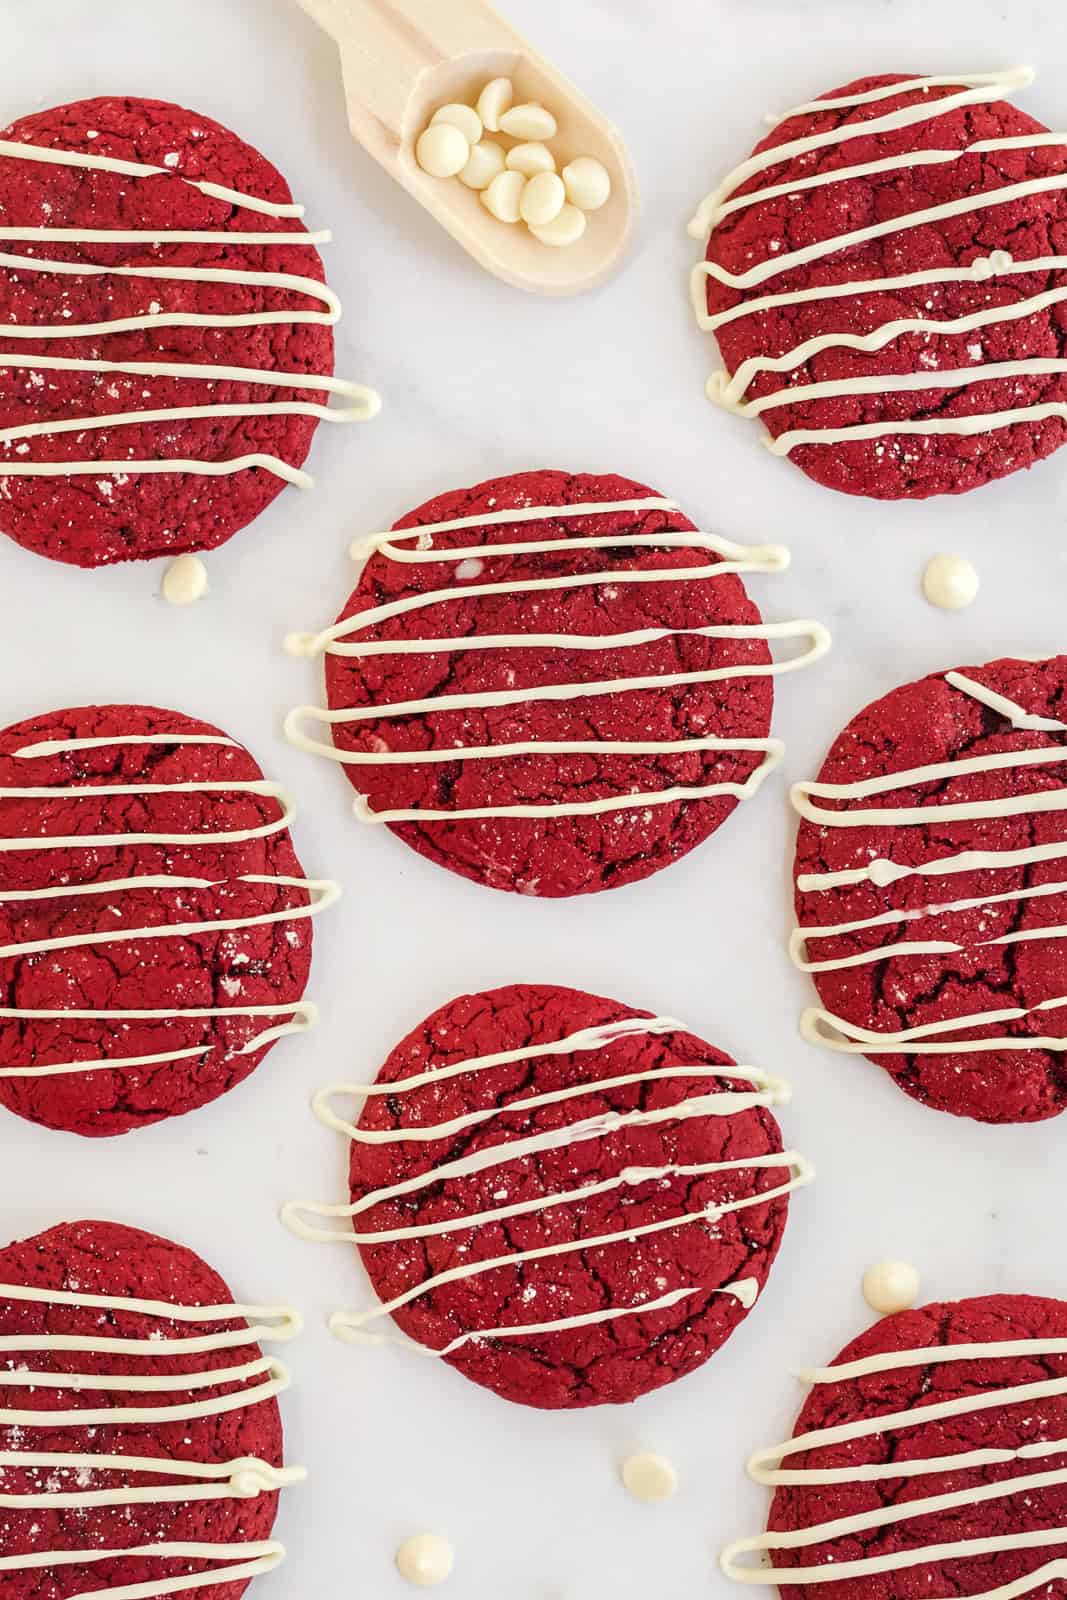
These Red Velvet Cheesecake Cookies are a delicious minimal ingredient recipe that is stuffed with a delicious cheesecake filling and drizzled with white chocolate.

Red Velvet is one of my favorite flavors. If I could pick red velvet out for any kind of treat I would. There is something about the flavor and color that just draws me in.
These Red Velvet Cheesecake Cookies are exactly what they say, a delicious soft cookie that is stuffed with a creamy and delicious cheesecake filling.
I mean seriously, how good does that sound? I love when I find a delicious surprise inside any treat, especially when it’s cheesecake because that is one of my other favorite desserts.
Cookies have quickly become one of our most made treats around here that we make them almost weekly in some way shape or form. My kids absolutely love them.
But don’t even let me get started on how much my husband loves them, I don’t think that guy has met a cookie that he really doesn’t like, I love that he’s not picky.
These Cheesecake Cookies quickly became one of our favorites because they are stuffed with the cheesecake and one of the most requested.
But these are requested for good reason! And you’ll see why! I love making these during the holidays but they are a good dessert to have all year round as well.
Some of my other favorite cookies we have on our site include Chocolate Chocolate Chip Cookies, Butterscotch Oatmeal Crinkle Cookies and The BEST Chocolate Chip Cookies.
WHY THIS RECIPE WORKS:
- This starts with a cake mix so you can essentially use any cake mix you’d like.
- They are easy to whip and take no time from start to finish.
- You can easily double the batch to make more for giving away.
HOW TO MAKE RED VELVET CHEESECAKE COOKIES, STEP BY STEP:
- Preheat the oven to 350 degrees and prepare a baking sheet by lining with parchment paper.
- In a large bowl, mix together the red velvet cake mix, eggs and oil using an electric mixer on medium speed. Set aside.
- In a small bowl, use an electric mixer to blend the cream cheese and powdered sugar until fully incorporated.
- Use a spoon to form teaspoon sized balls and place them evenly apart on a freezer safe plate. Place the cream cheese balls in the freezer for about 10 minutes.
- Using a large cookie scoop, form a dough ball and flatten into a circle.
- Place a cream cheese ball in the center and fold the dough around the cream cheese.
- Place the cream cheese filled dough balls evenly apart on a baking sheet.
- Sprinkle lightly with extra powdered sugar, if desired.
- Bake for 15 minutes or until the outer edges of the cookies begin to turn golden brown.
- While the cookies are baking, melt the white chocolate chips in a double broiler or in the microwave in 15 second intervals.
- When the cookies are finished, drizzle the white chocolate over the top.
- Allow to cool completely before serving.
See how easy these are, I mean cake mix, cheesecake mixture, white chocolate, powdered sugar, it has all the good stuff that you never knew you needed!
These Cheesecake Cookies seriously are so good, I might be biased but they really are, even coming from a box mix. I know some people like homemade but sometimes you need a short cut.
I don’t mind shortcuts at all and not everything has to be completely homemade all the time, it’s still made with love and that’s all that matters really.
HOW TO STORE:
There are a few ways that you can store these cookies. Let’s start with baking them and storing them after baking. Let them completely cool and then since they contain cream cheese they need to be refrigerated.
Pop them in the refrigerator either in a airtight container or a zip top bag and they should keep for up to a week.
You can also make these ahead of time and freeze them, so whip up according to directions but don’t bake. Set them on a parchment paper lined baking sheet and freeze for an hour.
Once frozen, place into an airtight container or freezer bag and they should keep for up to 3 months, let defrost at room temperature before baking.
You can also freeze baked cookies as well, again place in an airtight container or a ziptop bag and place in freezer and they should keep for up to 3 months.
DO I HAVE TO STUFF THESE COOKIES?
You technically do not have to stuff them if you don’t want to but what is the fun in not stuffing them? Some other ideas you could do if you don’t stuff them include:
- Mix in white chocolate chips.
- Frost with cream cheese frosting and sprinkles.
- Make into cookie bars.
- Mix in holiday sprinkles to the batter.
But trust me, you’ll want to stuff these bad boys although they come out fine if they are not stuffed, the cheesecake filling really makes these cookies what they are.
WHAT CHOCOLATE DO I USE TO DRIZZLE?
We like to use high quality white chocolate chips. You can also use any good melting chocolate such as white melting wafers, almond bark and candiquik.
We have used all of these in the past with no issues at all, so feel free to use what you have on hand, we just used chocolate chips for these.
These Cheesecake Cookies will seriously hit your weak spot and you will want to eat them all the time, there is no doubt about that. I’m serious.
Like I want to say that I’m being biased here, but I’m really not, they are really just that good. Also being so simple to make, it’s super easy to just devour.
That is my problem with these is moderation, I always say “everything in moderation” but with these Red Velvet Cheesecake Cookies it’s super hard to do that.
TIPS AND TRICKS:
- You can use any cake mix that you like to make different flavors.
- These can be frozen before baking and after baking, see my tips above.
- You can use any kind of white chocolate to drizzle with, we use high quality chocolate chips.
- You don’t have to stuff these if you don’t want, I gave some alternative options above.
- Double this batch easily for storage for later or gift giving and cookie exchanges.
- Make sure you freeze your cheesecake filling so it’s easier to fill these cookies.
If you want a delicious cookie for the holidays or pretty much any time of year you need to whip up these Red Velvet Cheesecake Cookies!
If you like this recipe you might also like:
If you’ve tried these RED VELVET CHEESECAKE COOKIES or any other recipe on my site, let me know in the comment section how it turned out, we love hearing from our readers! You can also follow along with me on PINTEREST, FACEBOOK and INSTAGRAM to see more amazing recipes and what shenanigans I’m getting into!

Red Velvet Cheesecake Cookies
Ingredients
- 1 box red velvet cake mix
- 2 eggs
- ⅓ cup oil
- 8 oz cream cheese room temperature
- 1 cup powdered sugar plus more for sprinkling
- ½ cup white chocolate chips
Instructions
- reheat the oven to 350 degrees and prepare a baking sheet by lining with parchment paper.
- In a large bowl, mix together the red velvet cake mix, eggs and oil using an electric mixer on medium speed. Set aside.
- In a small bowl, use an electric mixer to blend the cream cheese and powdered sugar until fully incorporated.
- Use a spoon to form teaspoon sized balls and place them evenly apart on a freezer safe plate. Place the cream cheese balls in the freezer for about 10 minutes.
- Using a large cookie scoop, form a dough ball and flatten into a circle.
- Place a cream cheese ball in the center and fold the dough around the cream cheese.
- Place the cream cheese filled dough balls evenly apart on a baking sheet.
- Sprinkle lightly with extra powdered sugar, if desired.
- Bake for 15 minutes or until the outer edges of the cookies begin to turn golden brown.
- While the cookies are baking, melt the white chocolate chips in a double broiler or in the microwave in 15 second intervals.
- When the cookies are finished, drizzle the white chocolate over the top.
- Allow to cool completely before serving.
Nutrition
Tornadough Alli is not a nutritionist or dietitian, and any nutritional information shared is an estimate. If calorie count and nutritional value is important to you, we recommend running the ingredients through whichever online nutritional calculator you prefer. Calories and values can vary depending on which brands were used.






Leave a Reply