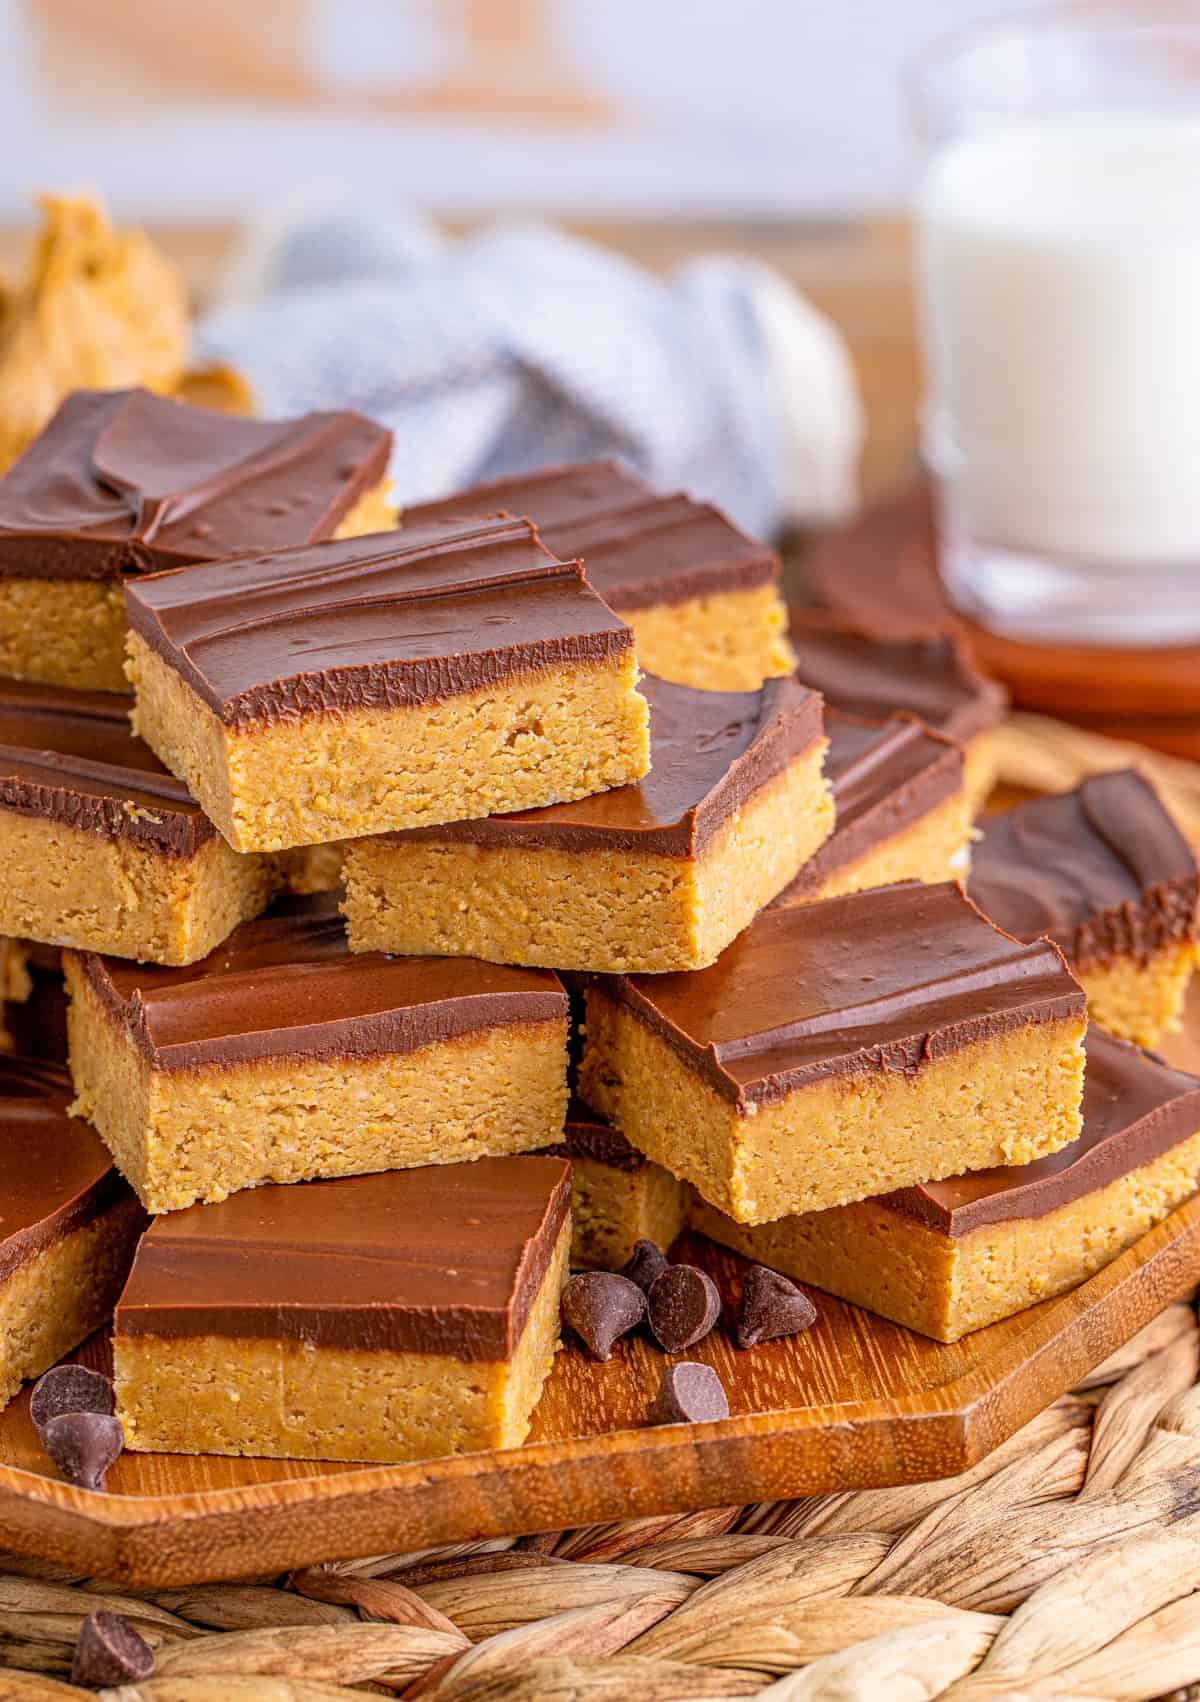
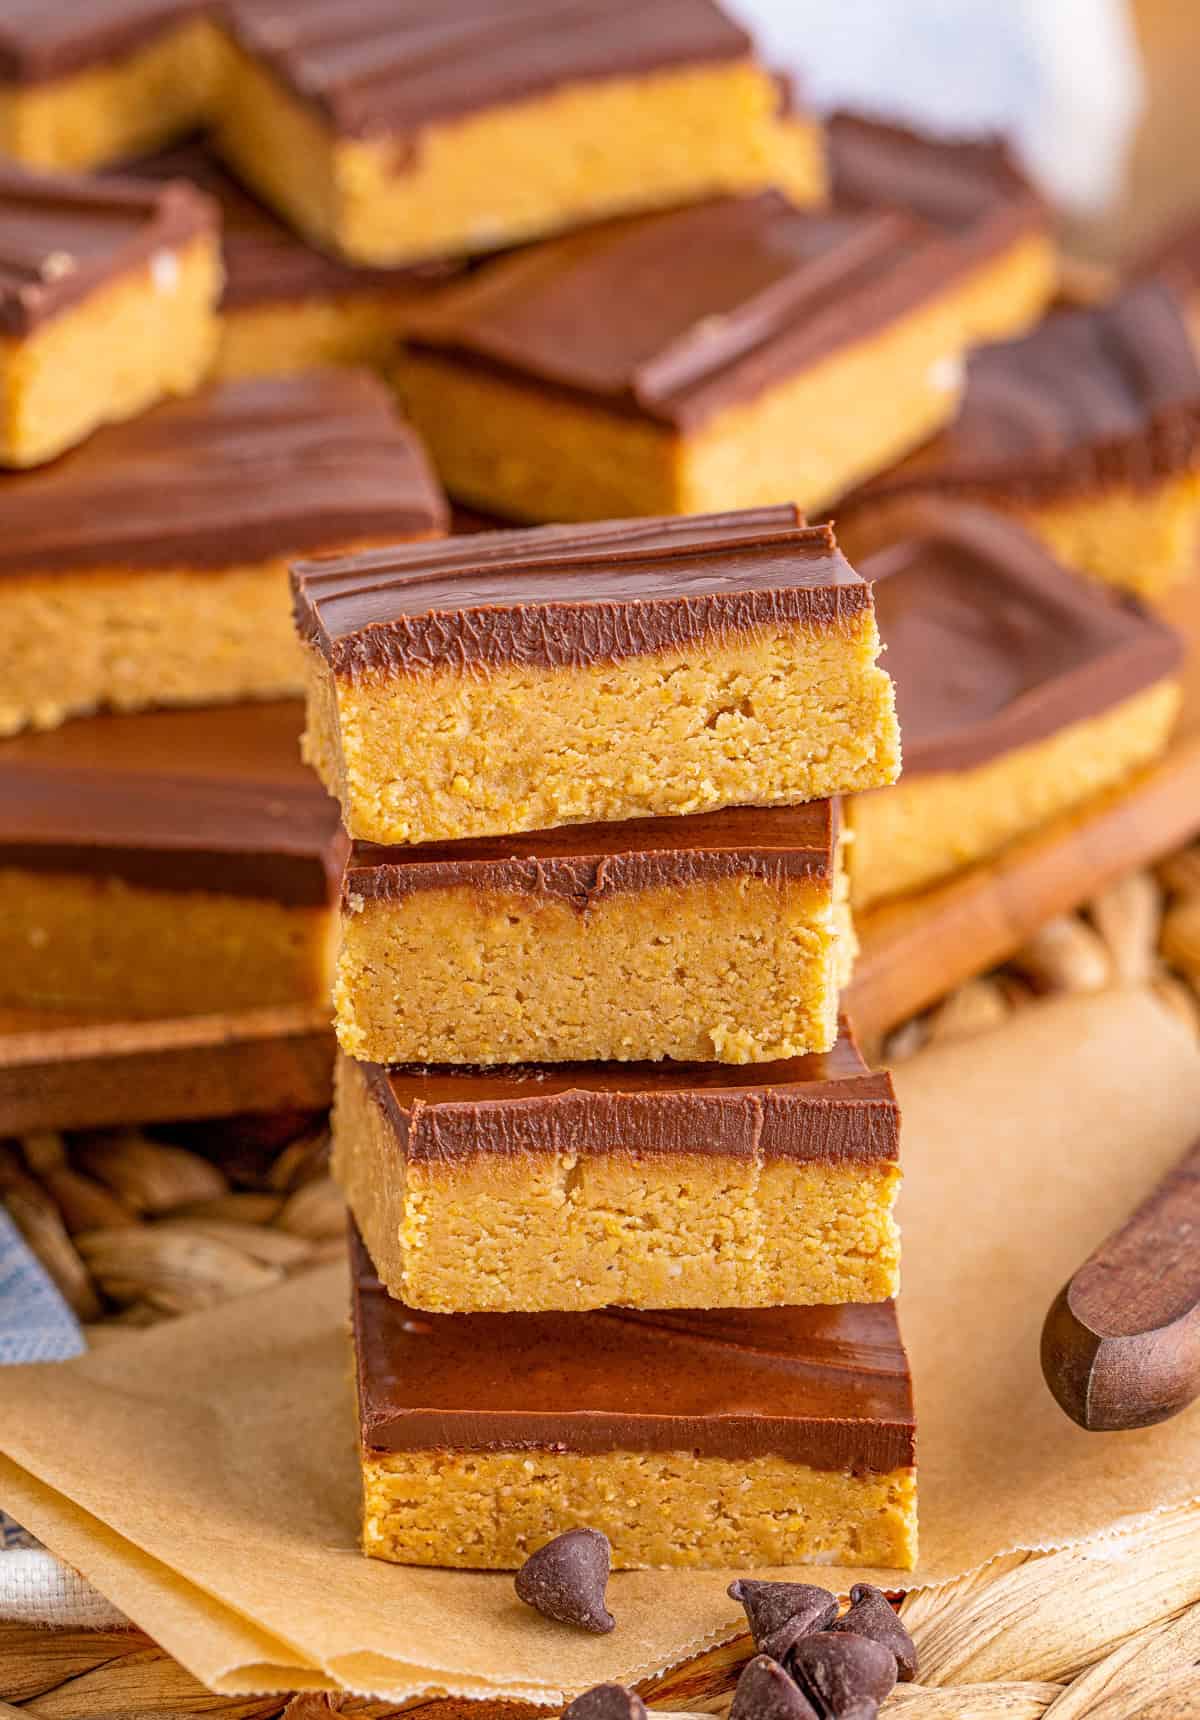
Easy to throw together and so so tasty, these No Bake Peanut Butter Bars are perfect for any occasion. Parties, holidays, or just to have around to enjoy yourself.
These No Bake Peanut Butter Bars are a huge hit in my house, one of those desserts that we make almost non-stop.
There is something about chocolate and peanut butter that just make the perfect pairing, you cannot deny that.
These bars are super simple to make, the hardest part is waiting for them to chill to cut and eat, but trust me it is worth the wait!
With minimal ingredients these are super easy to make and most likely you have all the ingredients on hand or you can easily find them.
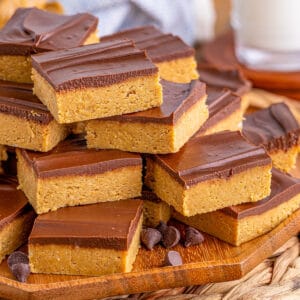
These make a large batch so they are great for various occasions or just to have at home to enjoy, or save for later.
If you love a good and tasty dessert recipe, you cannot go wrong with these No Bake Peanut Butter Bars.
Some of our other favorite bar recipes that we have on our site include: Chocolate Chip Oatmeal Bars, Cherry Cheesecake Bars and Carmelitas.
WHY THIS RECIPE WORKS:
- You only need 6 ingredients for this recipe.
- This makes a large batch as they are rich so you can cut them smaller.
- They are versatile for serving for various occasions.
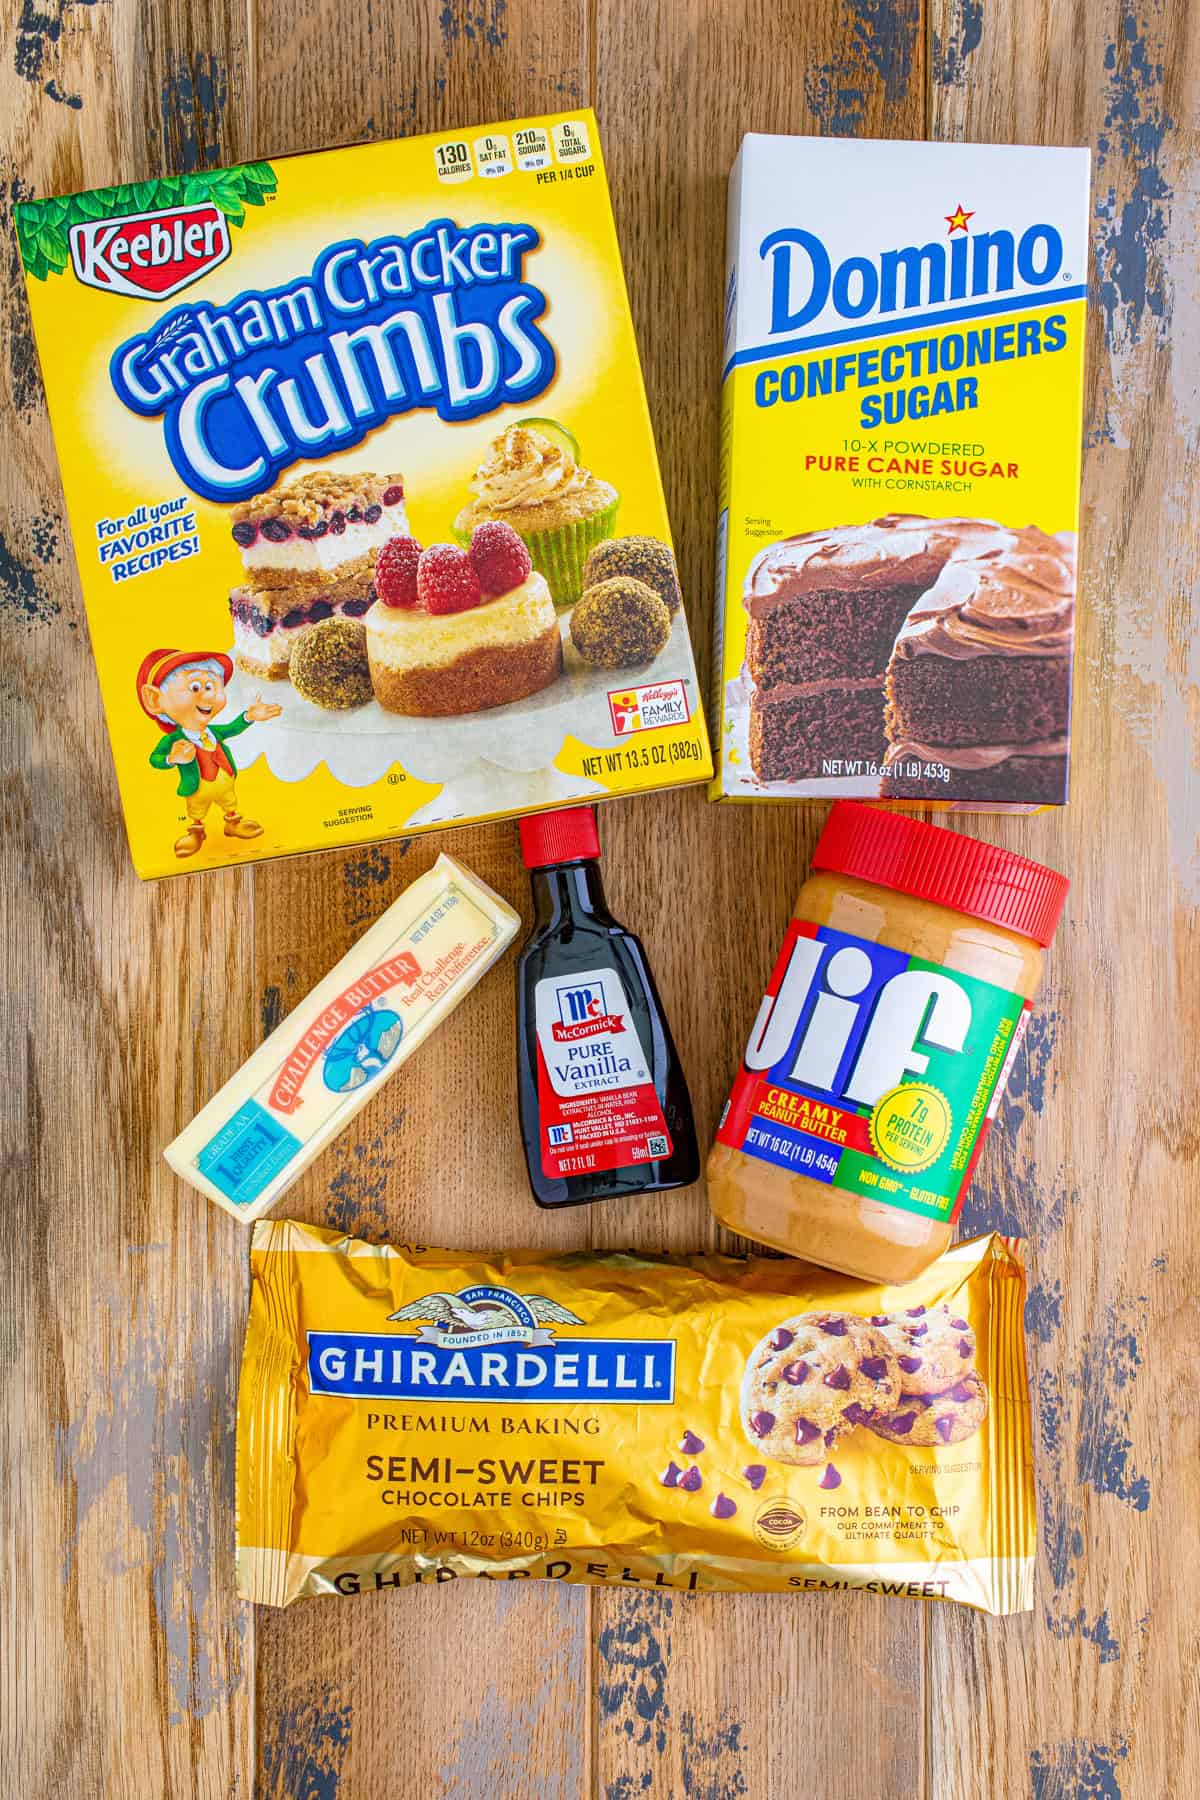
INGREDIENTS NEEDED (FULL RECIPE AT THE BOTTOM OF THE POST):
Powdered sugar
Graham cracker crumbs
Creamy peanut butter
Unsalted butter
Vanilla extract
Semi-sweet chocolate chips
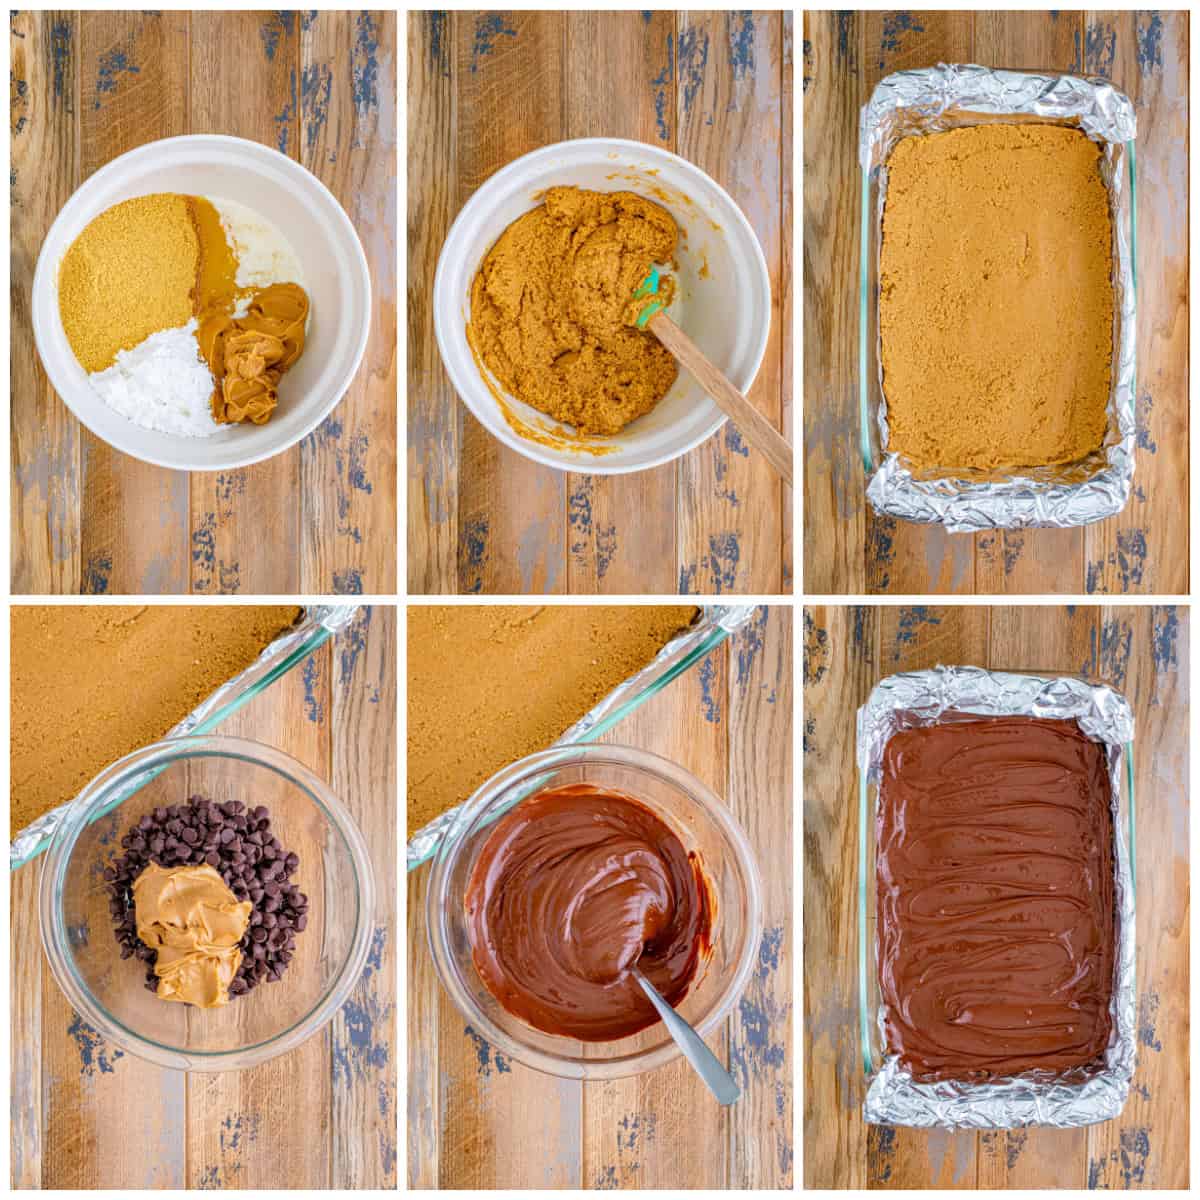
HOW TO MAKE NO BAKE PEANUT BUTTER BARS, STEP BY STEP:
- Line a 9×13-inch baking dish with foil and spray with cooking spray, set aside.
- Place the powdered sugar, graham cracker crumbs, 1 ¼ cup of the peanut butter, butter, and vanilla in a large bowl.
- Stir to combine until smooth.
- Spread this mixture on the bottom of the baking dish, set aside.
- Place the chocolate chips and the remaining ½ cup peanut butter in a medium-sized bowl.
- Microwave for 30 seconds. Stir, microwave for an additional 30 seconds and stir. If the chocolate chips are not melted, continue to microwave at 15-second intervals until melted, stirring in between.
- Spread the chocolate mixture on top of your base. Place in the refrigerator for at least 6 hours or until set. Use the foil to help take the bars out of the baking dish, cut into bars and serve.
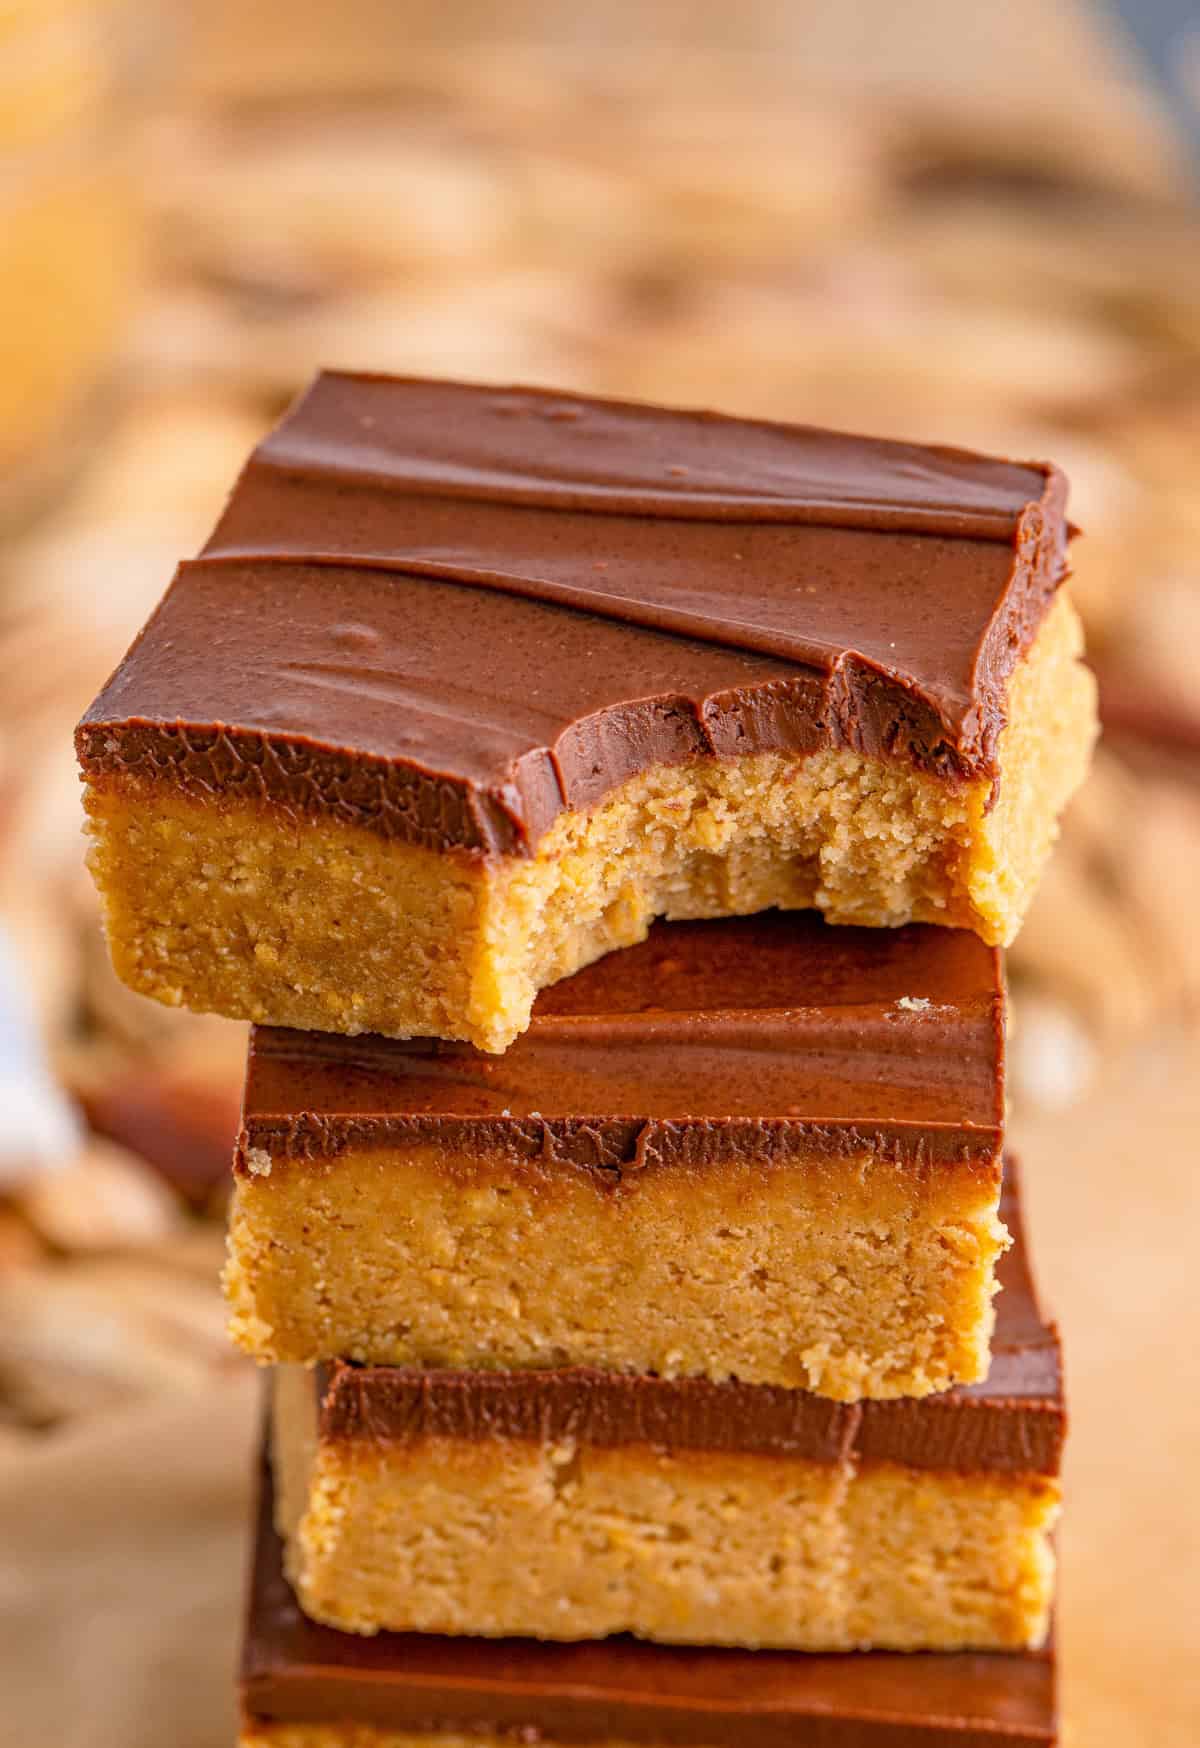
CAN I USE CRUNCHY PEANUT BUTTER?
Yes, if you want some more texture to these bars you can use crunchy peanut butter for this recipe.
Just make sure that you really pack the bars so that the peanuts in the peanut butter don’t cause any issues when cutting.
DO I HAVE TO ADD THE PEANUT BUTTER TO THE CHOCOLATE CHIPS?
This is something that we have always done and it makes it creamier and gives a little extra peanut butter flavor.
I highly recommend that you do it, but you can leave it out if you do not want peanut butter in your chocolate topping but I cannot guarantee the texture of the chocolate once melted.
HOW MANY BARS DO THESE MAKE?
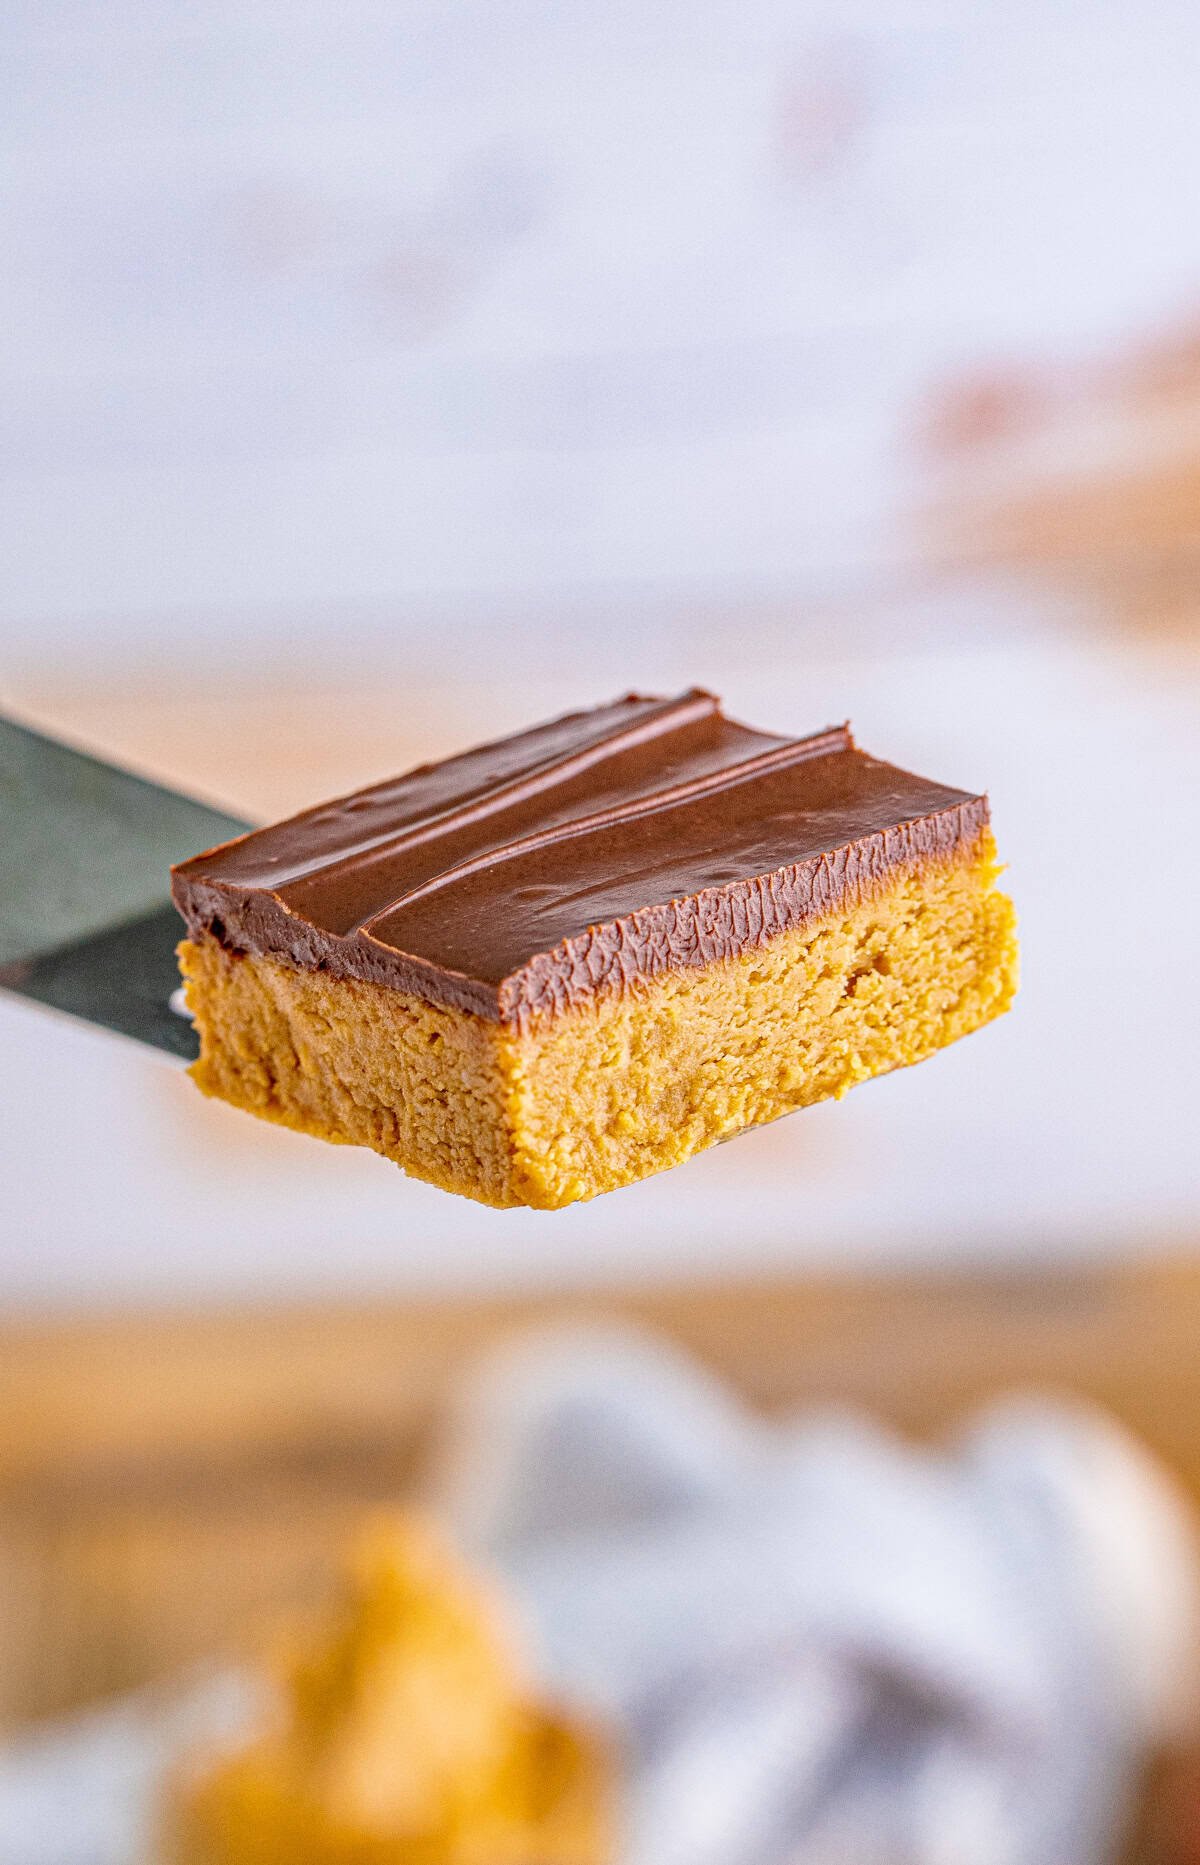
We usually get roughly around 20 bars for this recipe as you can cut them smaller because they are rich.
If you want larger bars you can cut them into 12-15 bars instead.
WHAT IS THE BEST CHOCOLATE TO USE?
We like the semi-sweet chocolate chips for this recipe as it balances out the sweetness.
You can use milk chocolate or dark chocolate if you prefer.
HOW TO STORE:
These can be stored in an airtight container in the refrigerator for up to 1 week.
You can also freeze these bars, place bars in a freezer container or bag and they will keep for up to 3 months.
To defrost, remove to the refrigerator until thawed and then serve.
TIPS AND TRICKS:
- These are best served chilled so the topping does not melt.
- You can cut these bars into larger squares if you’d like.
- Use semi-sweet, milk or dark chocolate for your topping.
- Crunchy peanut butter can be used instead of creamy.
- These can be frozen.
- Make sure that you refrigerate for about 6 hours for these to fully chill.
When it comes to a super tasty, super easy and irresistible dessert – you cannot go wrong with these No Bake Peanut Butter Bars.
If you like this recipe you might also like:
- Ultimate Peanut Butter Brownies
- Lunch Lady Peanut Butter Bars
- Scotcheroos
- Chocolate Sopapilla Cheesecake Bars
If you’ve tried this NO BAKE PEANUT BUTTER BARS or any other recipe on my site, let me know in the comment section how it turned out, we love hearing from our readers! You can also follow along with me on PINTEREST, FACEBOOK and INSTAGRAM to see more amazing recipes and what shenanigans I’m getting into!
No Bake Peanut Butter Bars
Ingredients
- 2 ¼ cups powdered sugar
- 2 cups graham cracker crumbs
- 1 ¾ cups creamy peanut butter divided
- 1 cup unsalted butter melted
- ½ teaspoon vanilla extract
- 1 ½ cups semi-sweet chocolate chips
Instructions
- Line a 9×13-inch baking dish with foil and spray with cooking spray, set aside.
- Place the powdered sugar, graham cracker crumbs, 1 ¼ cup of the peanut butter, butter, and vanilla in a large bowl.
- Stir to combine until smooth.
- Spread this mixture on the bottom of the baking dish, set aside.
- Place the chocolate chips and the remaining ½ cup peanut butter in a medium-sized bowl.
- Microwave for 30 seconds. Stir, microwave for an additional 30 seconds and stir. If the chocolate chips are not melted, continue to microwave at 15-second intervals until melted, stirring in between.
- Spread the chocolate mixture on top of your base. Place in the refrigerator for at least 6 hours or until set. Use the foil to help take the bars out of the baking dish, cut into bars and serve.
Notes
- These are best served chilled so the topping does not melt.
- You can cut these bars into larger squares if you’d like.
- Use semi-sweet, milk or dark chocolate for your topping.
- Crunchy peanut butter can be used instead of creamy.
- These can be frozen.
- Make sure that you refrigerate for about 6 hours for these to fully chill.
Nutrition
Tornadough Alli is not a nutritionist or dietitian, and any nutritional information shared is an estimate. If calorie count and nutritional value is important to you, we recommend running the ingredients through whichever online nutritional calculator you prefer. Calories and values can vary depending on which brands were used.
Leave a Reply