When it comes to cheesecakes you can’t go wrong with this No Bake Mint Chocolate Cheesecake, silky smooth, easy and a perfect dessert dish for all.
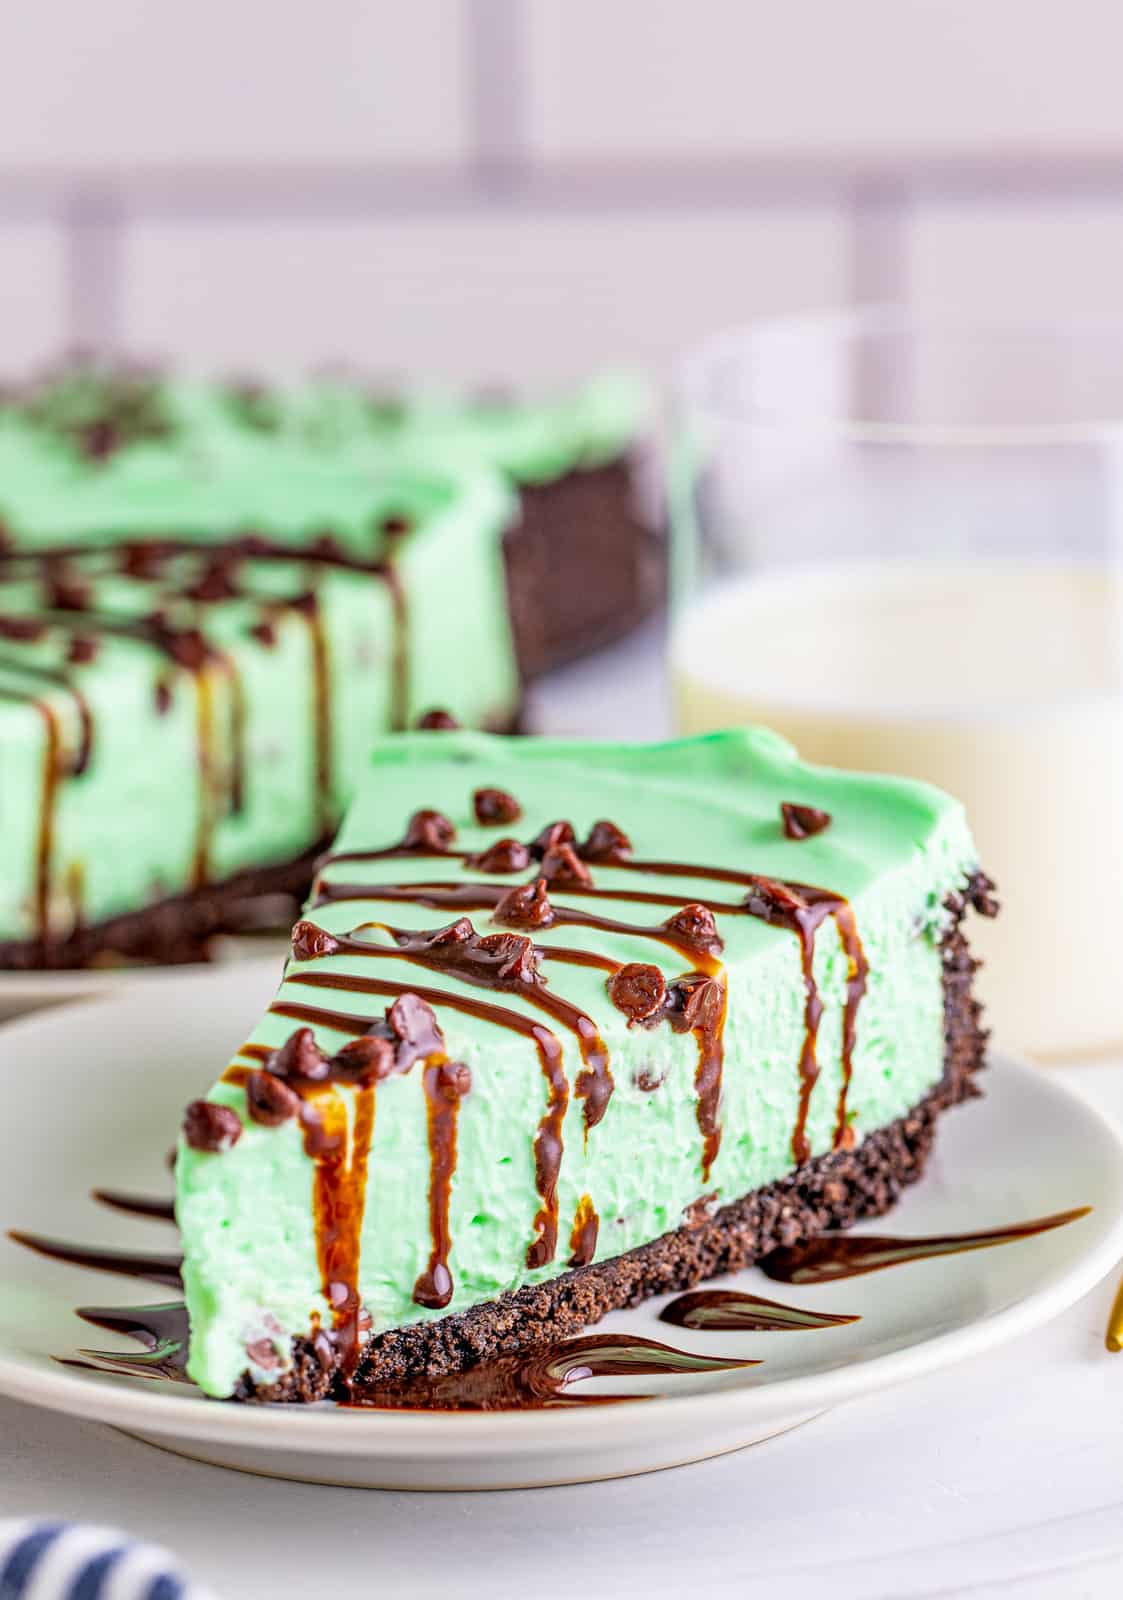
I love when I don’t have to worry about heating up my kitchen when it comes to baking, and you guys are going to see a lot of baking recipes coming up.
The holiday season is in full swing and I really wanted to star it off with this No Bake Mint Chocolate Cheesecake, one of our family favorites.
I can’t get enough of the oreo, mint and chocolate chip flavor together. It is one of my favorite combinations ever. Just think about mint chip ice cream but in cheesecake form!
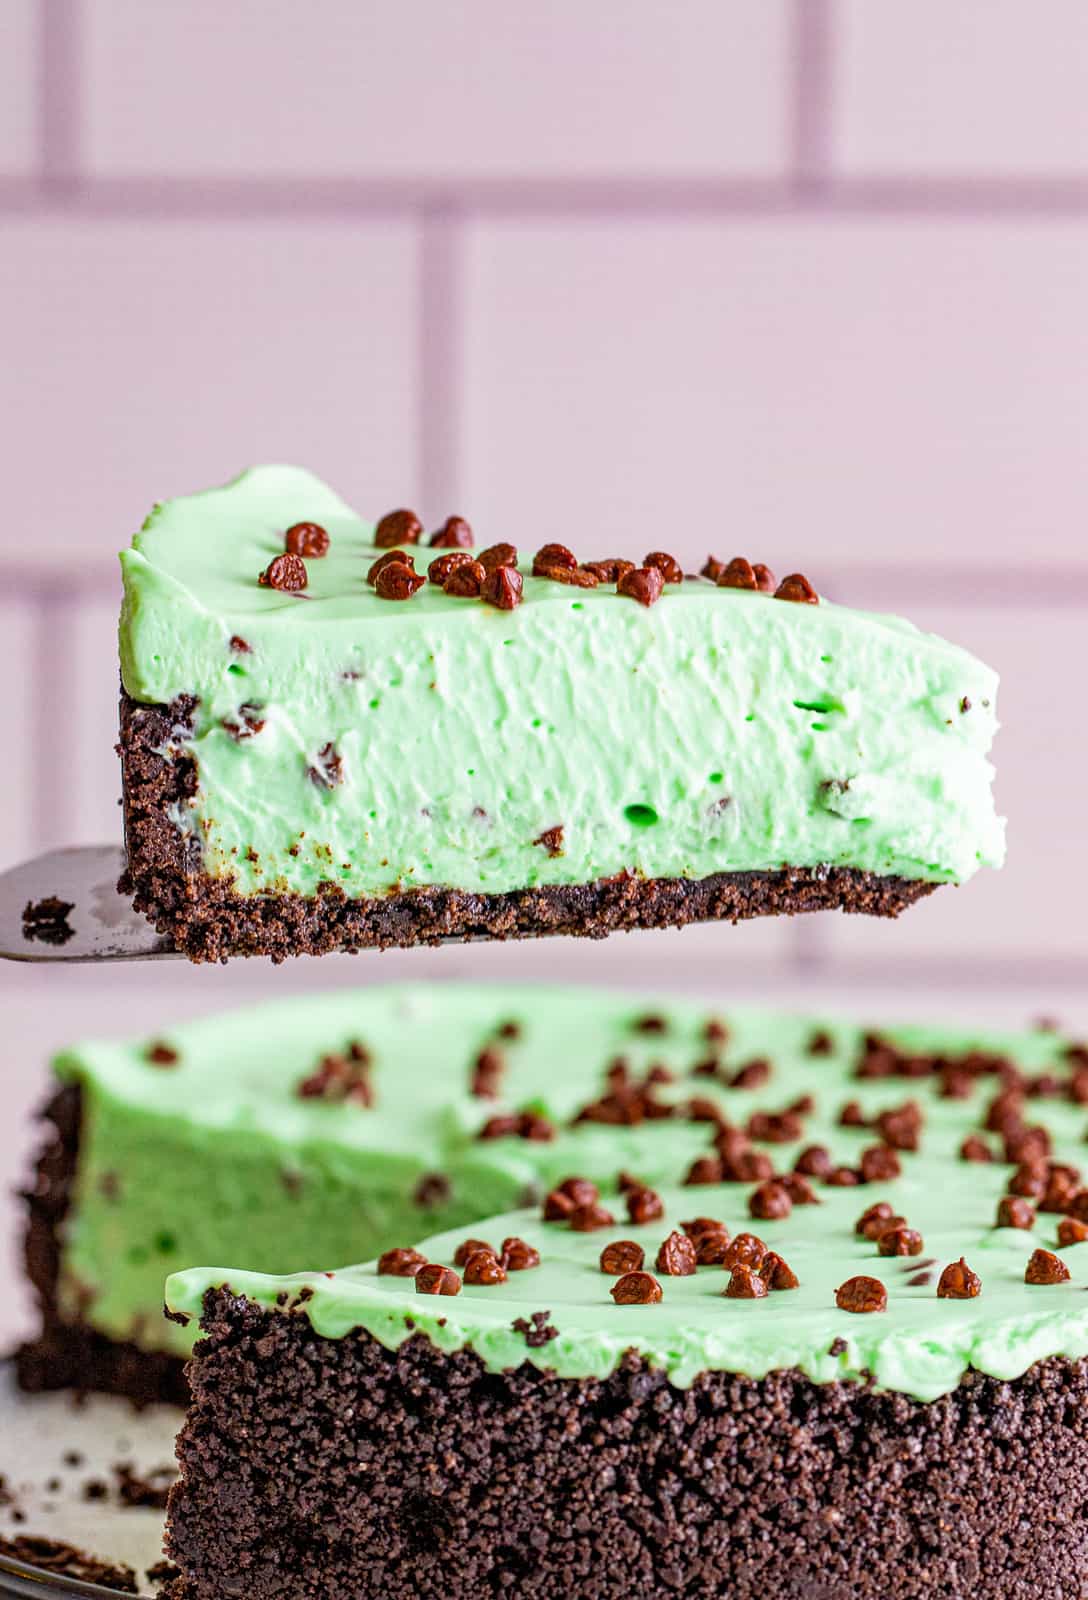
This is super silky smooth, calls for easy available ingredients and is super fun for everyone – especially those mint lovers in your life.
We have plenty of them around there and it is peppermint/mint season now so this dessert is perfect if you are looking for something no bake and easy.
Some of our other favorite no bake desserts we have on our site include: Easy No Bake Cookies, No Bake Peanut Butter Pie and No Bake Cheesecake Bites.
WHY THIS RECIPE WORKS:
- With super easy pantry staple ingredients it is a breeze.
- It feeds a crowd and is great for gatherings.
- No baking involved, just letting set up so it is slightly quicker than you average cheesecake.
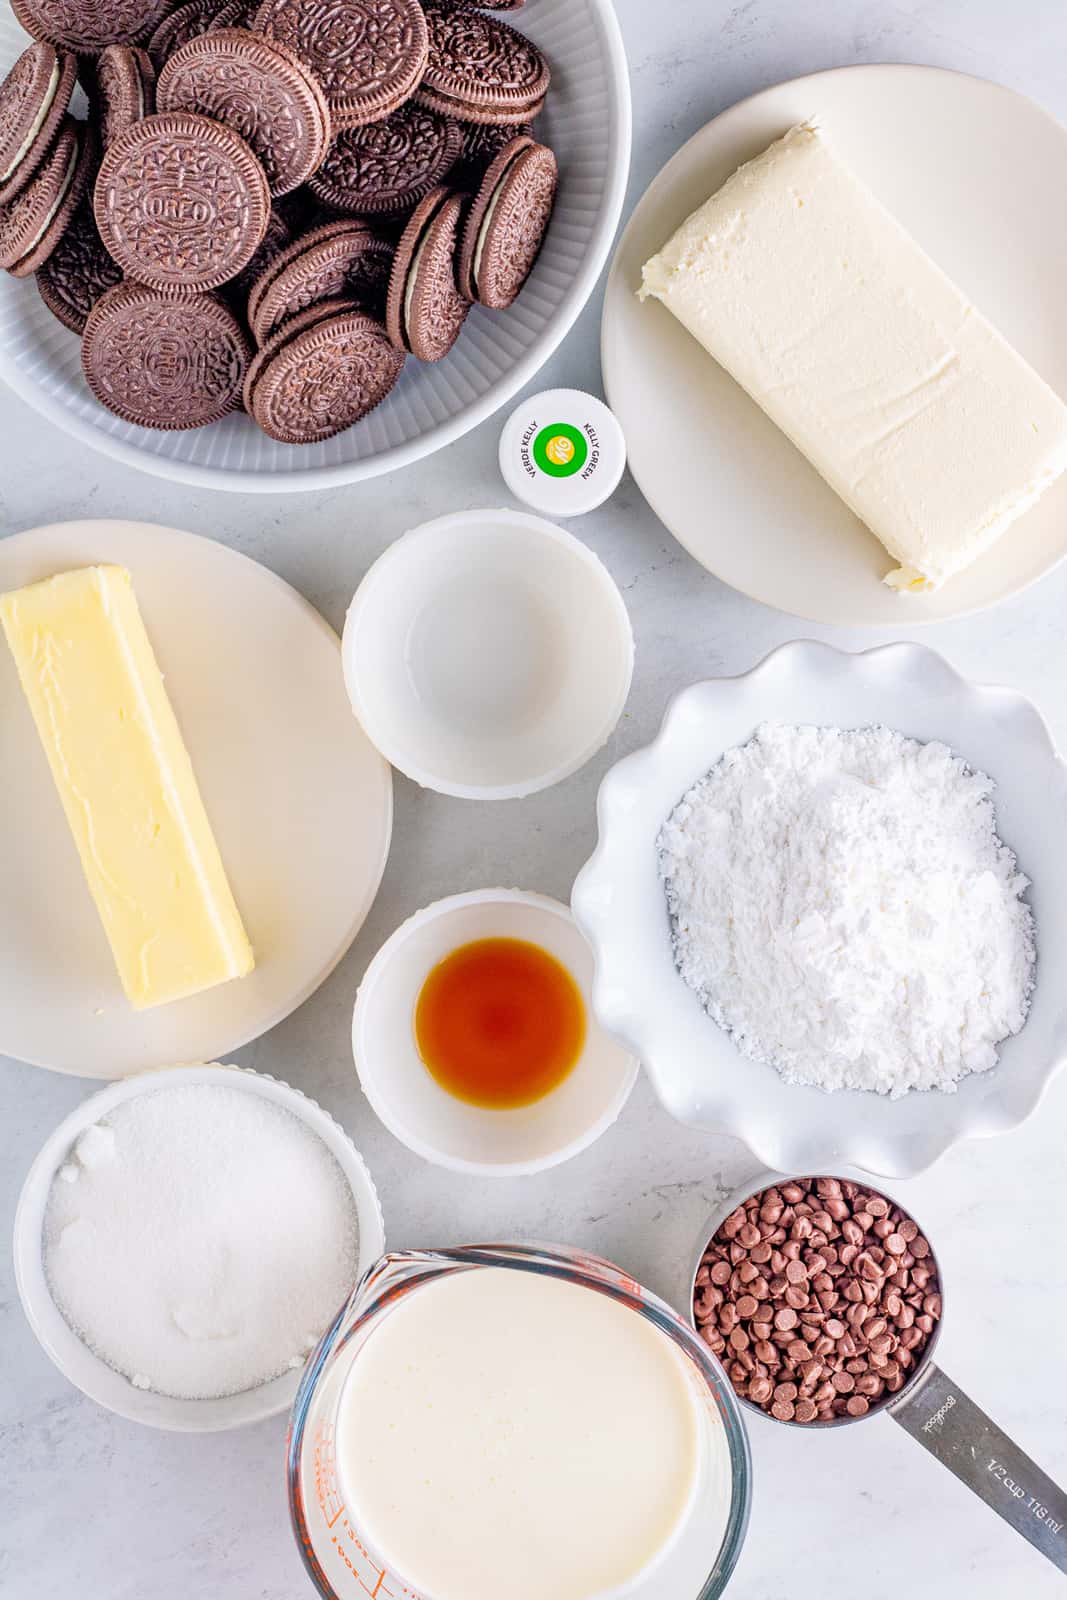
INGREDIENTS NEEDED (FULL RECIPE AT BOTTOM):
Oreos
Unsalted butter
Cream cheese
Granulated sugar
Powdered sugar
Vanilla extract
Peppermint extract
Heavy whipping cream
Food coloring
Mini chocolate chips
HOW TO MAKE NO BAKE MINT CHOCOLATE CHEESECAKE, STEP BY STEP:
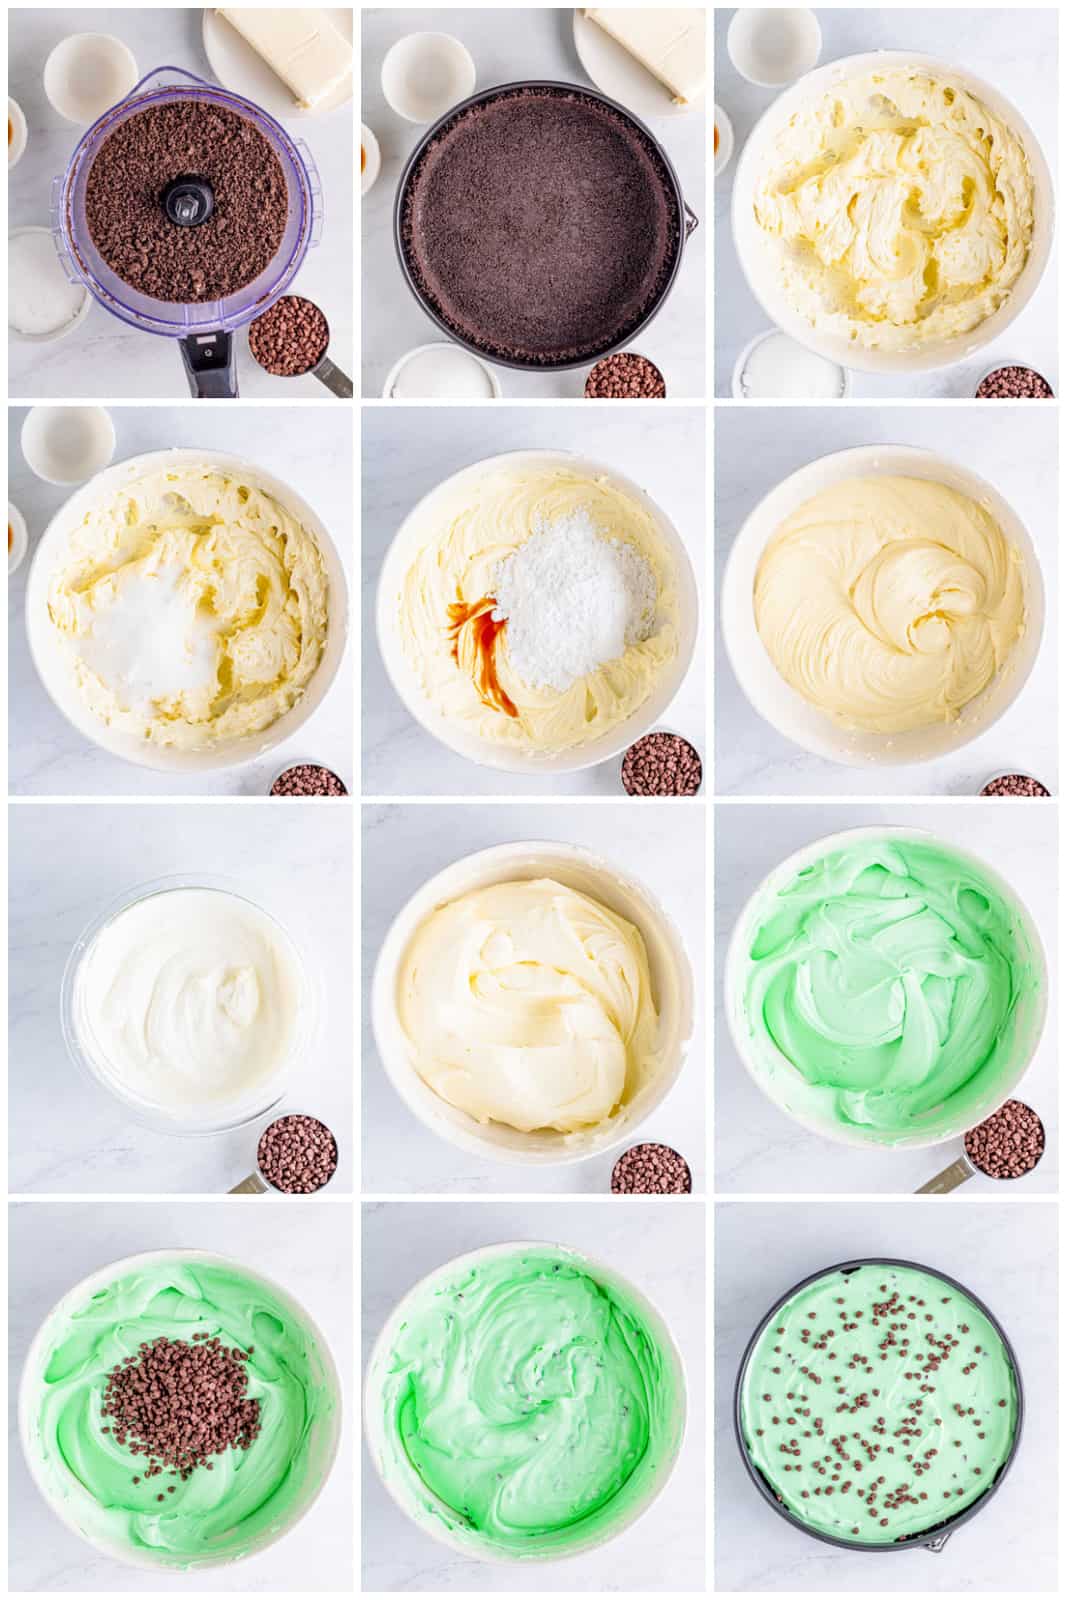
- Place the Oreos in a food processor and process them until they are small crumbs. Drizzle in the melted butter, give it a stir with a spoon to make sure the crumbs are coated in the butter.
- Press the crumbs into a 9-inch springform pan on the bottom and up the sides. I like to use the bottom of a flat glass or measuring cup to pack the crumbs in place. Place in the freezer while you assemble the filling.
- In a large bowl, whip the cream cheese with an electric hand mixer, you can also do this with a stand mixer with the paddle attachment.
- Add the granulated sugar and mix it in.
- Add the powdered sugar, vanilla, and peppermint extract, mix to combine, set aside.
- In a medium bowl using a hand mixer, whip the heavy cream until stiff peaks for, do not over whip..
- Fold the whipped cream into the cream cheese mixture until there are no streaks left. Taste and add more peppermint extract if you want more of a mint flavor.
- Color with green gel food coloring to your desired color, or leave it out, a little bit of food coloring goes a long way, fold it in gently.
- Fold in the chocolate chips.
- Add the filling to the crust and smooth out the top. Add more chocolate chips on top if desired. Cover and place in the refrigerator for at least 8 hours or overnight if you can.
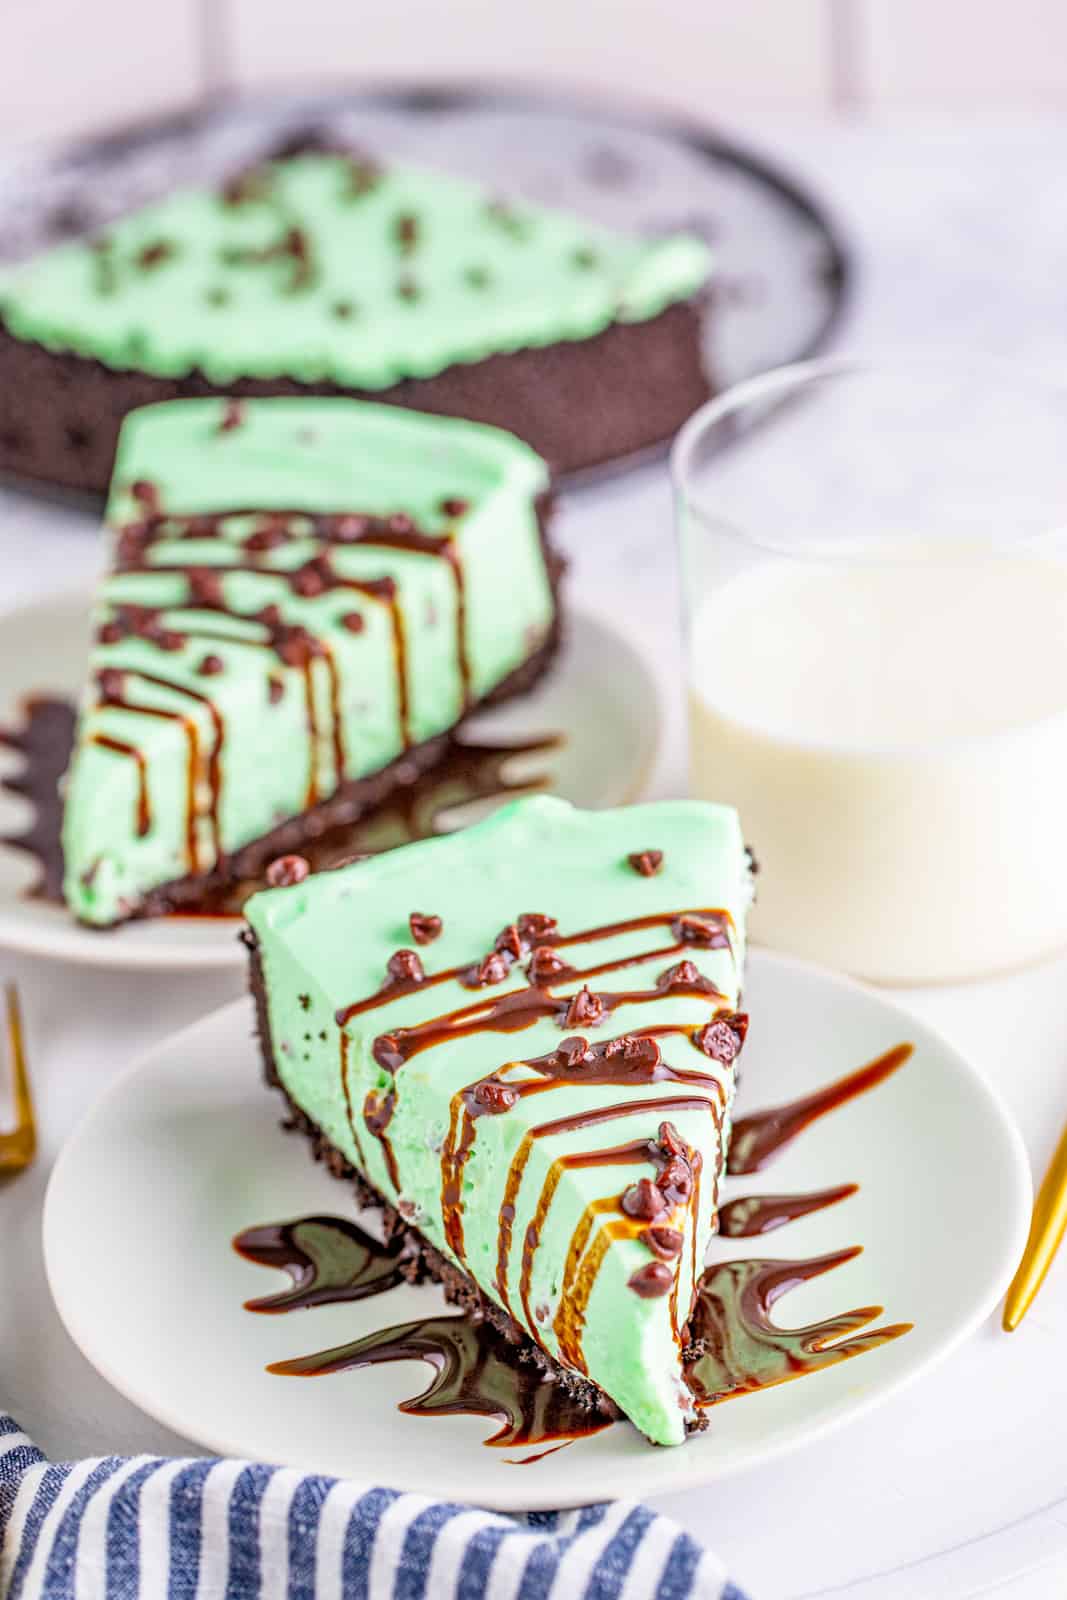
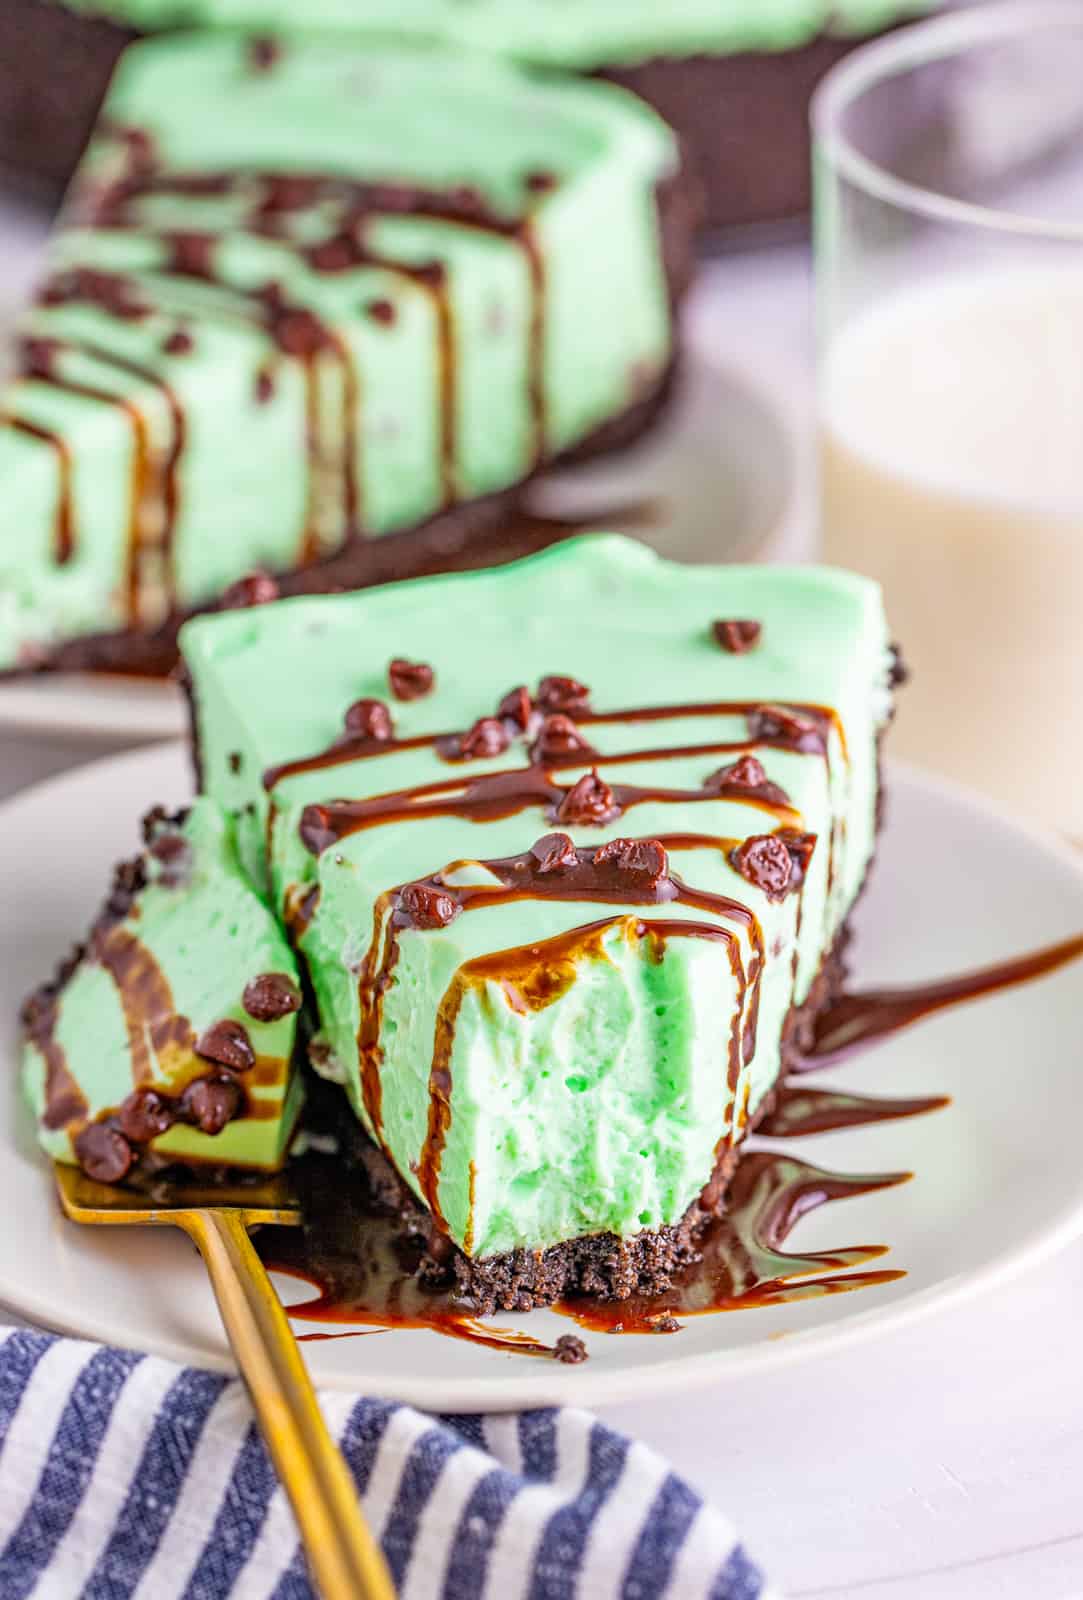
- Take off the outer attachment of the pan, slice, and serve with toppings or as is.
WHAT IS THE BEST PAN AND SIZE FOR A NO BAKE CHEESECAKE?
We usually make all of our cheesecakes in a springform pan, this pan is the best you can use for any kind of cheesecake.
The sides remove revealing the whole cheesecake itself so it it is easy to cut and store, but also it holds the cheesecake together when chilling or baking.
Springform pans come in many sizes, our default has always been a 9-inch pan. We do branch out and use a 10-inch one every so often.
You can use a 10-inch springform pan for this No Bake Mint Chocolate Cheesecake, it will just be a little thinner but you will have a couple extra servings.
WHAT IF I DON’T HAVE A FOOD PROCESSOR?
If you don’t own a food processor to blend your cookies up that is completely fine. You can do it by hand in a ziptop bag until you have fine crumbs.
Or if you have a blender that will also work too. Anything that can make fine crumbs will work perfectly for this, so no worries if you do not have a food processor although it is a great kitchen appliance to own!
HOW LONG DOES THIS CHILL FOR?
We like to chill our No Bake Cheesecakes for at least 8 hours for them to set up properly and be a nice texture when you are eating them.
So that makes this recipe a great make ahead dessert for any gatherings that you might want to take it too!
HOW TO STORE:
This should last covered with plastic wrap or foil in your refrigerator for up to 5 days.
You can also freese this cheesecake. Wrap your pan in plastic wrap and then foil and if you can place it in a large freezer bag and then in the freezer, this should keep for up to 1 month.
You can enjoy this from frozen, or remove to the refrigerator to soften up a bit before consuming!
TIPS AND TRICKS:
- Make sure you cream cheese is soft, this helps keep out the lumps.
- You can use mint or peppermint extract for this – whichever is easier to find.
- The Oreos make a great chocolate base for this recipe.
- You can use any flavor or mini chocolate chips as you’d like, we like semi-sweet.
- Top with your favorite toppings such as whipped cream, chocolate syrup, more chocolate chips, etc.
- This can be frozen, see my tips above.
- We like to use gel food coloring as it is more of a potent color but gel or liquid will work fine.
- Start with the amount of extract in the recipe and if you want a more minty flavor just add a little more at a time.
Loving cheesecakes but don’t want to bake? Then you absolutely have to whip up this No Bake Mint Chocolate Cheesecake.
If you like this recipe you might also like:
If you’ve tried this NO BAKE MINT CHOCOLATE CHEESECAKE or any other recipe on my site, let me know in the comment section how it turned out, we love hearing from our readers! You can also follow along with me on PINTEREST, FACEBOOK and INSTAGRAM to see more amazing recipes and what shenanigans I’m getting into!
No Bake Mint Chocolate Cheesecake
Ingredients
For the crust:
- 30 Oreos
- 7 tablespoons unsalted butter melted
For the filling:
- 24 ounces cream cheese softened
- ½ cup granulated sugar
- ¾ cup powdered sugar
- 1 teaspoon vanilla extract
- ¼ teaspoon peppermint or mint extract
- 1 ¼ cup heavy whipping cream
- green gel food coloring
- ½ cup mini chocolate chips we use semi-sweet
Instructions
- Place the Oreos in a food processor and process them until they are small crumbs. Drizzle in the melted butter, give it a stir with a spoon to make sure the crumbs are coated in the butter.
- Press the crumbs into a 9-inch springform pan on the bottom and up the sides. I like to use the bottom of a flat glass or measuring cup to pack the crumbs in place. Place in the freezer while you assemble the filling.
- In a large bowl, whip the cream cheese with an electric hand mixer, you can also do this with a stand mixer with the paddle attachment.
- Add the granulated sugar and mix it in.
- Add the powdered sugar, vanilla, and peppermint extract, mix to combine, set aside.
- In a medium bowl using a hand mixer, whip the heavy cream until stiff peaks for, do not over whip..
- Fold the whipped cream into the cream cheese mixture until there are no streaks left. Taste and add more peppermint extract if you want more of a mint flavor.
- Color with green gel food coloring to your desired color, or leave it out, a little bit of food coloring goes a long way, fold it in gently.
- Fold in the chocolate chips.
- Add the filling to the crust and smooth out the top. Add more chocolate chips on top if desired. Cover and place in the refrigerator for at least 8 hours or overnight if you can.
- Take off the outer attachment of the pan, slice, and serve with toppings or as is.
Notes
- Make sure you cream cheese is soft, this helps keep out the lumps.
- You can use mint or peppermint extract for this - whichever is easier to find.
- The Oreos make a great chocolate base for this recipe.
- You can use any flavor or mini chocolate chips as you'd like, we like semi-sweet.
- Top with your favorite toppings such as whipped cream, chocolate syrup, more chocolate chips, etc.
- This can be frozen, see my tips above.
- We like to use gel food coloring as it is more of a potent color but gel or liquid will work fine.
- Start with the amount of extract in the recipe and if you want a more minty flavor just add a little more at a time.
Nutrition
Tornadough Alli is not a nutritionist or dietitian, and any nutritional information shared is an estimate. If calorie count and nutritional value is important to you, we recommend running the ingredients through whichever online nutritional calculator you prefer. Calories and values can vary depending on which brands were used.


Leave a Reply