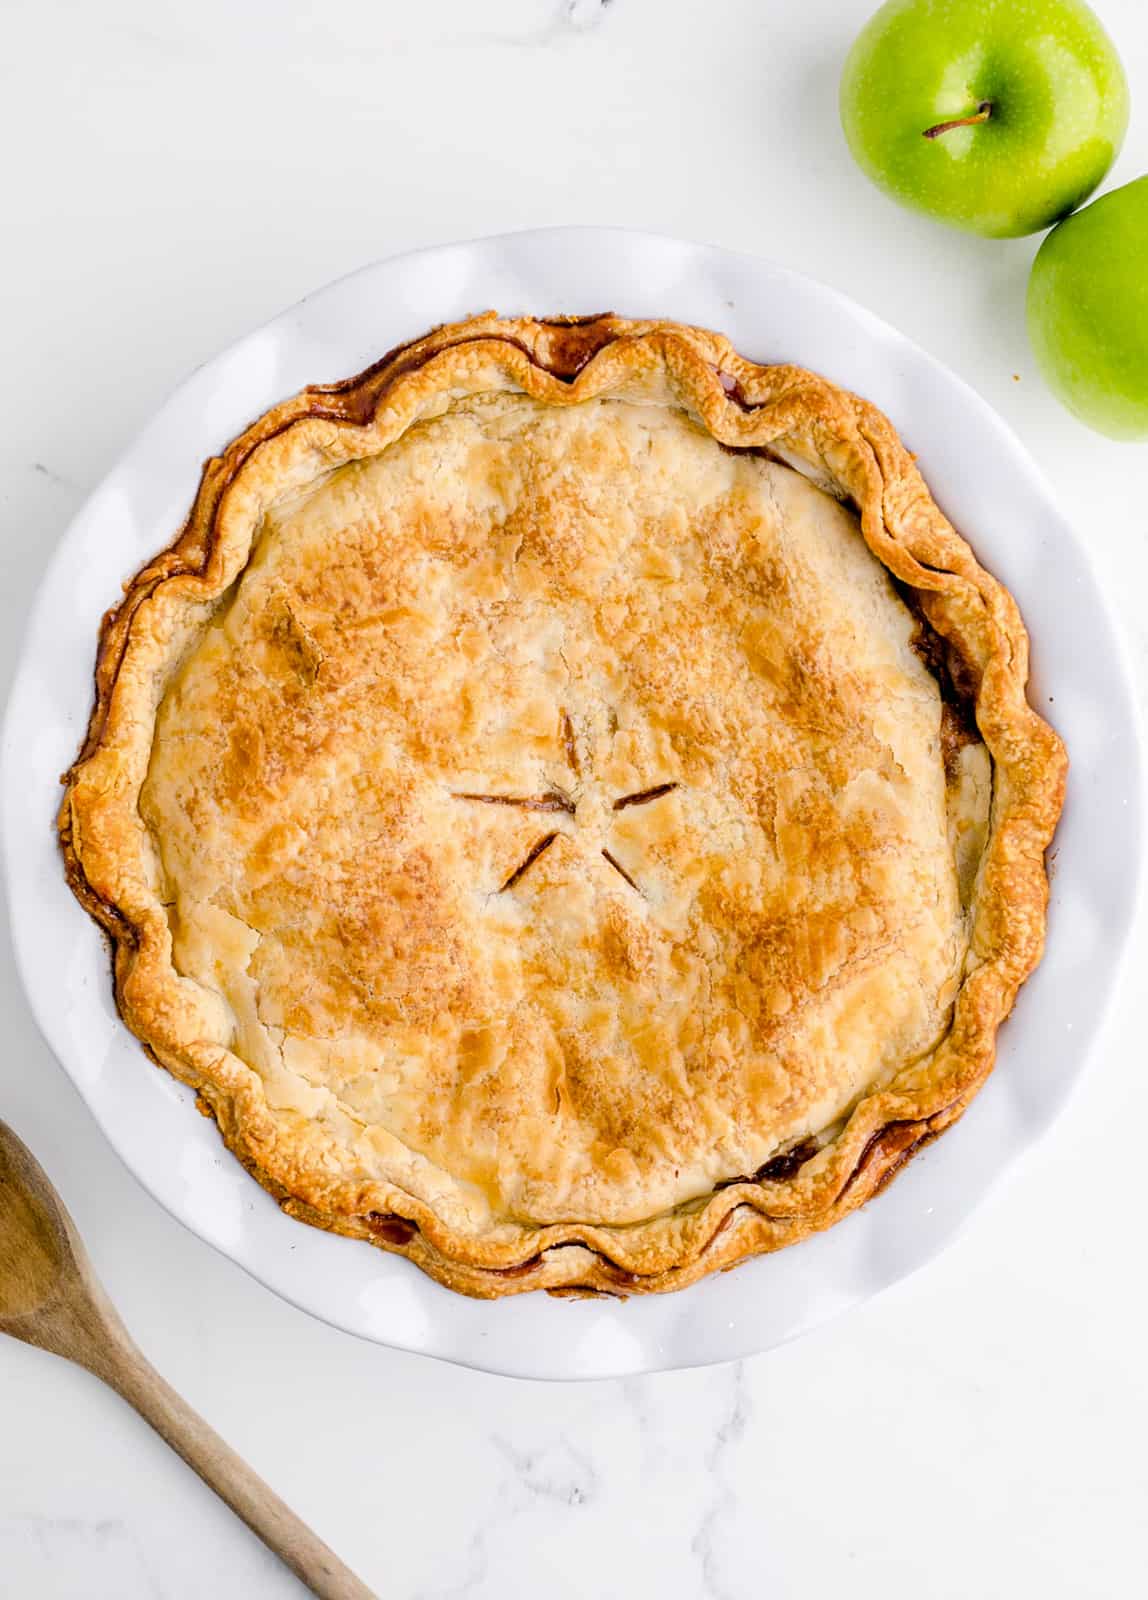
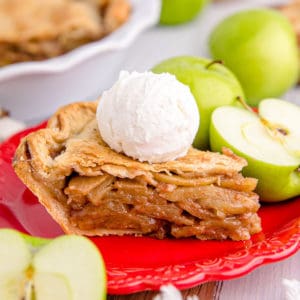
With a homemade filling this Apple Pie is a classic recipe that no one can resist. Baked up perfectly with a sweet and tart flavor, this will be your favorite fall dessert!

So I don’t mention pies to much, but I love them. But I also feel like I say that I love pretty much every dessert as well, so I mean who am I to speak.
Fruit pies are one of my favorite things ever. Especially this Apple Pie! We always have an overabundance of apples so when fall comes around, all the apple recipes are made.
This Apple Pie is one of them, I absolutely love making it. It is SUPER easy, trust me pie baking is not as hard as it seems and the homemade filling is straightforward.
Making this easier we do use a refrigerated pie crust, but you can always make your homemade pie crust if you wan’t to! I will soon be sharing my favorite pie crust recipe!
One bite into this Apple Pie Recipe and you will not turn to another one again. Trust me when I say that this is THE PIE! It is the one everyone asks me to bring.
I’m obviously known for my desserts among family, friends and community so when pies are needed, this is the one that get’s requested the most!
Some of our other favorite apple recipes we have on our site include: Apple Cinnamon Muffins, Apple Monkey Bread and Cinnamon Apple Cheesecake!
WHY THIS RECIPE WORKS:
- With a deliciously easy homemade filling, you can’t go wrong.
- You can use refrigerated pie crust or make your own homemade.
- This pie holds together super well.
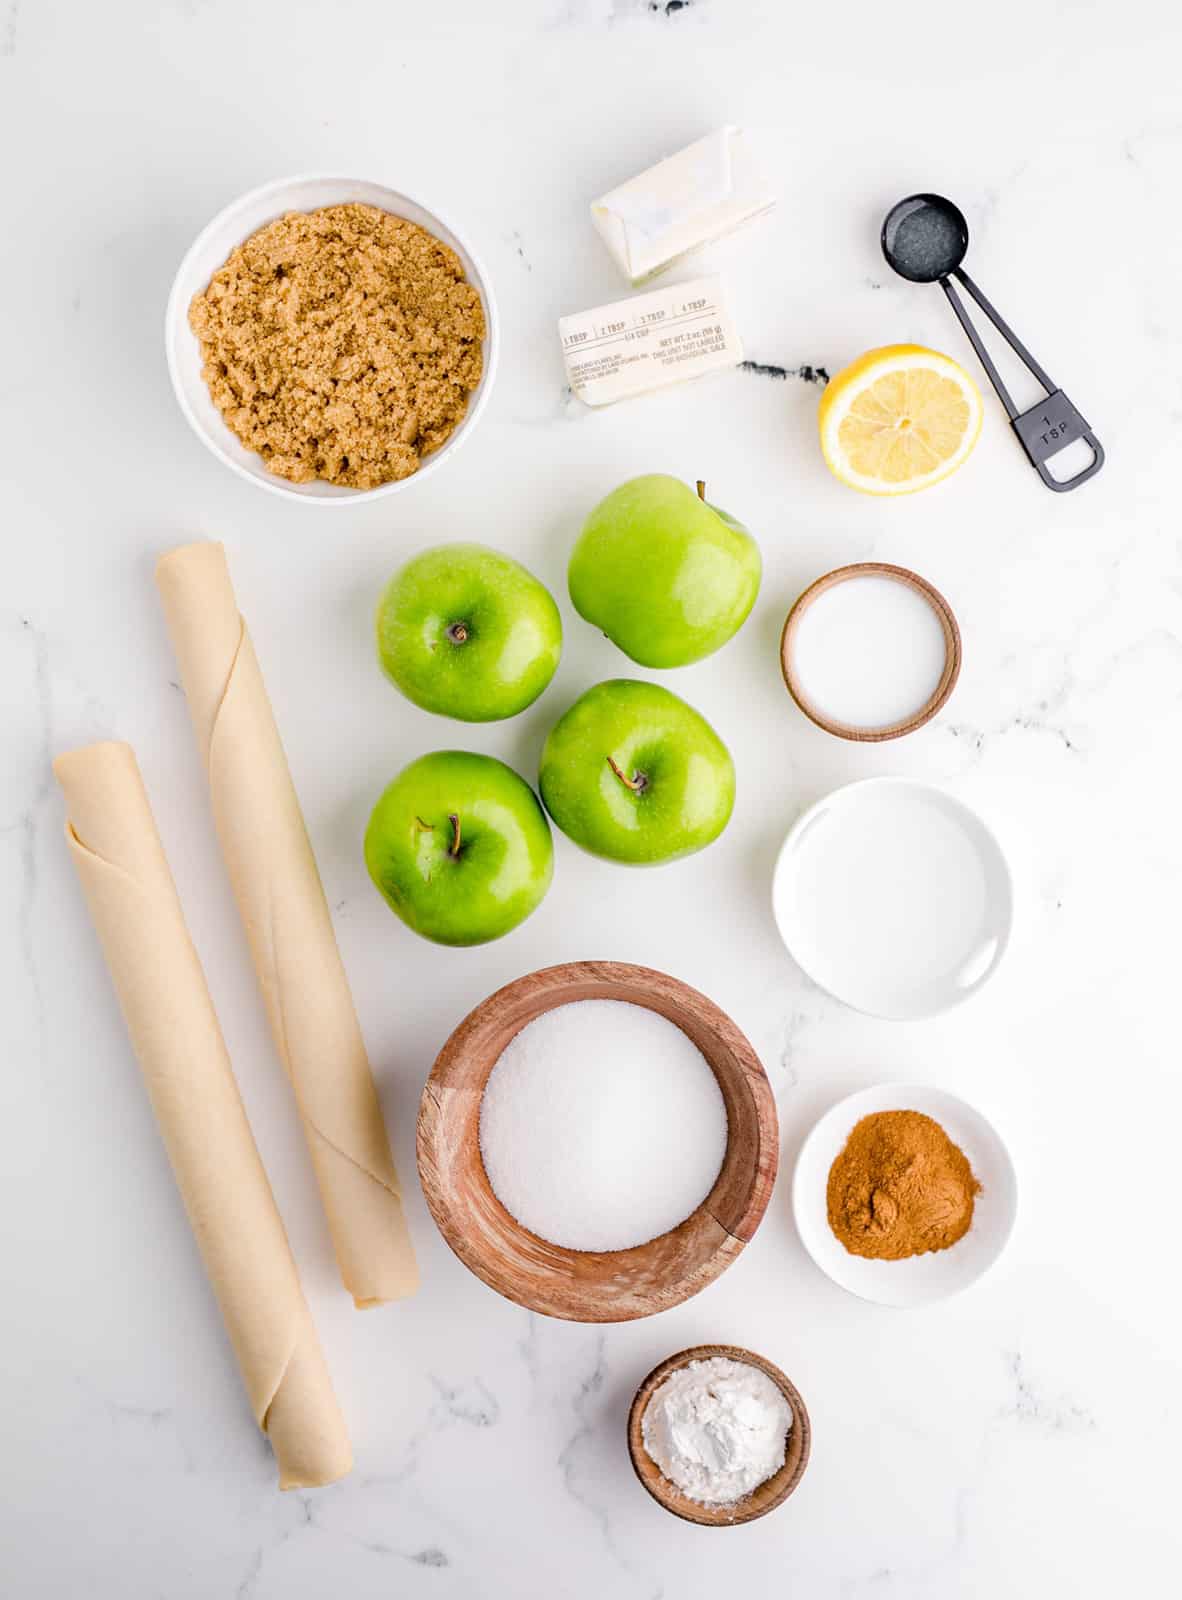
INGREDIENTS NEEDED (FULL RECIPE AT BOTTOM):
Apples
Ground cinnamon
Salted butter
All-purpose flour
Granulated sugar
Brown sugar
Water
Lemon juice
Refrigerated pie crusts
Milk
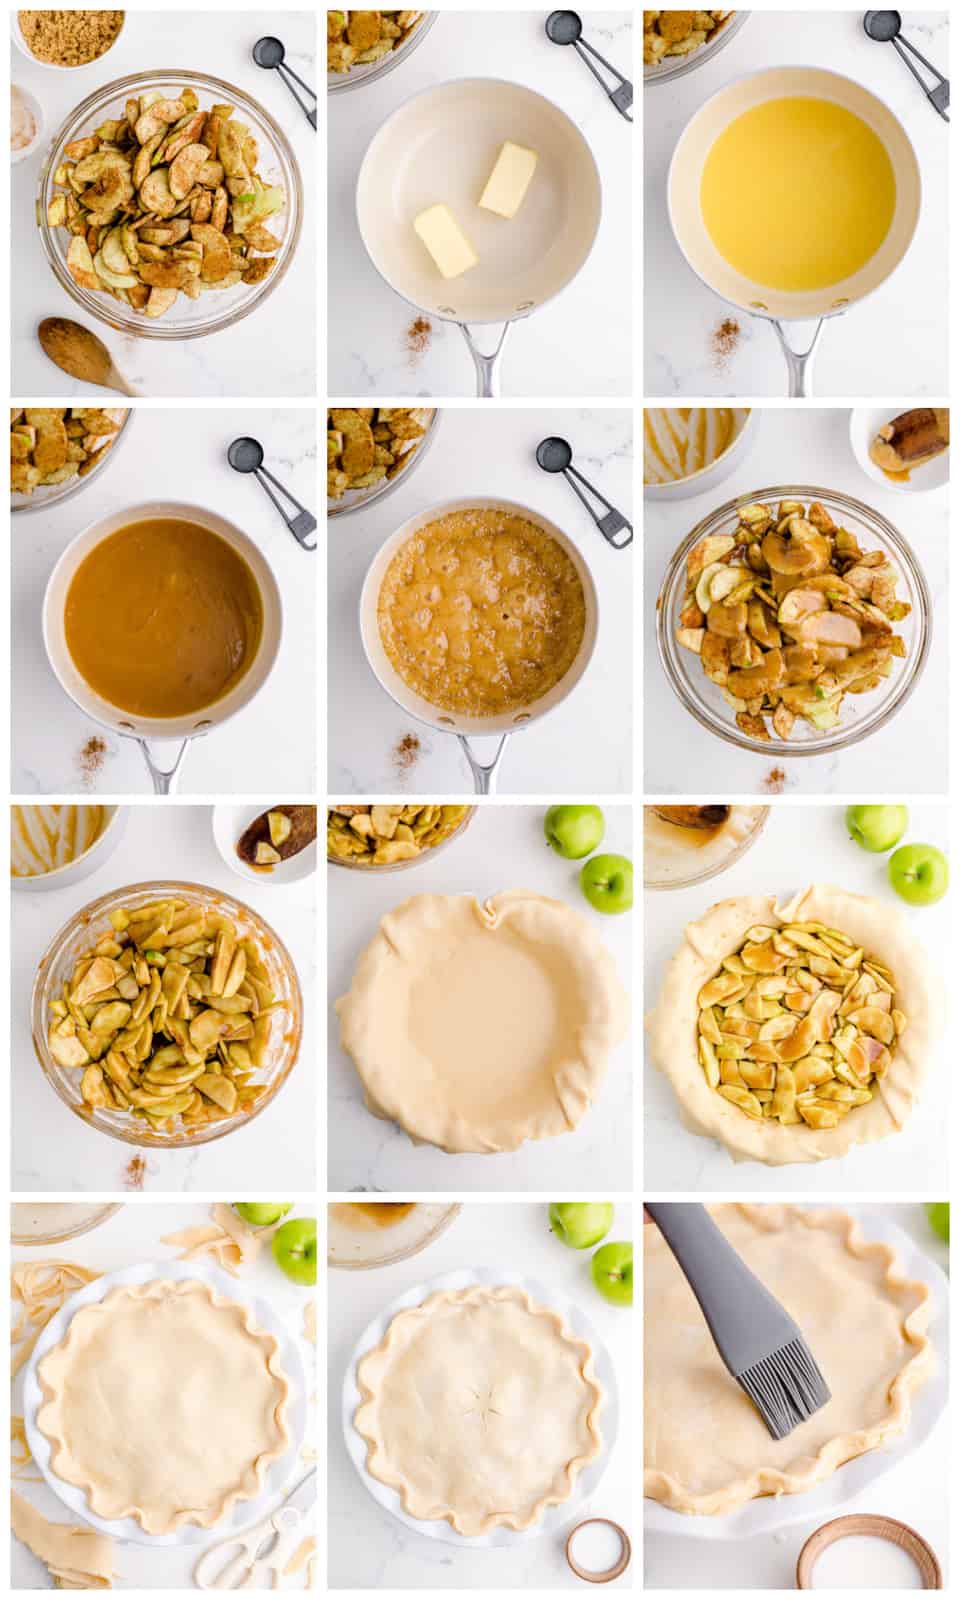
HOW TO MAKE APPLE PIE, STEP BY STEP:
- Preheat the oven to 425 degrees.
- Peel, core, and thinly slice apples. Place them in a large bowl. Sprinkle the cinnamon onto the apples and stir to cover.
- In a medium saucepan, melt butter.
- Add the flour and stir in.
- Add in granulated sugar, brown sugar, and water, stir and bring to a boil then lower heat and allow to simmer for 3 minutes. Stir in lemon juice.
- Pour pie sauce over your sliced, cinnamon apples.
- Use a wooden spoon or spatula to thoroughly incorporate and coat each apple. The sauce will thin out as you stir from the juices from each apple and will trickle down to the bottom of the bowl so make sure to stir well.
- Place your bottom crust into your pie pan.
- Pour the apple pie filling into the pie crust and even spread out.
- Place the top crust on and trim excess crust if you have any. Pinch all around the edges to seal the top and bottom crust to each other.
- Cut slits or leaf shapes into the center of the crust to allow steam to escape.
- Brush the crust with milk. Use tin foil to cover the edges of the pie if needed. Place your pie on the center rack and bake for 50 minutes or until the crust is golden.
- Allow the pie to cool for a full hour (or even better, overnight) before cutting.
WHAT KIND OF APPLES ARE BEST FOR APPLE PIE?
We like to use Granny Smith apples as it is a nice tart baking apple that pairs well with the sweetness of the pie itself.
For other apples it is best to use apples that will not go mushy. Some other varieties that work well are: Pink Lady, Honeycrisp, Jonagold, Braeburn, Gala, Fuji, Jazz, and Macintosh. And you are welcome to try using a mixture of varieties of apples.
WHAT SHOULD I DO IF MY PIE STARTS BROWNING BEFORE IT’S DONE?
We wholeheartedly believe in pie shields, usually it is the crusts on pies that get brown quickly so we usually check the pie halfway through cooking.
If you see that your edges are browning fast, you can use pie shields or foil. If you see that your whole pie is browning quickly then you can tent it with tinfoil.
DO I NEED TO PARBAKE THE CRUST ON THIS APPLE PIE?
For this particular recipe it is not necessary to parbake your bottom crust, there is not a lot of liquid that will make the bottom soggy so it will bake up with the pie itself.
DO I NEED TO LET MY PIE SIT BEFORE SLICING?
Yes you do, this helps everything set up inside so when you cut into it it will all hold together well. This Apple Pie Recipe will require it too sit for at least 1 hour, but longer is better.

HOW TO STORE:
To store you may loosely cover this Apple Pie Recipe and keep at room temperature for 2 days. It will keep for another 2 days in the refrigerator.
This can also be frozen, to so this let pie cool then wrap it with plastic wrap then foil and place in the freezer where it will keep for 3 to 4 months.
To reheat, place in the refrigerator overnight to thaw. Then bake in the oven at 350 degrees F until heated through, 20-30 minutes.
TIPS AND TRICKS:
- Granny Smith apples are our favorite to use in pies, but see other options above.
- If you are afraid that this will overflow and make a mess (it can happen but it’s rare) you can place a baking sheet below the pie on the next rack down.
- This pie can be frozen, see my tips above.
- You do not need to parbake the crust for this recipe.
- You can use your own homemade crust or use refrigerated pie crusts like we do to make it more simple.
- I highly recommend purchasing pie shields in case your pie crust starts to brown too soon, you can also use foil.
- If you want to sprinkle with sugar on top you can, we love doing this for some added sweetness.
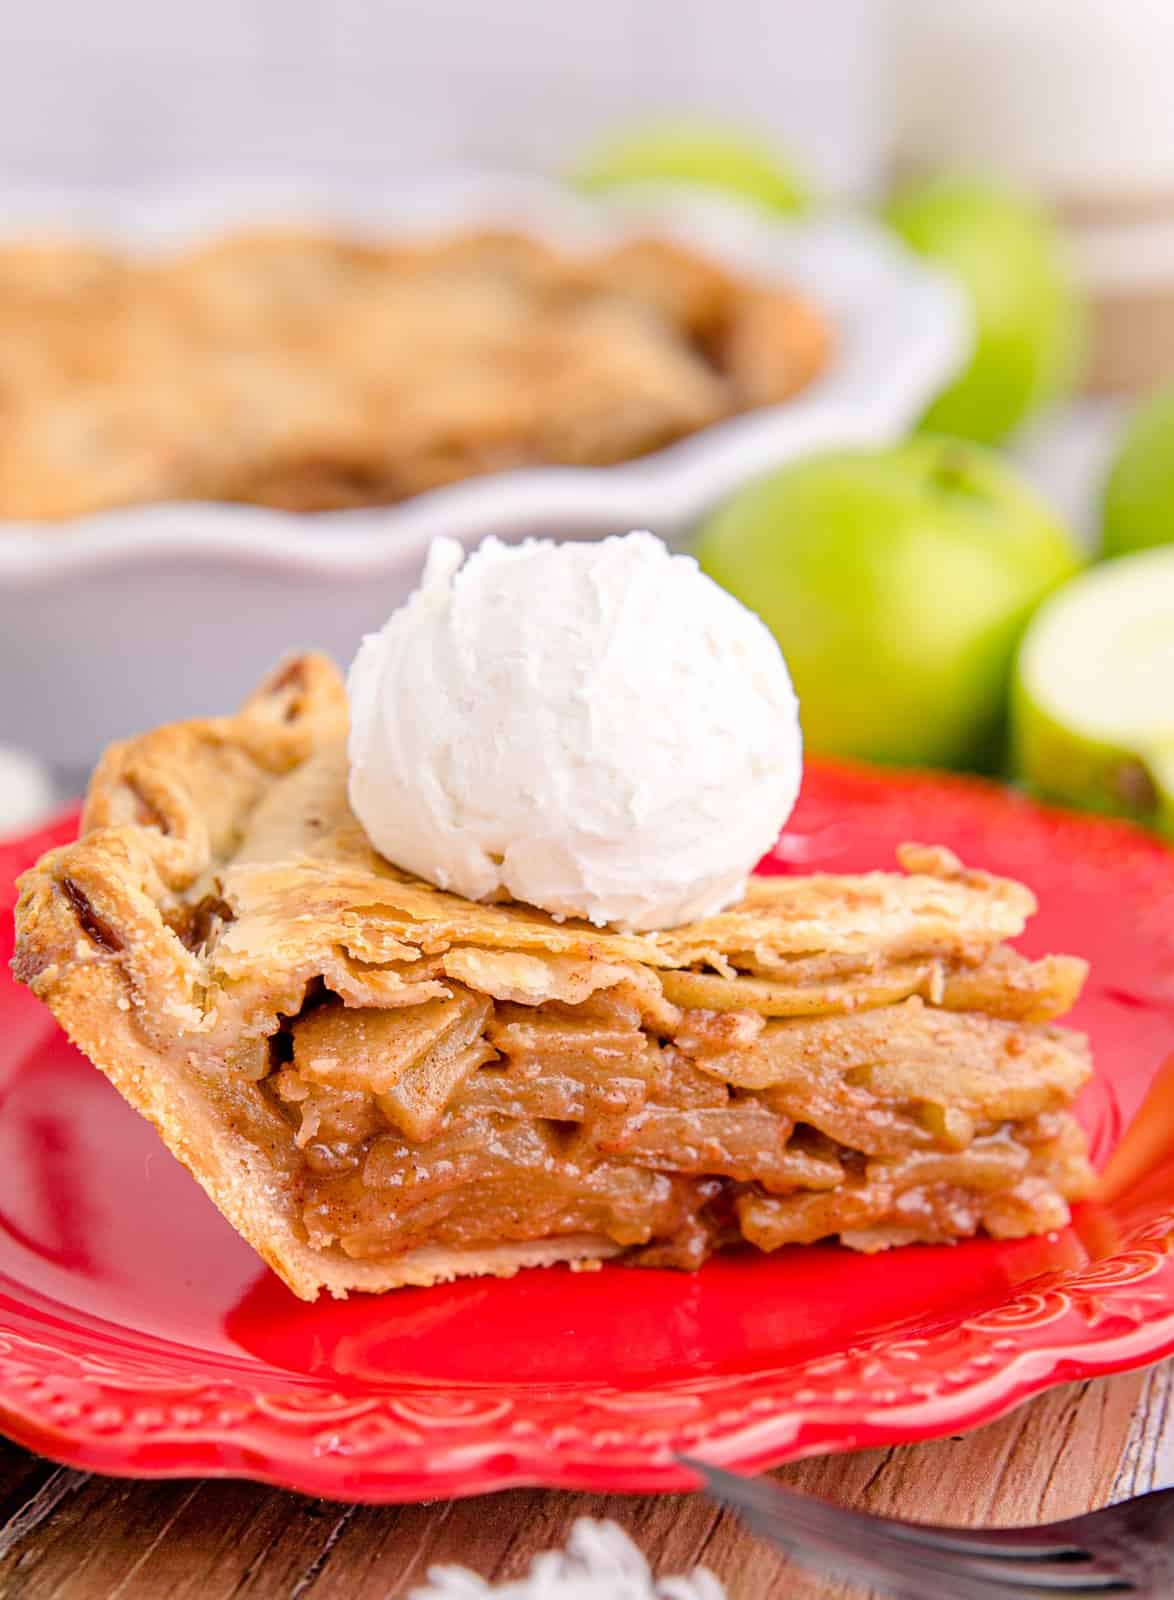
- Serve this with your favorite toppings such as ice cream, whipped cream, caramel sauce, etc.
If you wan’t that perfect fall dessert you absolutely cannot and will not go wrong in making my homemade Apple Pie!
If you like this recipe you might also like:
If you’ve tried this APPLE PIE or any other recipe on my site, let me know in the comment section how it turned out, we love hearing from our readers! You can also follow along with me on PINTEREST, FACEBOOK and INSTAGRAM to see more amazing recipes and what shenanigans I’m getting into!
Apple Pie
Ingredients
- 6 large (or 8 small) Granny Smith apples (6 cups thinly sliced)
- 2 teaspoons ground cinnamon
- ½ cup salted butter
- 3 Tablespoons all-purpose flour
- ½ cup granulated sugar
- ½ cup brown sugar
- 3 Tablespoons water
- 1 teaspoon lemon juice
- 2 refrigerated pie crusts top and bottom.
- 1 Tablespoon milk
Instructions
- Preheat the oven to 425 degrees.
- Peel, core, and thinly slice apples. Place them in a large bowl. Sprinkle the cinnamon onto the apples and stir to cover.
- In a medium saucepan, melt butter.
- Add the flour and stir in.
- Add in granulated sugar, brown sugar, and water, stir and bring to a boil then lower heat and allow to simmer for 3 minutes. Stir in lemon juice.
- Pour pie sauce over your sliced, cinnamon apples.
- Use a wooden spoon or spatula to thoroughly incorporate and coat each apple. The sauce will thin out as you stir from the juices from each apple and will trickle down to the bottom of the bowl so make sure to stir well.
- Place your bottom crust into your pie pan.
- Pour the apple pie filling into the pie crust and even spread out.
- Place the top crust on and trim excess crust if you have any. Pinch all around the edges to seal the top and bottom crust to each other.
- Cut slits or leaf shapes into the center of the crust to allow steam to escape.
- Brush the crust with milk. Use tin foil to cover the edges of the pie if needed. Place your pie on the center rack and bake for 50 minutes or until the crust is golden.
- Allow the pie to cool for a full hour (or even better, overnight) before cutting.
Notes
- Granny Smith apples are our favorite to use in pies, but see other options above.
- If you are afraid that this will overflow and make a mess (it can happen but it's rare) you can place a baking sheet below the pie on the next rack down.
- This pie can be frozen, see my tips above.
- You do not need to parbake the crust for this recipe.
- You can use your own homemade crust or use refrigerated pie crusts like we do to make it more simple.
- I highly recommend purchasing pie shields in case your pie crust starts to brown too soon, you can also use foil.
- If you want to sprinkle with sugar on top you can, we love doing this for some added sweetness.
- Serve this with your favorite toppings such as ice cream, whipped cream, caramel sauce, etc.
Nutrition
Tornadough Alli is not a nutritionist or dietitian, and any nutritional information shared is an estimate. If calorie count and nutritional value is important to you, we recommend running the ingredients through whichever online nutritional calculator you prefer. Calories and values can vary depending on which brands were used.
Leave a Reply