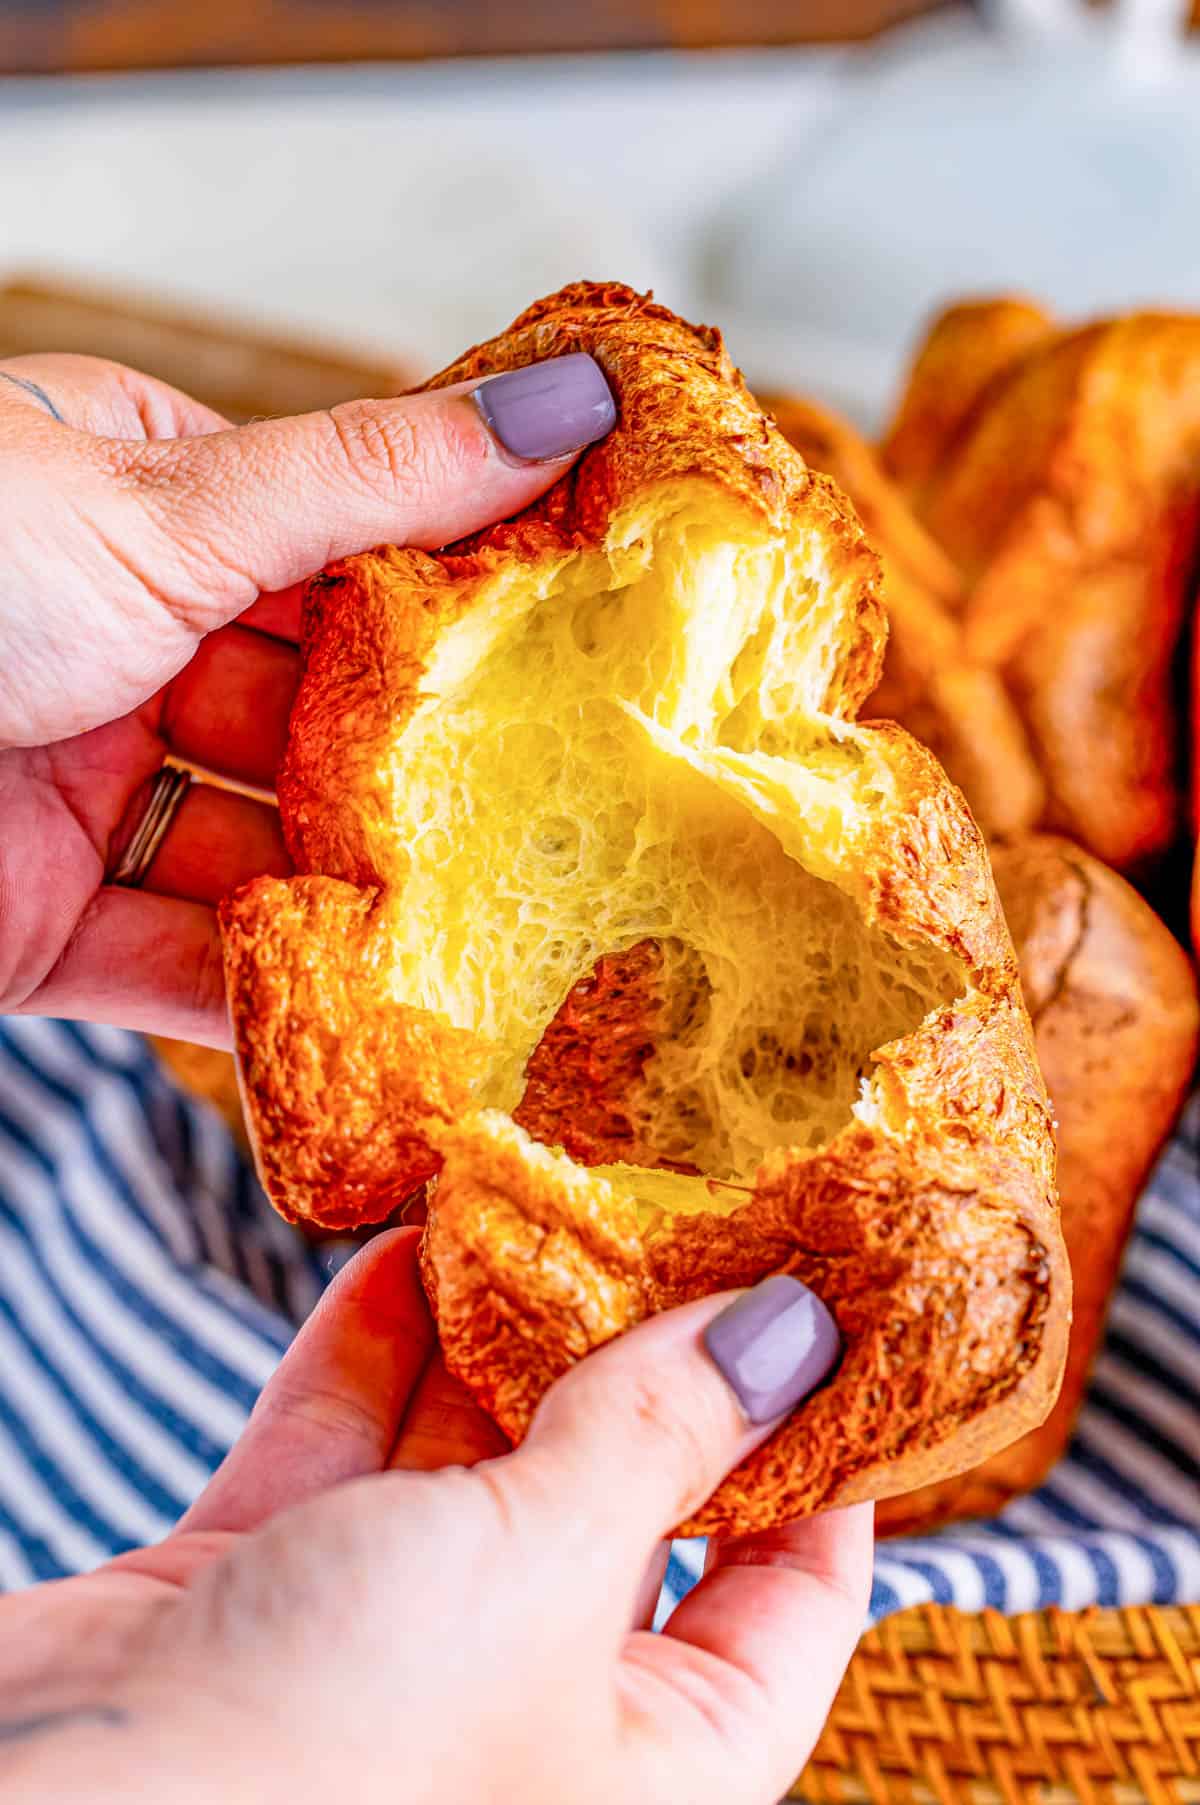
These easy and tasty Popovers are a fun recipe to replace your normal bread routine. Light and airy they are perfect side dish to any meal.
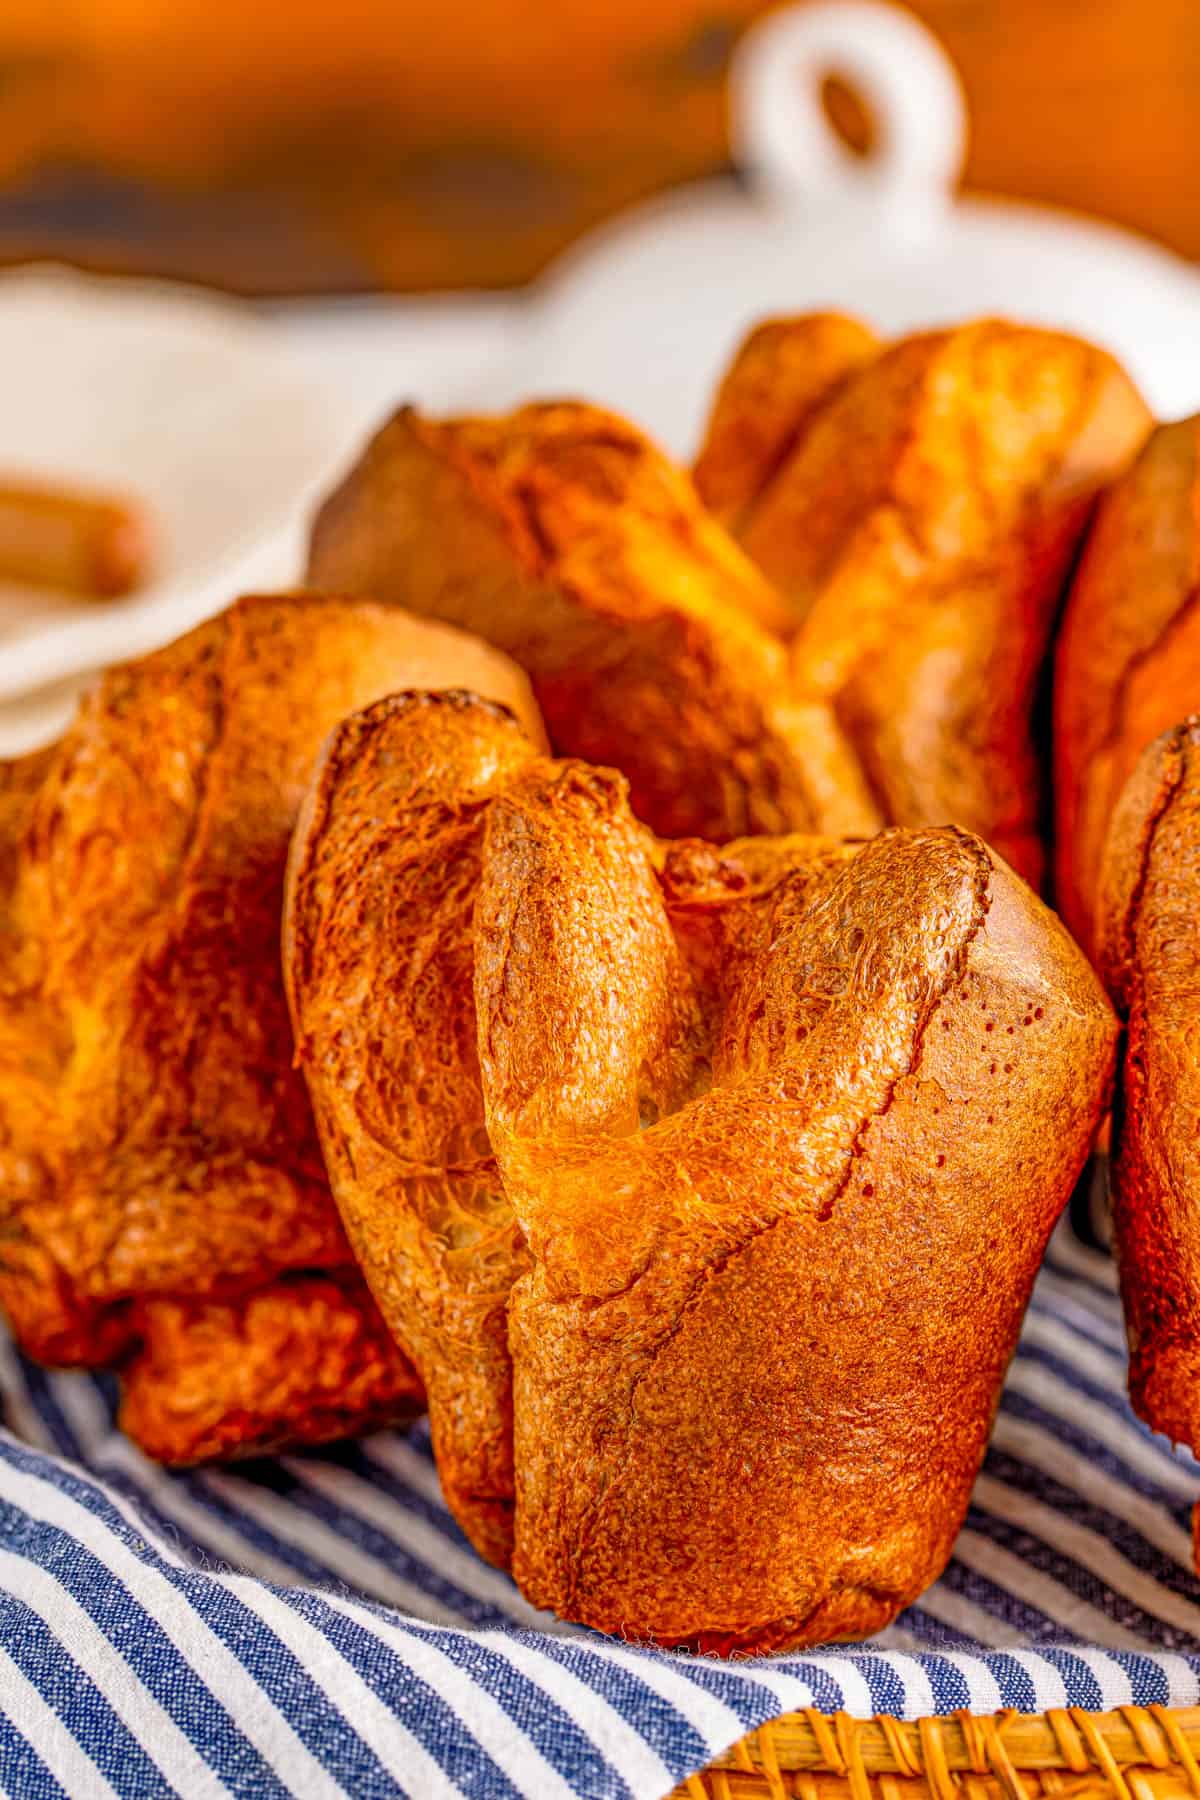
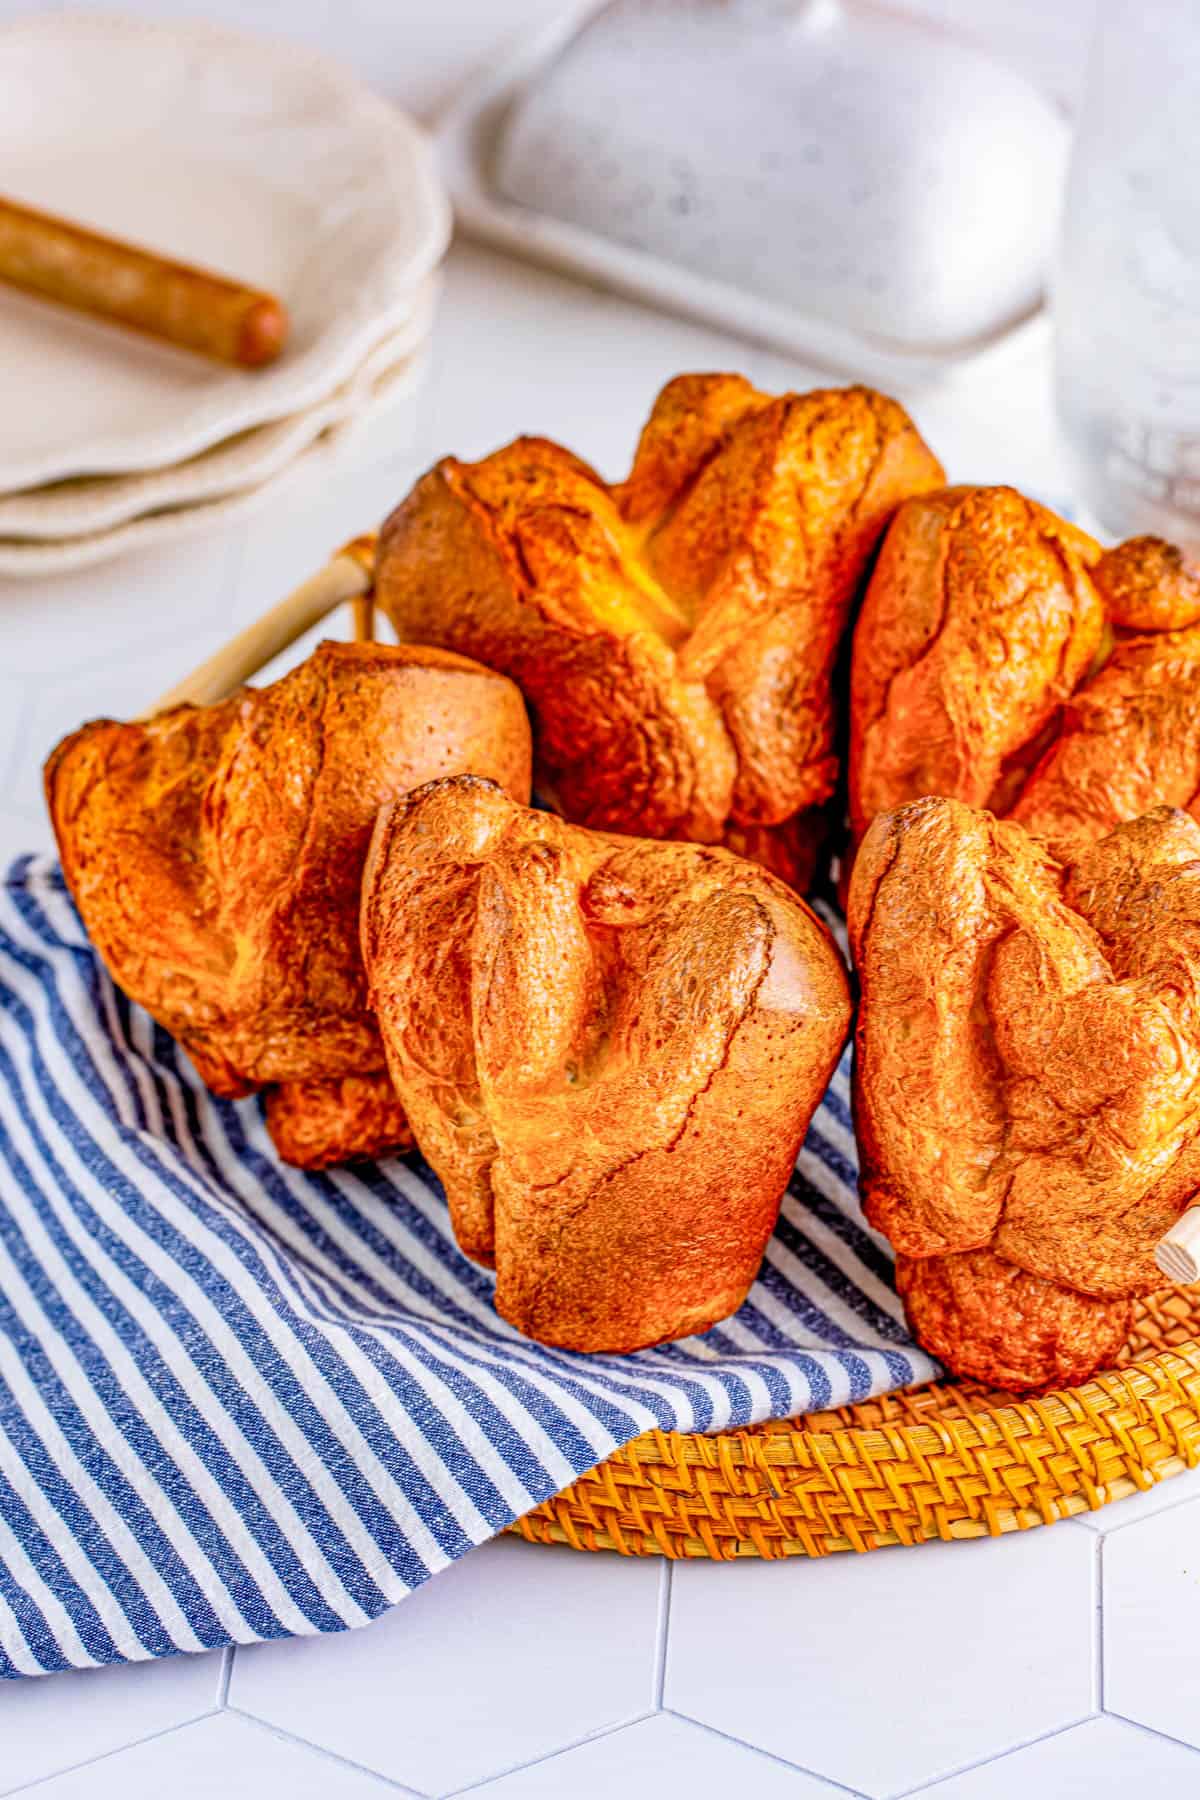
We love Popovers in this house! Spread them with a little bit of butter or jam and we can keep ourselves satisfied forever. These Popovers are perfect for your holiday dinner, side dish to a meal or just because you like your self a little something different than your normal bread. You honestly cannot go wrong with this Popover recipe!
We need absolutely no reason to make these Popovers. I mean we make them multiple times a month just because they are so irresistibly good!
The plus side, you don’t need tons of ingredients for this recipe, it’s more or less the way they are made that will ensure your results when it comes to popovers.
This is a recipe that you absolutely do not need to be afraid of! I know some people are but trust the process and let the oven do the work on these!
Some of our other favorite bread recipes we have on our site include: English Muffins, Easy Garlic Bread and Cornbread Muffins.
WHY THIS RECIPE WORKS:
- You only need 4 ingredients.
- Easy to double to make more.
- Ready in 45 minutes!
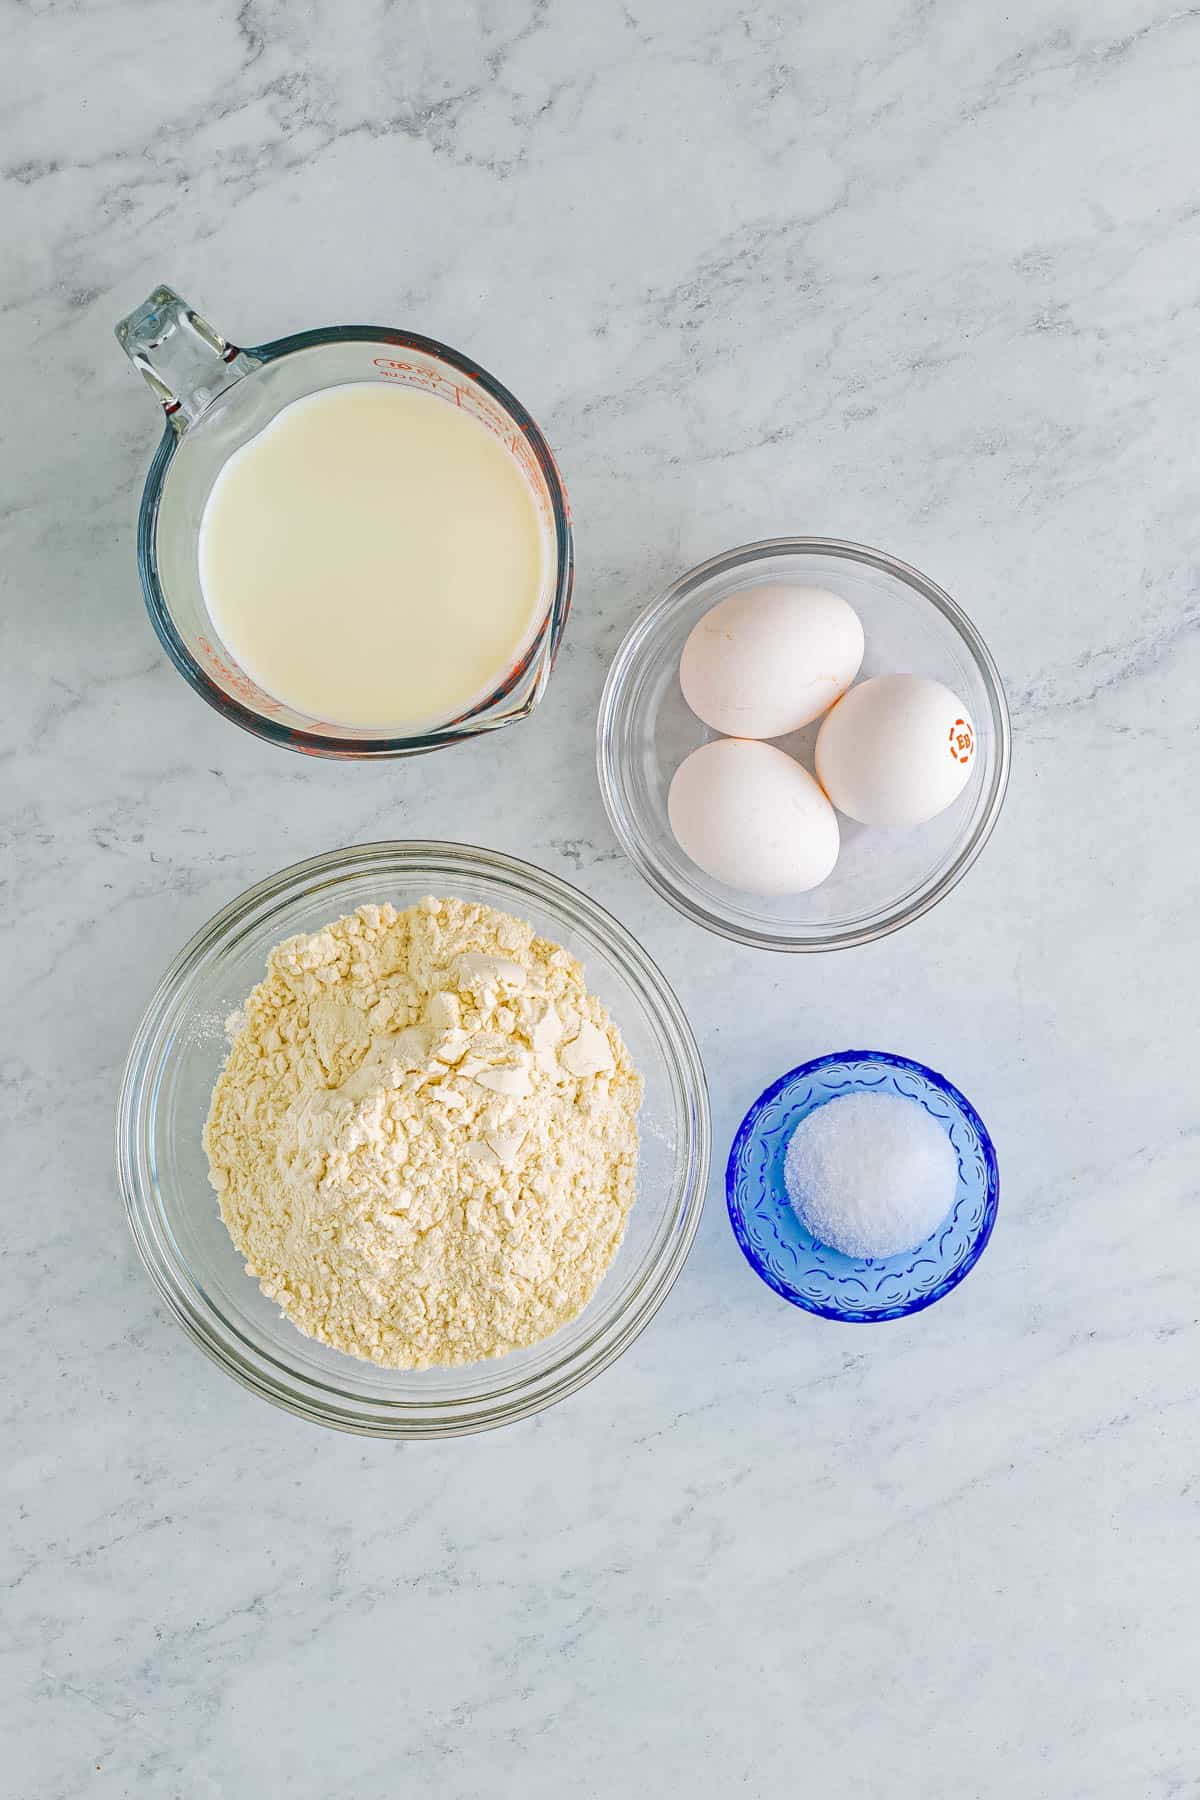
INGREDIENTS NEEDED (FULL RECIPE AT BOTTOM)
Eggs
Milk
Flour
Salt
HOW TO MAKE POPOVERS, STEP BY STEP:
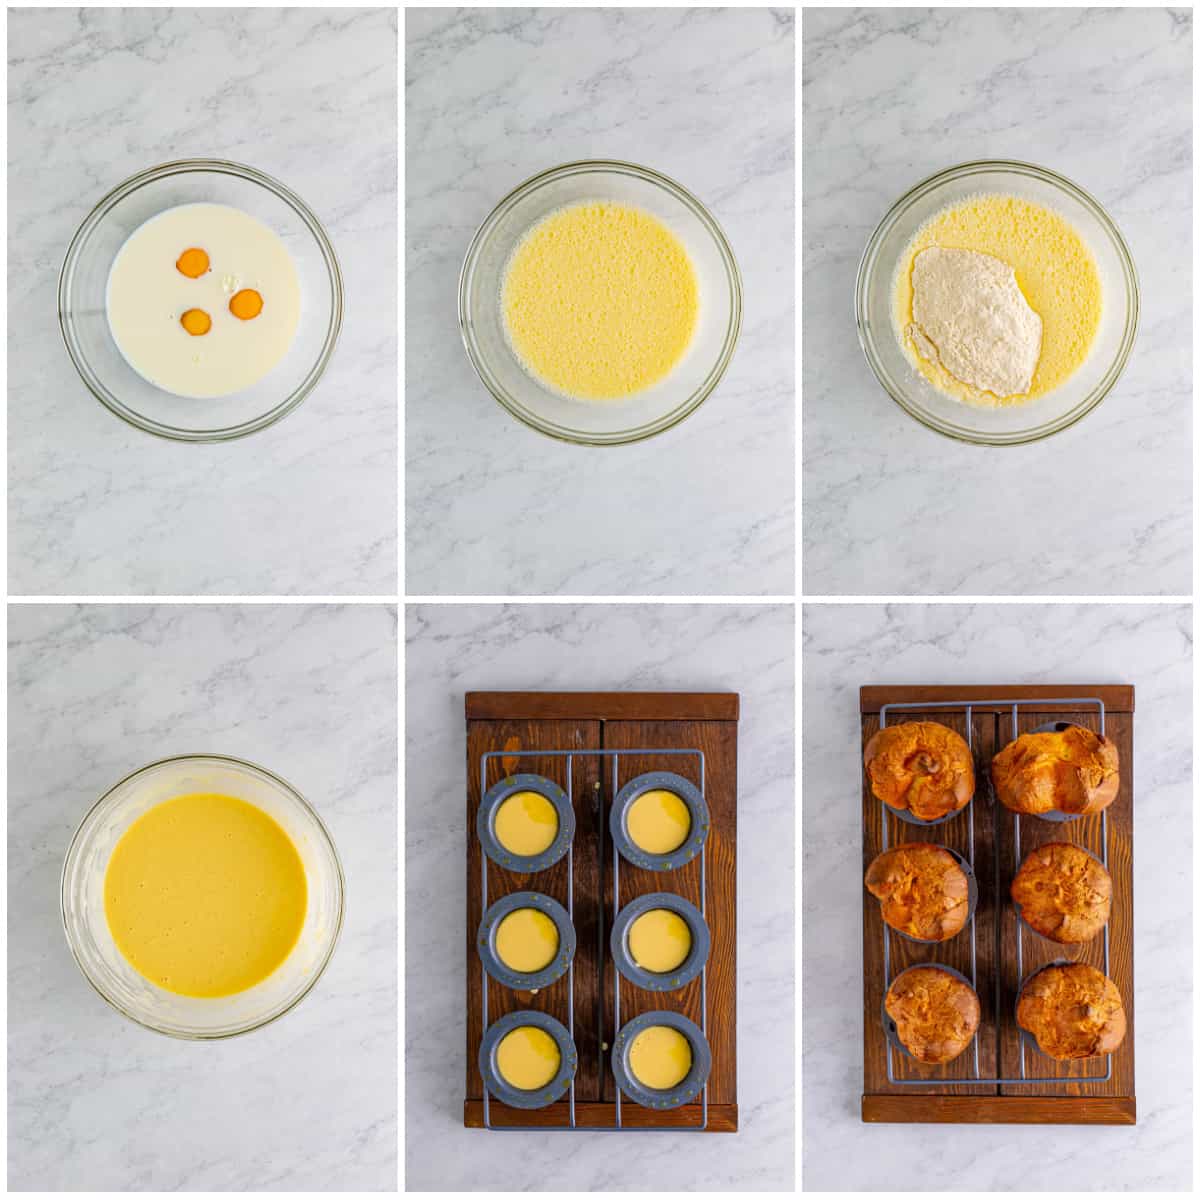
- Place the oven rack on the lowest setting in your oven. Place the popover pan onto the rack in the oven and preheat the oven to 450°F.
- In a large bowl add the eggs and milk.
- Whisk together for 2-3 minutes until well combined and frothy.
- Add flour and salt to the bowl and whisk until combined with no dry patches.
- Remove the popover pan from the oven and spray with cooking spray.
- Divide the batter among the wells of the pan.
- Bake for 20 minutes at 450°F. Lower the oven temperature to 350°F, and continue to bake for 20 more minutes.
- Take the pan out of the oven and let them cool slightly. Serve warm.
HOW DO POPOVERS POP OVER?
So you may be wondering what makes a popover do its thing right? I know it’s super weird to think about how a popover simply pop over with so few ingredients.
While there are few ingredients in the batter itself, normally consisting of milk, eggs, and flour, since the batter is more on the liquid side, it creates steam, which in turn rises and makes the popovers rise as well, causing the popovers to puff up at the top and outside of the pan.
CAN POPOVERS BE REHEATED?
The simple answer to this question is yes! But eating them fresh out of the oven is literally the best way to enjoy a popover! You can reheat them by preheating your oven to 450 and placing them in a baking sheet for about 3-5 minutes.
WHY DID MY POPOVERS DEFLATE?
This is the most scary part about baking these, you always run the risk of deflating. While these cook for about 45 minutes in total with you dropping the oven temperature, they will appear to be done on the outside, but will not be cooked on the inside.
People remove their popovers too soon when not all the steam accumulated inside is released resulting in them to sink. So even if they look done, keep cooking for the recommended time!
HOW TO STORE:
These tasty Popovers should be stored in an airtight container in the refrigerator for up to 2 days. You can also store them in a ziptop bag.
They’re best when you first make them, but you can reheat them as shared above.
TIPS AND TRICKS:
- Don’t get hung up if you can’t find a popover pan. While you can usually find them fairly cheap – ranging from $5-$30, you can use a muffin tin instead if you can’t find one or don’t want to pay for it.
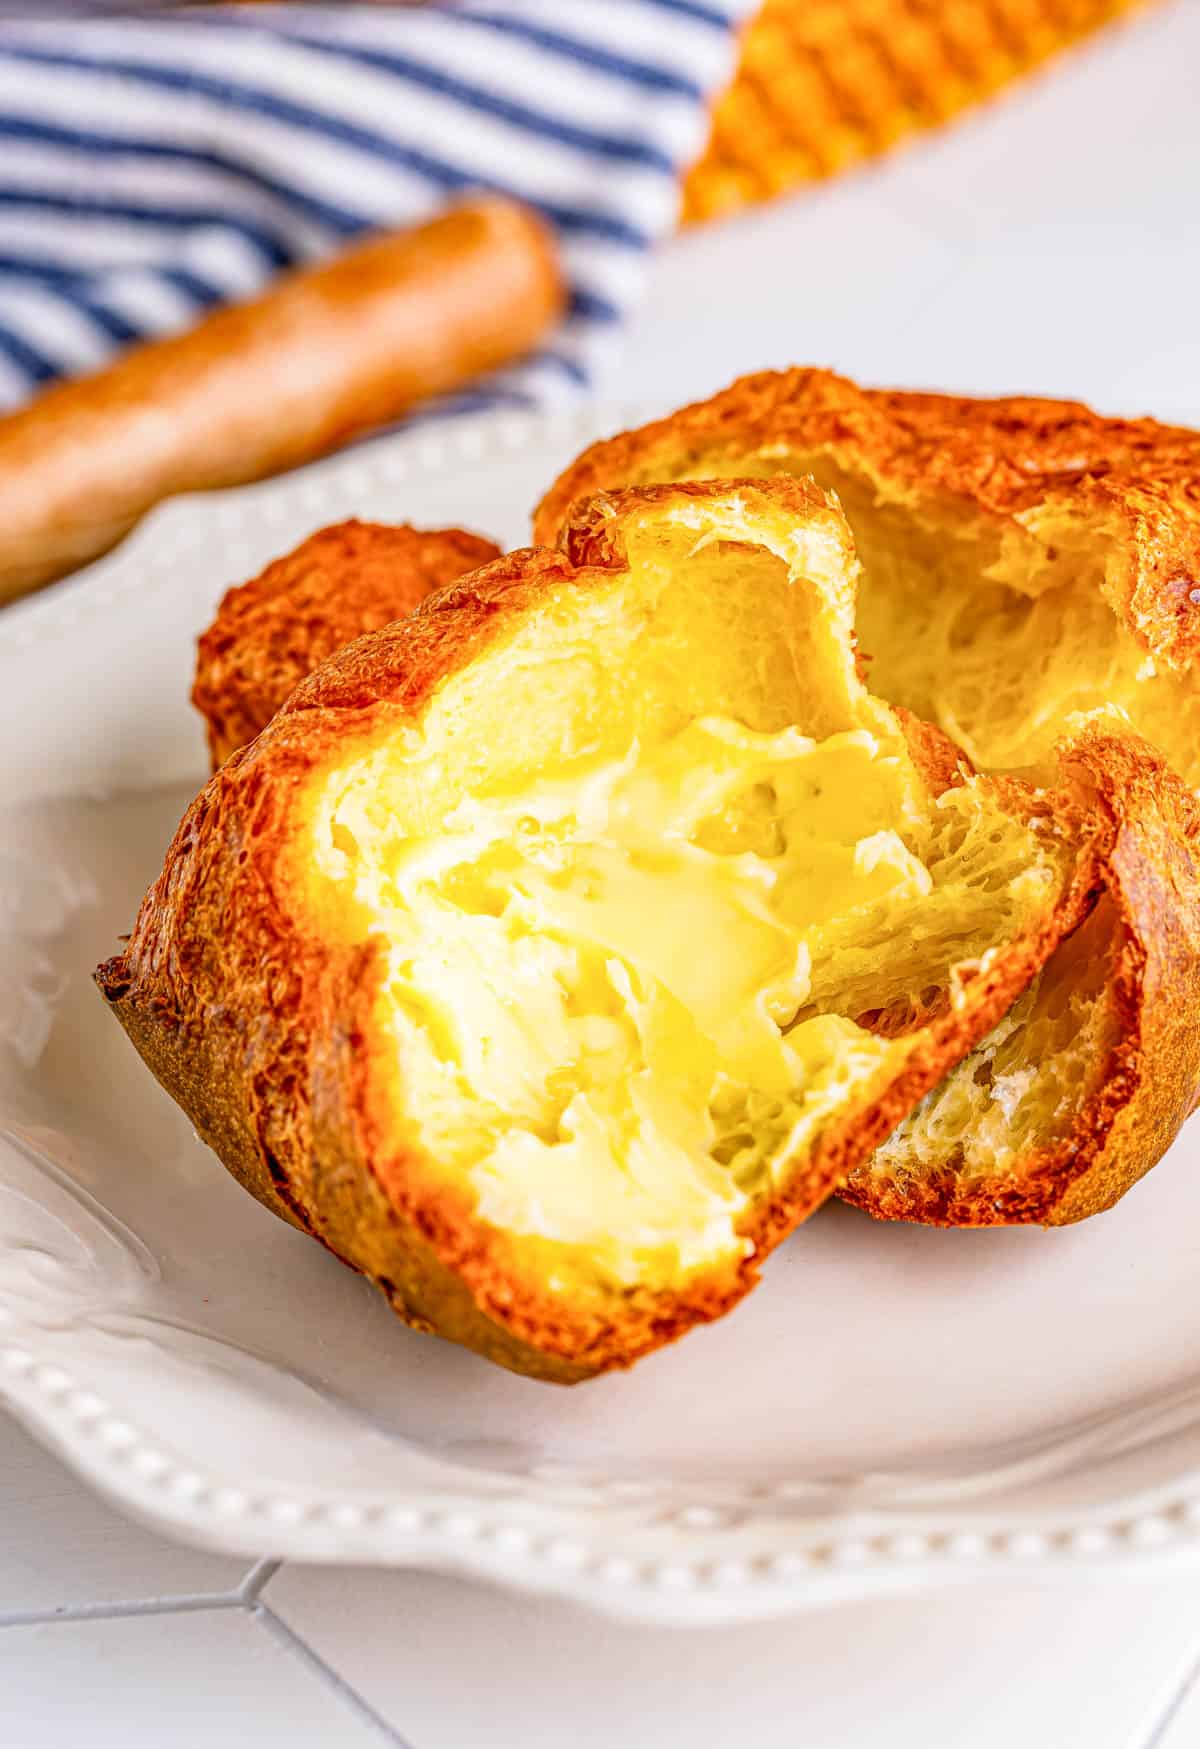
- Try serving these with some jam and salted butter, pure heaven.
- Be careful when checking the popovers to see if they’re done. If you pull them out of the oven too soon, they’ll start to deflate.
- Unlike some other pastries, these popovers do not need to rest before baking.
- You can make the batter earlier in the day and then refrigerate for baking a few hours later. That way you’ll have fresh from the oven Popovers when you’re ready for them.
- Always spoon and level the flour, don’t just scoop straight from the flour container.
- Make sure your oven rack is on the lowest position so you don’t burn the Popovers.
This easy and fun Popover recipe needs to make an appearance in your house! You won’t regret it, once you’ve tried a Popover, you’ll keep on craving them!
If you like this recipe you might also like:
If you’ve tried these POPOVERS or any other recipe on my site, let me know in the comment section how it turned out, we love hearing from our readers! You can also follow along with me on PINTEREST, FACEBOOK and INSTAGRAM to see more amazing recipes and what shenanigans I’m getting into!

Popovers
Ingredients
- 3 large eggs room temp
- 1 ½ cups milk room temp
- 1 ½ cups all-purpose flour
- 2 teaspoons fine sea salt
Instructions
- Place the oven rack on the lowest setting in your oven. Place the popover pan onto the rack in the oven and preheat the oven to 450°F.
- In a large bowl add the eggs and milk.
- Whisk together for 2-3 minutes until well combined and frothy.
- Add flour and salt to the bowl and whisk until combined with no dry patches.
- Remove the popover pan from the oven and spray with cooking spray.
- Divide the batter among the wells of the pan.
- Bake for 20 minutes at 450°F. Lower the oven temperature to 350°F, and continue to bake for 20 more minutes.
- Take the pan out of the oven and let them cool slightly. Serve warm.
Notes
- Don't get hung up if you can't find a popover pan. While you can usually find them fairly cheap- ranging from $5-$30, you can use a muffin tin instead if you can't find one or don't want to pay for it.
- Try serving these with some jam and salted butter- pure heaven.
- Be careful when checking the popovers to see if they're done. If you pull them out of the oven too soon, they'll start to deflate.
- Unlike some other pastries, these popovers do not need to rest before baking.
- You can make the batter earlier in the day and then refrigerate for baking a few hours later. That way you'll have fresh from the oven Popovers when you're ready for them.
- Always spoon and level your flour, don't just dip from the flour container.
- Make sure your oven rack is on the lowest position so you don't burn the Popovers.
Nutrition
Tornadough Alli is not a nutritionist or dietitian, and any nutritional information shared is an estimate. If calorie count and nutritional value is important to you, we recommend running the ingredients through whichever online nutritional calculator you prefer. Calories and values can vary depending on which brands were used.
ORIGINALLY PUBLISHED MARCH, 2018


Mariah Rudningen
Delicious and fun to make!