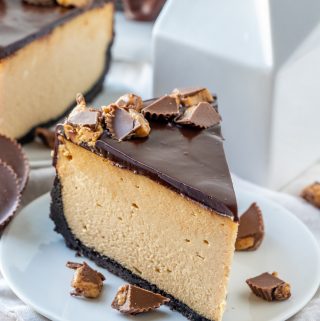
Creamy, peanut buttery and chocolatey this Peanut Butter Cheesecake is a delicious indulgence that you cant just stop with one bite! Fun, tasty and addicting.
Cheesecake is one of the most requested desserts around my house. My husband is pretty much obsessed with any and all things related to cheesecake, so let’s just say it’s made monthly at least.
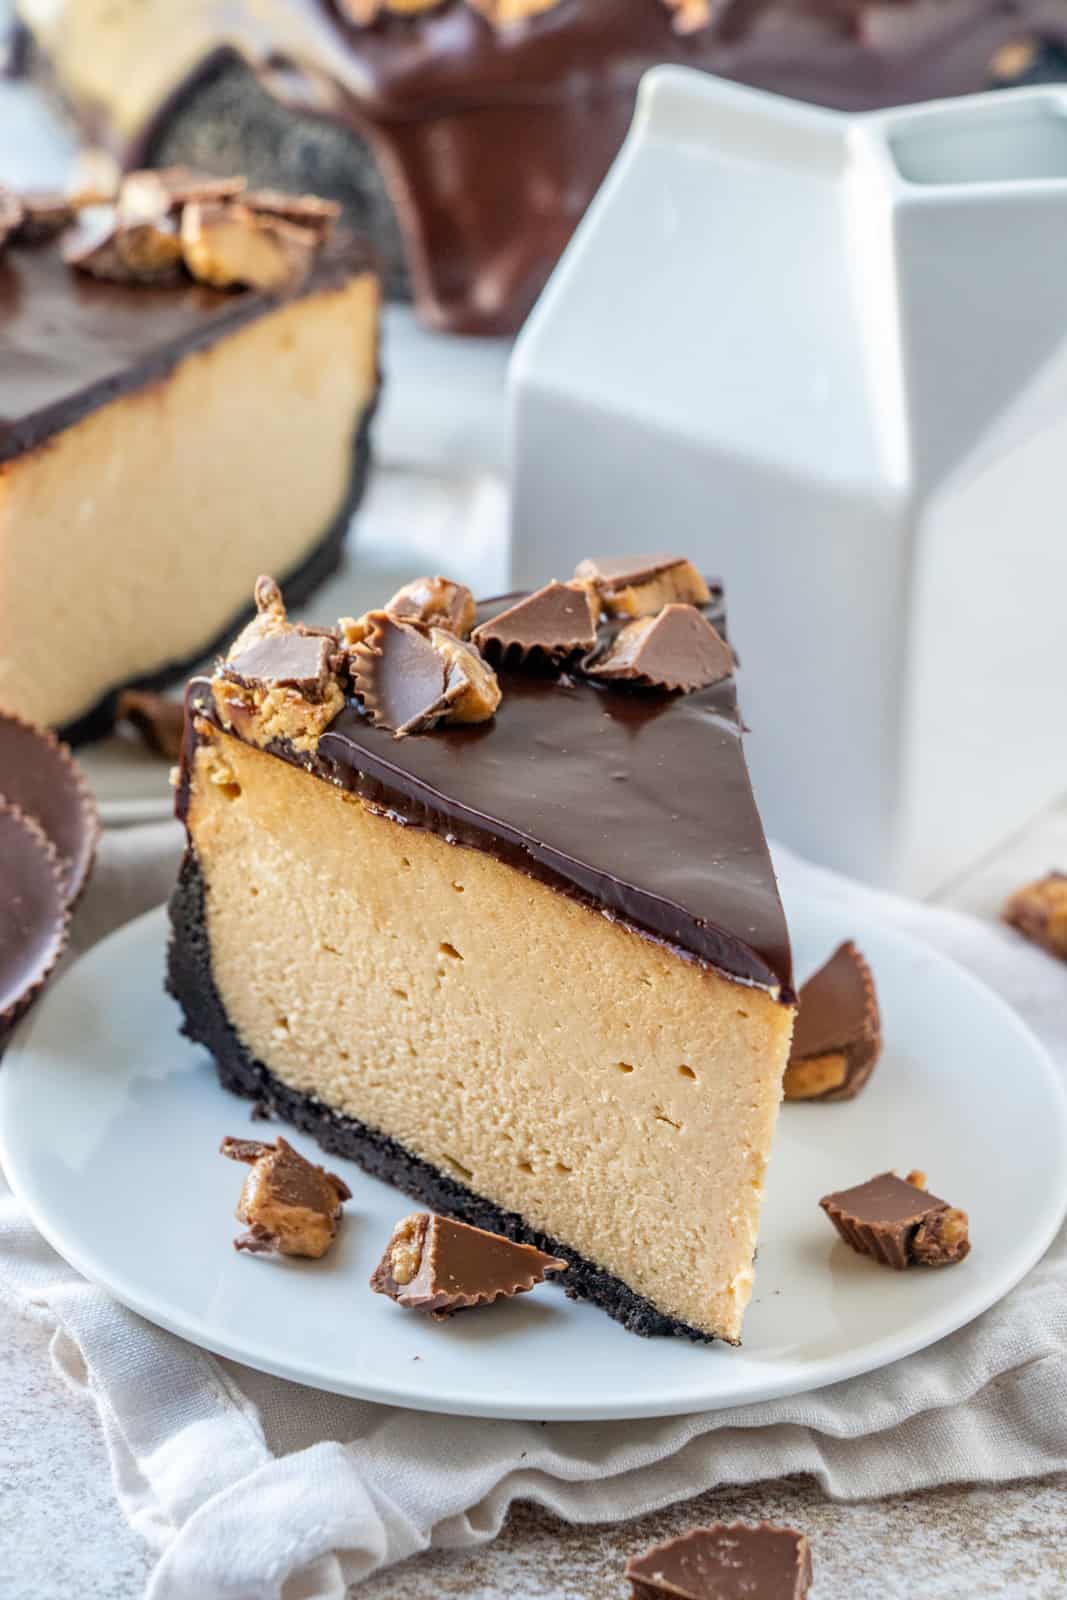
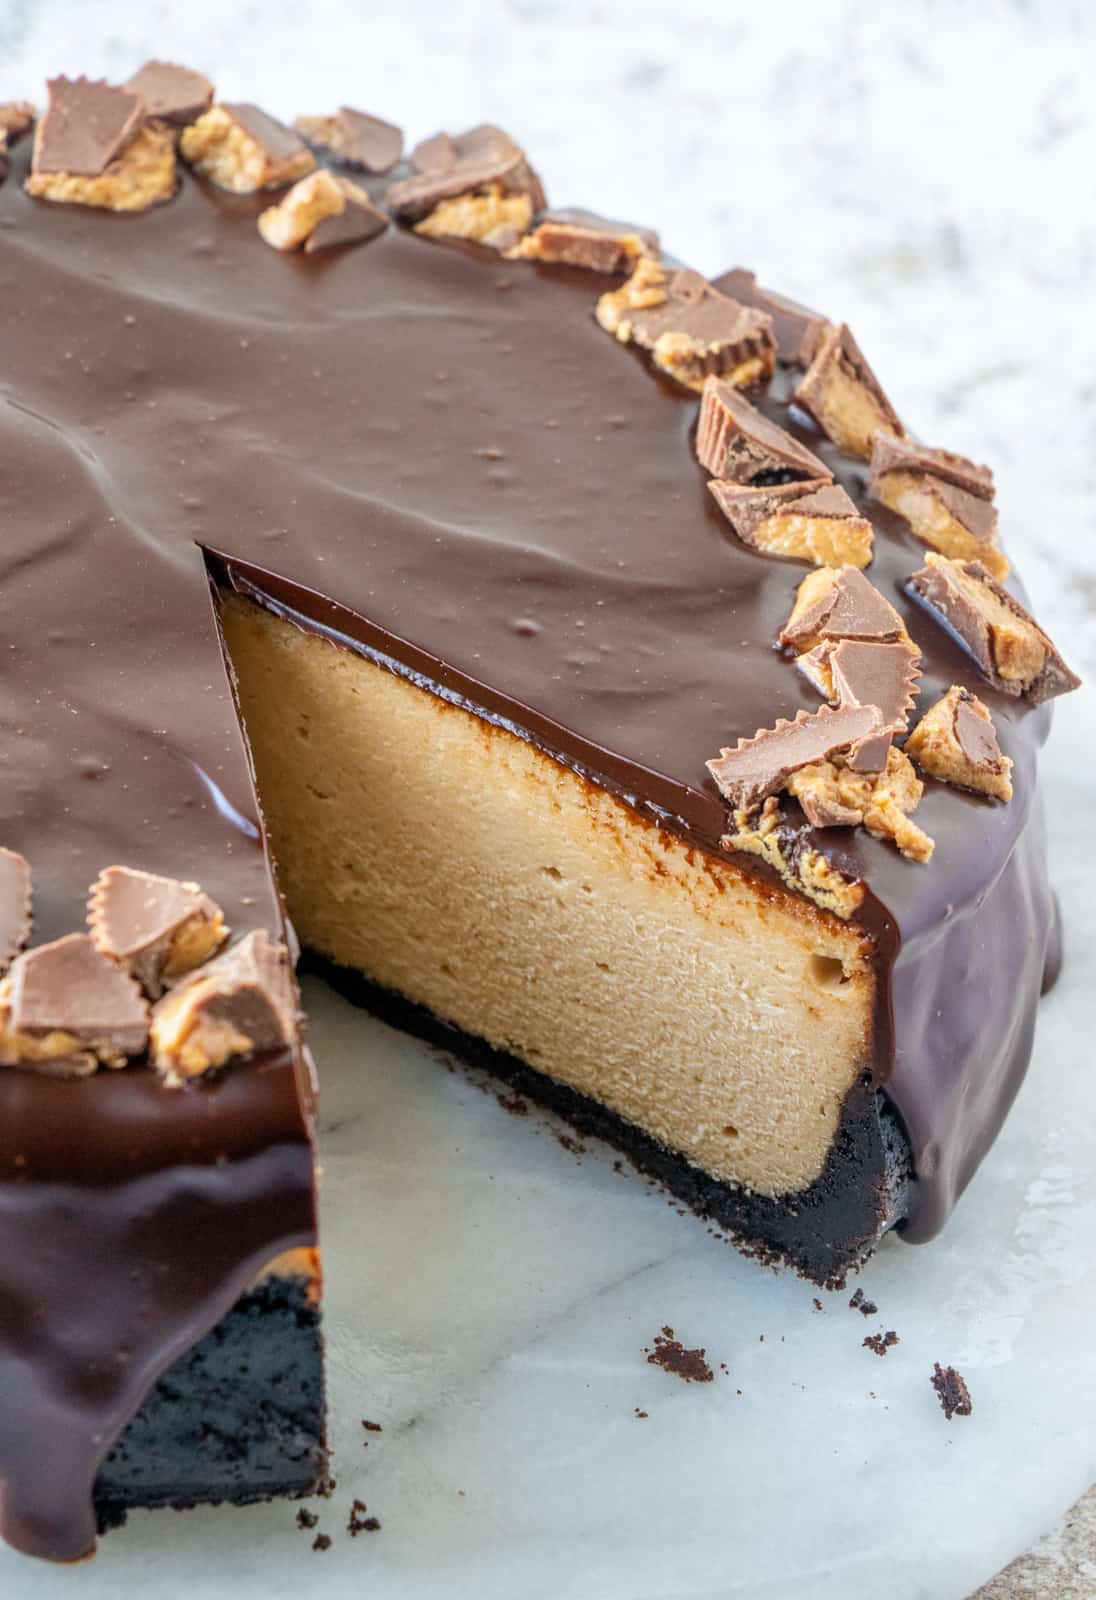
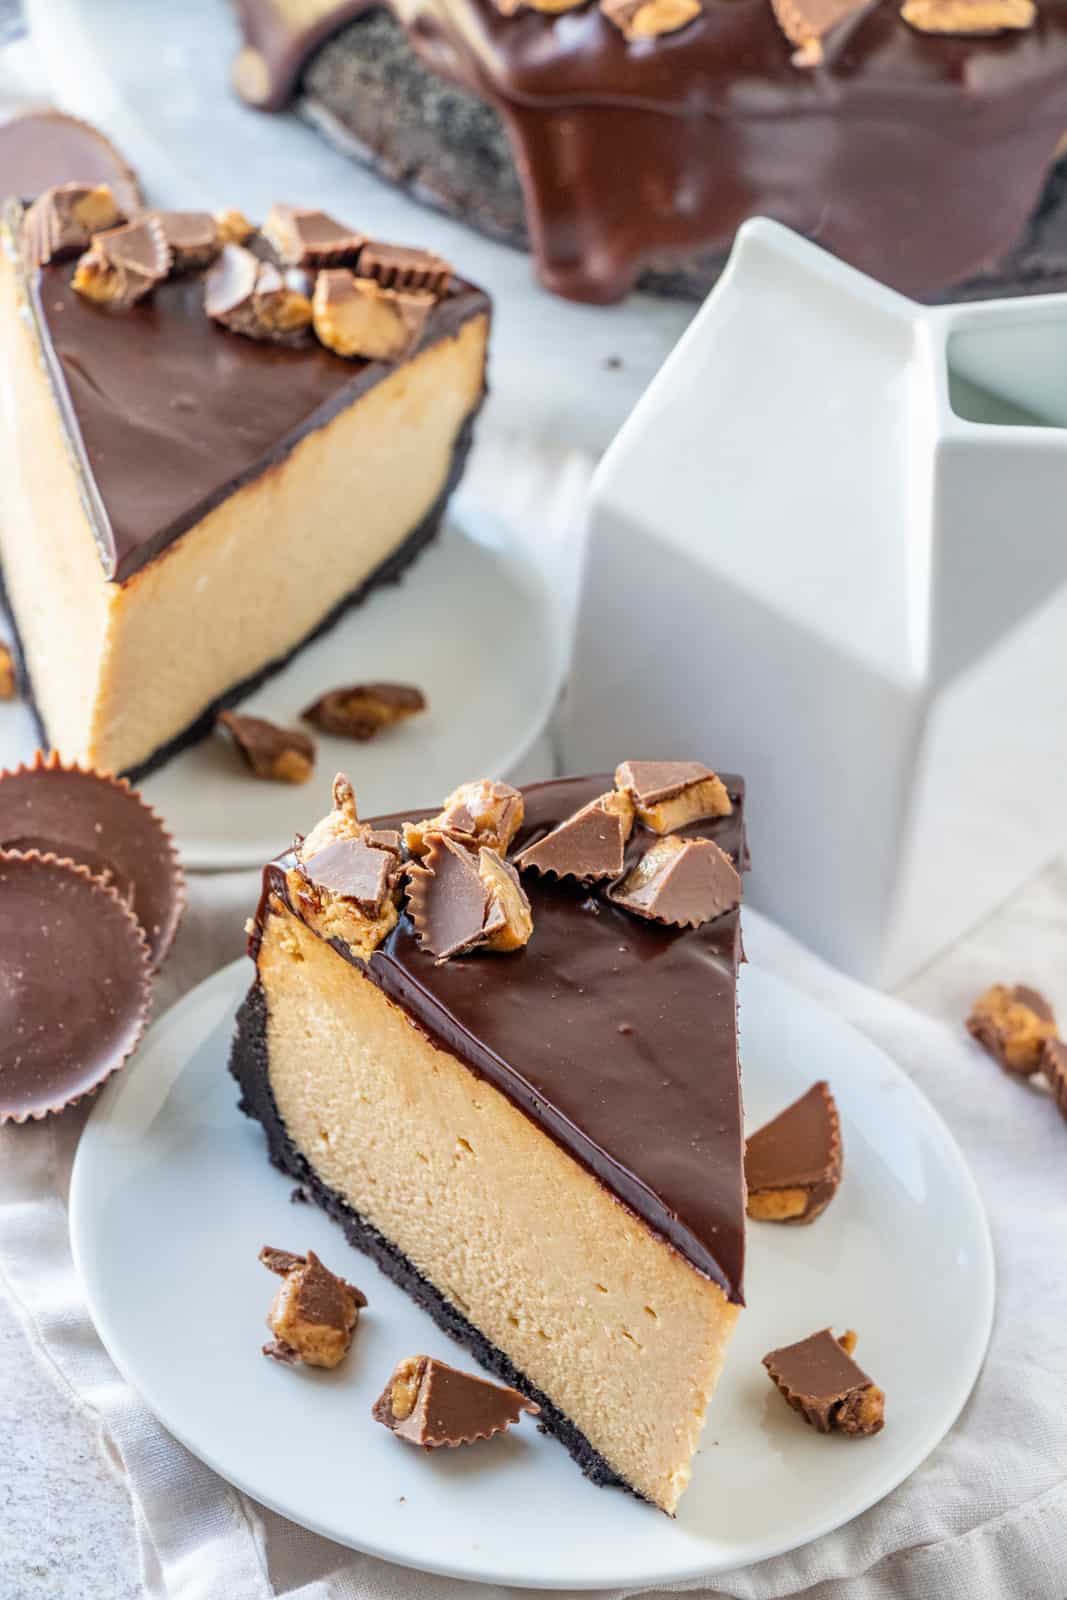
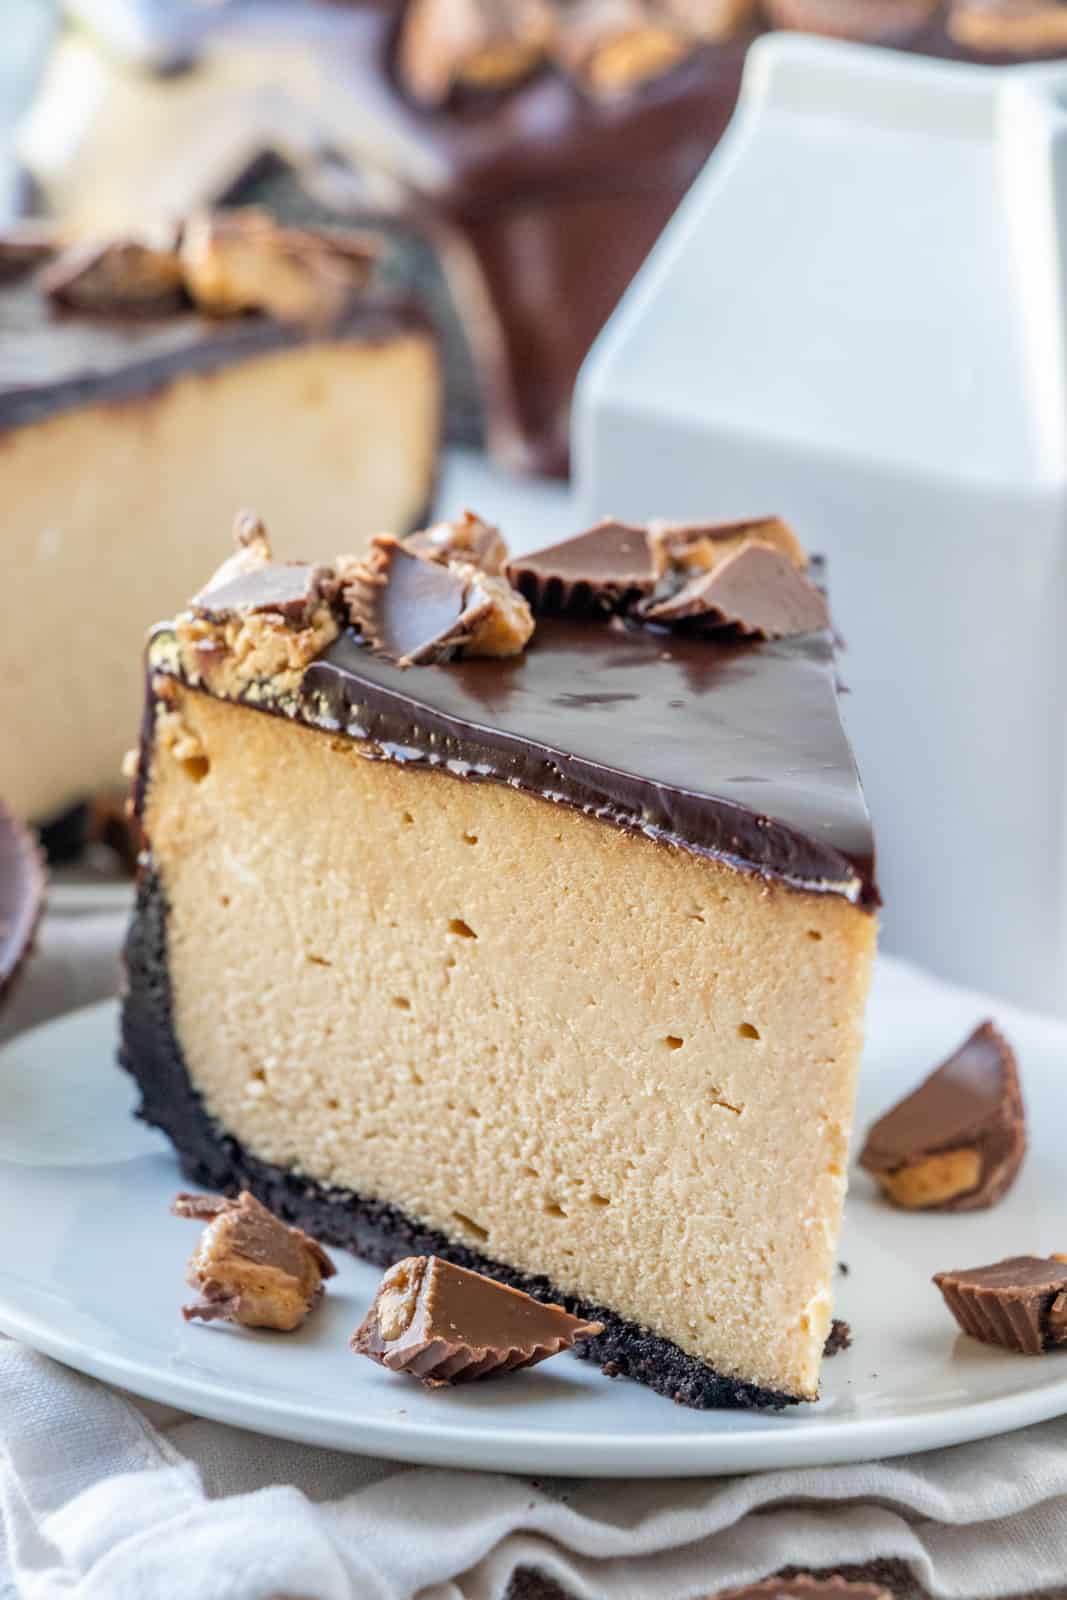
This Peanut Butter Cheesecake is like a giant Reese’s peanut butter cup. You have an Oreo bottom, peanut butter cheesecake center and a peanut butter cup studded chocolate ganache for the topping.
To say that this is indulging is to say the least. It is pure heaven. Now a tiny slice will go a long way, it really is hard to stop eating once you start.
Speaking of cheesecake some of our favorite cheesecakes we make is our New York Cheesecake, Lemon Cheesecake and Creme Brûlée Cheesecake.
WHY THIS RECIPE WORKS:
- A little goes a long way, this cheesecake will serve a crowd.
- It is really simple to whip up.
- It is a perfect combination of flavors.
I thing that peanut butter and chocolate fully belong together. They are married in my mind. Anything that contains chocolate and peanut butter is bound to be good.
This Peanut Butter Cheesecake recipe is no exception to that rule! I hope I’m not the odd man out, but if you don’t think that these two flavors belong together, then you’re crazy!
HOW TO MAKE PEANUT BUTTER CHEESECAKE, STEP BY STEP:
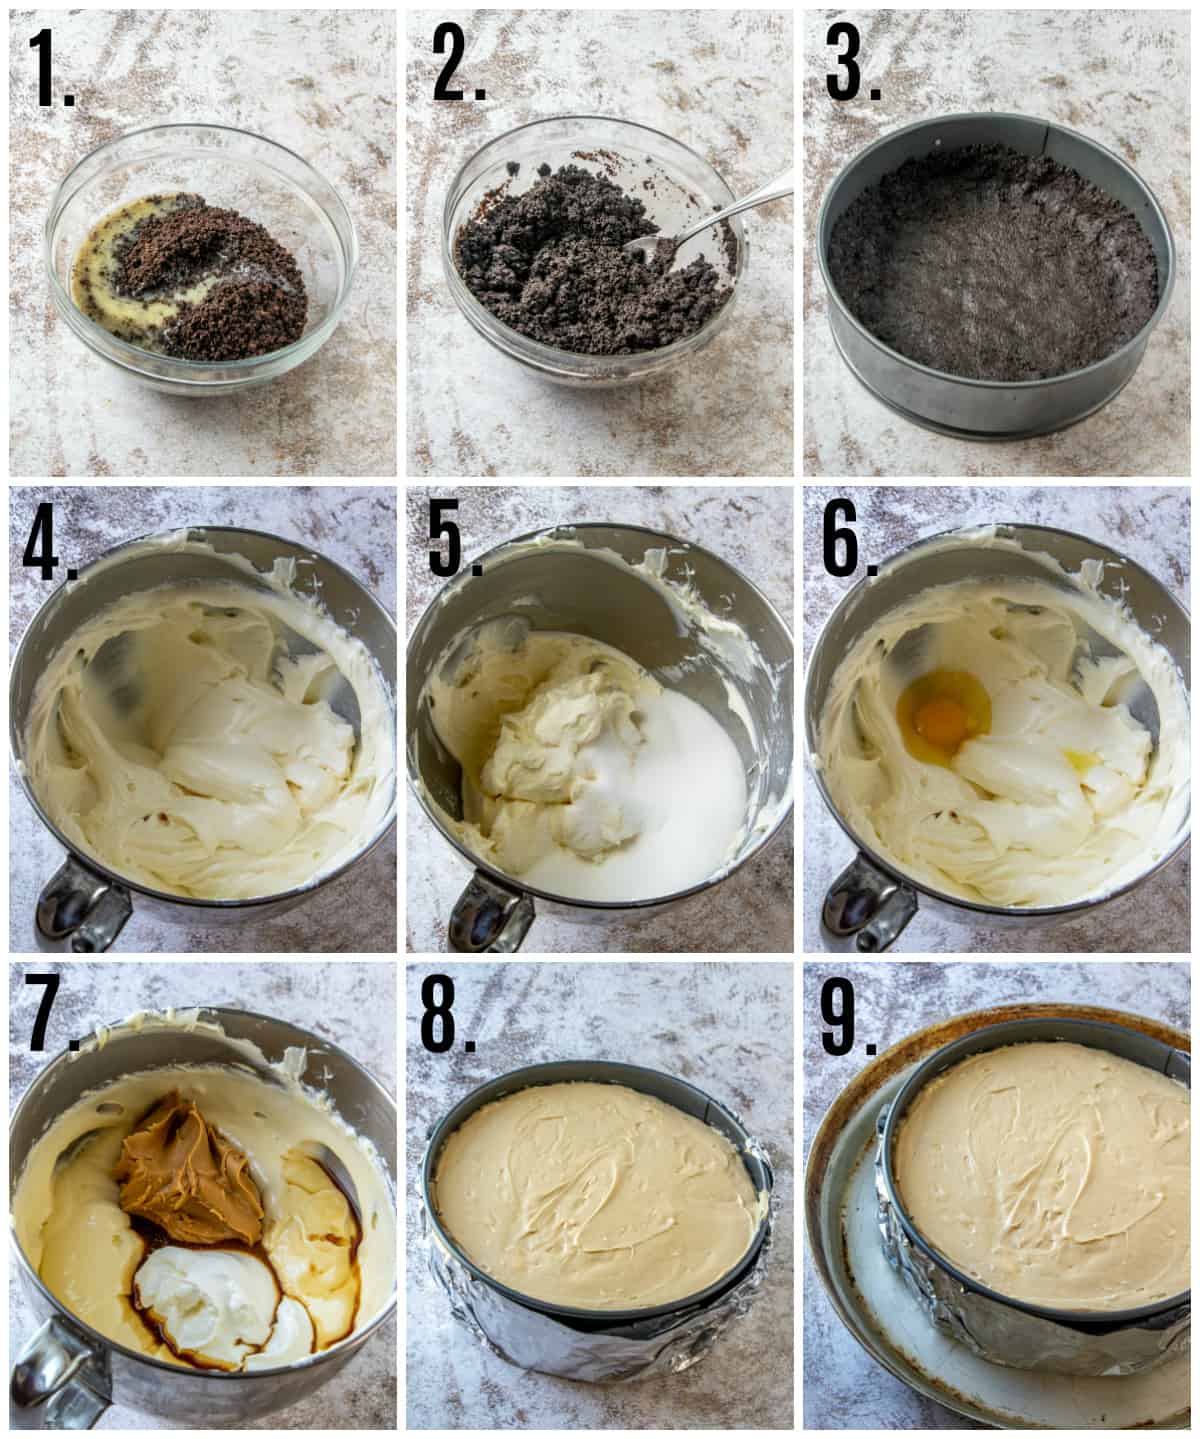
- Preheat oven to 325. In bowl add your Oreo crumbs and butter.
- Mix this together until combined.
- Line a 9″ springform pan with parchment paper, spray with non-stick cooking spray and pour your crust mix into pan and press into bottom and up the sides, place in refrigerator.
- In bowl of stand mixer add your cream cheese and beat well until smooth and creamy and no lumps remain.
- Add in your sugar slowly and beat again until combined.
- Next add in your eggs one at a time, mixing well after each addition.
- Then add in your vanilla extract, peanut butter and sour cream and beat again until everything is smooth and combined.
- Wrap your springform pan in heavy duty tinfoil and pour your cheesecake mixture into your prepared pan and smoothe out the top.
- Place in a large baking dish and fill with about 1″ of water, reduce heat of oven to 300 degrees F and bake for 1 1/2 hours, then shut off oven and let sit in oven for another hour before removing and chilling.
HOW TO STORE CHEESECAKE:
- REFRIGERATOR: Any cream cheese based dessert needs to be stored in the refrigerator for safety purposes. This Peanut Butter Cheesecake can be wrapped in tin-foil or Saran Wrap and be stored for 3-4 days.
- FREEZER: If you want to freeze your cheesecake before consuming, bake and cool as directed, once cooled in the refrigerator, remove your springform pan sides and place uncovered in freezer for about one hour, then remove and remove from the bottom of the springform pan. Wrap tightly in saran wrap or tin-foil and place in an airtight container or a large ziplock bag, this should keep for about 3-4 months.
We love freezing cheesecakes, since we do make a lot of them in our house. They are a perfect dessert that you can pull out ahead of time before you have guests over.
This has become a tradition for us, usually we will make two cheesecakes and then consume one and freeze one. Since they are a longer process having one on hand helps!
HOW TO KEEP A CHEESECAKE FROM CRACKING:
I am a believer in water baths. I think that that is the key trick to keep your cheesecake from cracking and I have never strayed from that method.
It helps keep moisture in the oven which aids in the cheesecakes top from not cracking and it also evaporates while baking which aids in the process as well.
A lot of people don’t have large enough baking dishes to fit their springform pan in so in that case you can fill a cake pan or something of the sort with water and place it on the rack underneath the cheesecake.
HOW TO KEEP MY CHEESECAKE FROM SWEATING:
The reason your cheesecake forms condensation on the top is because it was not properly cooled before refrigerating. You will want your. Peanut Butter Cheesecake completely cool before refrigerating.
We let ours sit out on the countertop until it has came to room temperature.
Then you cover tin-foil or Saran Wrap as well to also help keep any moisture out. There is still a chance that some moisture will build up on the top, just you can just blot that off with paper towels.
HOW TO MAKE A GANACHE:
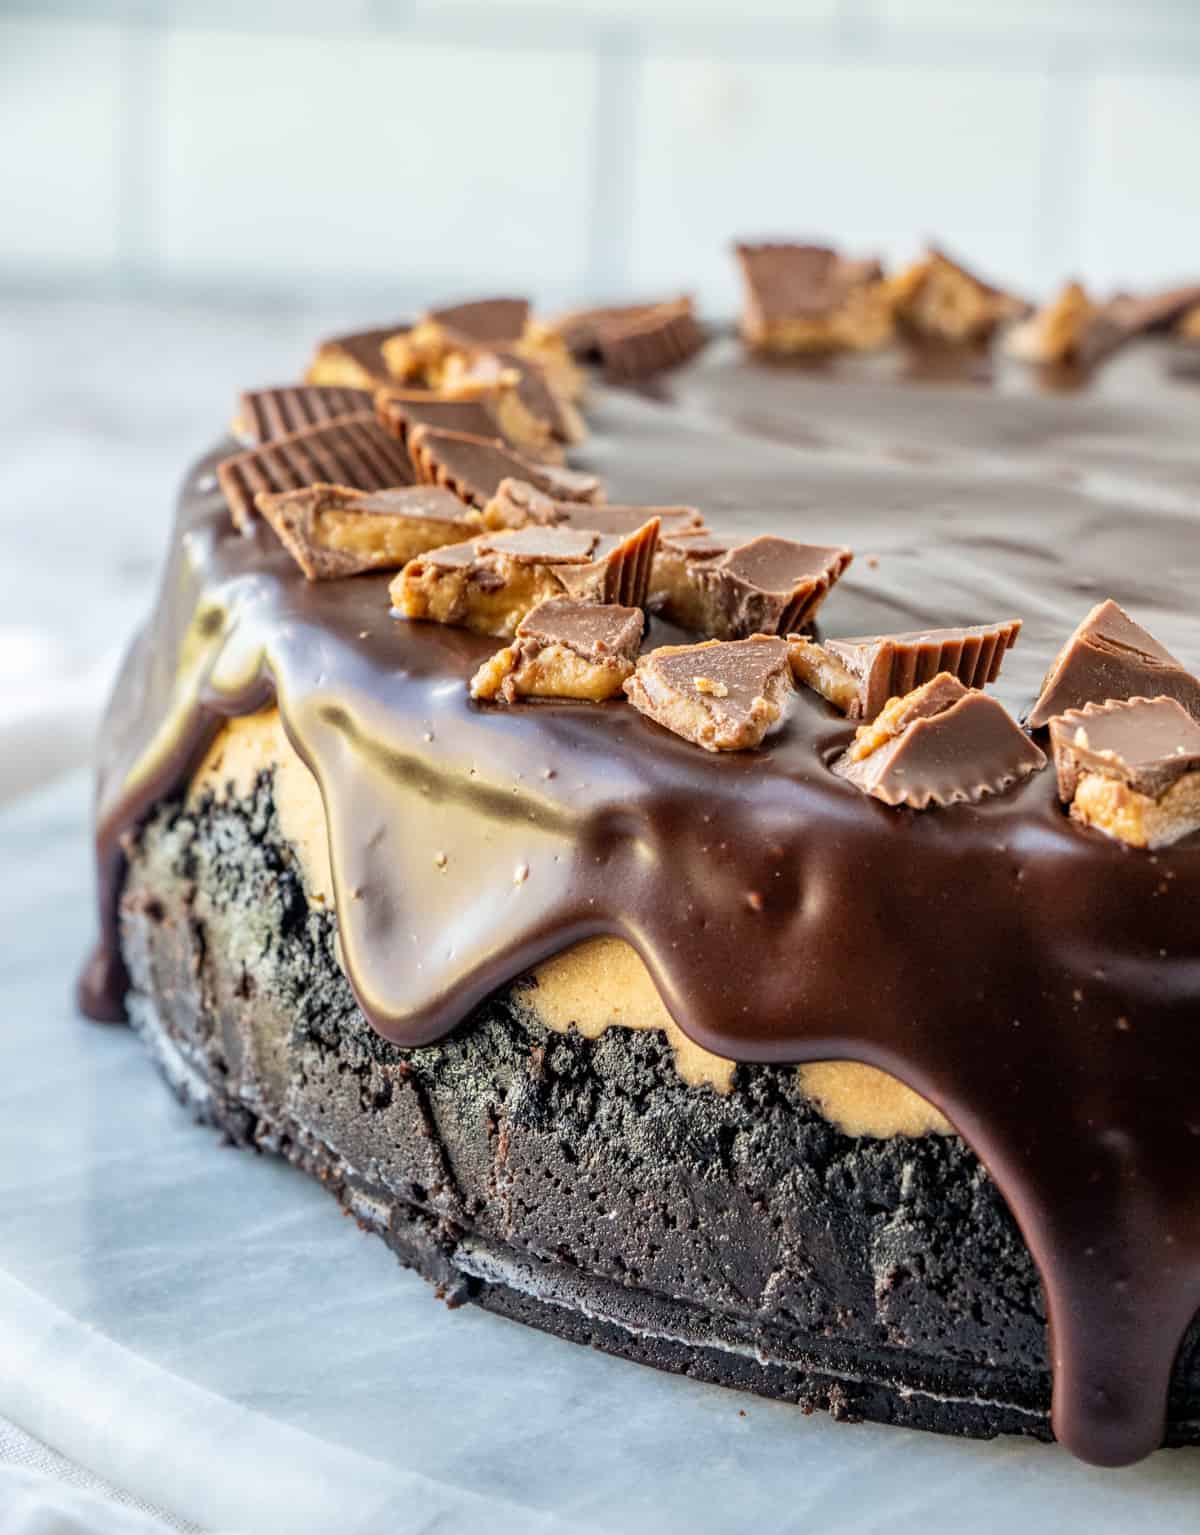
We love the extra layer of ganache on this Peanut Butter Cheesecake recipe. It is a nice contrast and adds a little rich flavor. If you’ve never made a ganache before it is super simple.
- In a bowl add 1 1/2 cups of chocolate chips or chopped chocolate (we like to use semi-sweet).
- In microwave or on stove heat 1/2 cup heavy whipping cream until it just starts to bubble.
- Pour this over your chocolate chips and then cover the bowl with a paper plate or regular plate and let sit for about 5 minutes.
- Remove plate and whisk until chocolate is all melted.
We let this cool slightly before we pour it over our cheesecake to let it thicken, also pouring over something that is cold will help the ganache thicken as well.
So let cool slightly then get your cheesecake out and on serving platter then start drizzling the ganache over the top and spreading it over the sides.
Then we like to top it with chopped up peanut butter cups. Do not put your peanut butter cups on right away because the ganache will still be slightly warm and will melt them.
Let the ganache cool a little bit longer then you can press into to the top of your Peanut Butter Cheesecake!
You will fall in love with this recipe. It has just the right amount of peanut butter in it, it’s not too overpowering. You can taste all the flavors in one bite.
That is one thing that I love the most about this recipe is that not one single part overpowers the rest and it has a nice balance of flavors.
TIPS AND TRICKS:
- Add your eggs one at a time mixing well after each addition, this ensures that they are evenly distributed through the batter.
- Beat your cream cheese for a minimum of 3-4 minutes you really want to get it smooth and all the lumps out.
- DO NOT SKIP the water bath! If you cannot find a pan large enough to fit your springform pan in, place a pan filled with water on the rack underneath your cheesecake instead.
- Remember to cool completely before you refrigerate to keep it from sweating while chilling overnight.
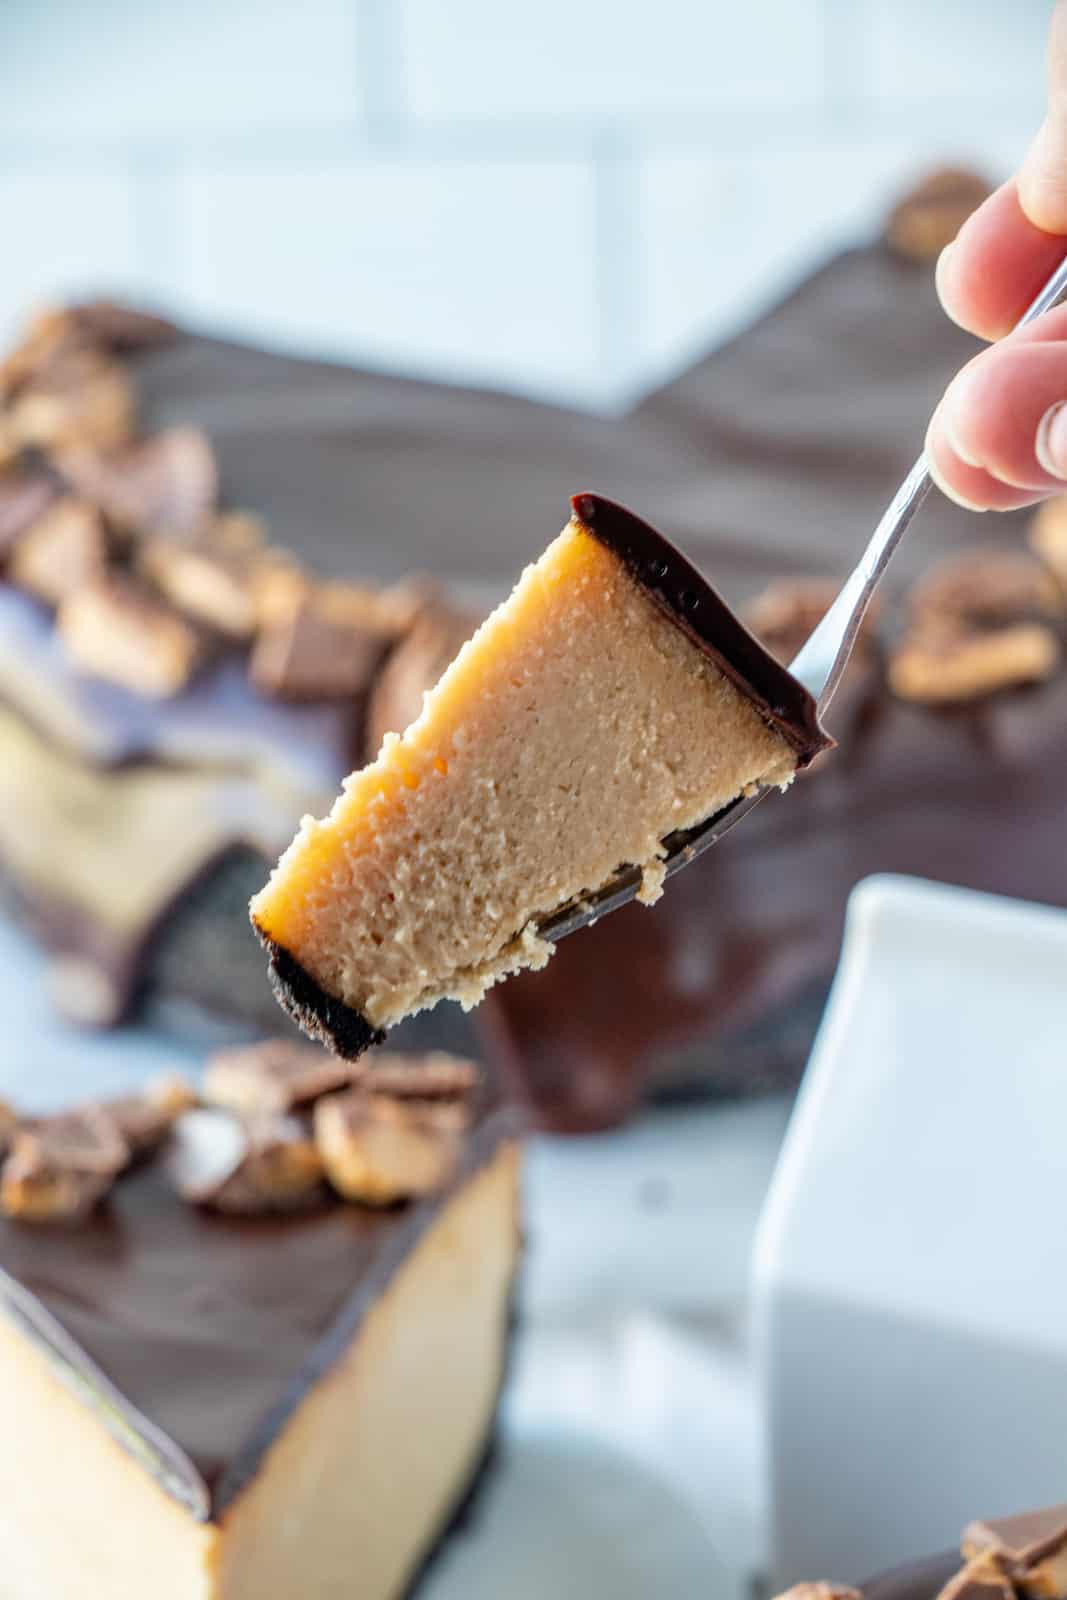
- My key to the perfect slice of cheesecake is to run a knife under hot water and wipe off and cut your cheesecake, seriously they come out so smooth.
- You can substitute graham cracker crumbs (chocolate or regular) for this recipe, the amounts will differ it will be 2 cups of crushed graham cracker crumbs to the 1 stick of butter.
If you want a fun and tasty dessert recipe that everyone will fall in love with then you need to whip up this Peanut Butter Cheesecake, you won’t regret it!
If you like this recipe you might also like:
If you’ve tried this PEANUT BUTTER CHEESECAKE or any other recipe on my site, let me know in the comment section how it turned out, we love hearing from our readers! You can also follow along with me on PINTEREST, FACEBOOK and INSTAGRAM to see more amazing recipes and what shenanigans I’m getting into!
Peanut Butter Cheesecake
Ingredients
Crust:
- 3 cups Oreos crushed
- 1/2 cup butter
Cheesecake:
- 4 8 oz pkgs cream cheese softened
- 1 cup sugar
- 4 eggs
- 2 tsp vanilla
- 1 1/2 cup creamy peanut butter
- 1 cup sour cream
Ganache:
- 1 1/2 cup semi-sweet chocolate chips
- 1/2 cup heavy whipping cream
- 9 peanut butter cups chopped
Instructions
- Preheat oven to 325.
- Spray a springform pan with non-stick cooking spray.
- Mix together your crust ingredients and press into the bottom and up the sides of a 9" springform pan and then set in refrigerator.
- In bowl of a stand mixer add your cream cheese and beat until smooth and lumps are gone then add in your sugar slowly until combined.
- Next add in your eggs one at a time, mixing well after each addition. This ensures that they are fully incorporated evenly.
- Then add in your vanilla extract, peanut butter and sour cream just mixing until combined.
- Wrap springform pan in heavy duty tin-foil and pour into your prepared crust and place in large roasting dish and fill dish about half way up your springform pan with hot water (the water bath helps the cheesecake from not cracking).
- Reduce oven heat to 300 and bake for 1 hour and 30 minutes then turn off heat and leave in oven for another hour until center is set.
- Remove from oven and place on counter to cool to room temperature and then refrigerate for an additional 8 hours.
- When ready to serve make ganache by adding your chocolate chips to a medium sized bowl, set aside.
- In microwave or on stove heat 1/2 cup heavy whipping cream until it just starts to bubble.
- Pour over your chocolate chips and cover for about 5 minutes, remove cover and whisk until smooth.
- Let cool slightly, at this time you can prepare your cheesecake by putting on serving tray.
- Spoon your ganache over the top of your cheesecake and spread slowly over the sides.
- Let cool a little more then sprinkle edges with chopped peanut butter cups if desired.
Notes
- Add your eggs one at a time mixing well after each addition, this ensures that they are evenly distributed through the batter.
- Beat your cream cheese for a minimum of 3-4 minutes you really want to get it smooth and all the lumps out.
- DO NOT SKIP the water bath! If you cannot find a pan large enough to fit your springform pan in, place a pan filled with water on the rack underneath your cheesecake instead.
- Remember to cool completely before you refrigerate to keep it from sweating while chilling overnight.
- My key to the perfect slice of cheesecake is to run a knife under hot water and wipe off and cut your cheesecake, seriously they come out so smooth.
- You can substitute graham cracker crumbs (chocolate or regular) for this recipe, the amounts will differ it will be 2 cups of crushed graham cracker crumbs to the 1 stick of butter.
Nutrition
Tornadough Alli is not a nutritionist or dietitian, and any nutritional information shared is an estimate. If calorie count and nutritional value is important to you, we recommend running the ingredients through whichever online nutritional calculator you prefer. Calories and values can vary depending on which brands were used.


Leave a Reply