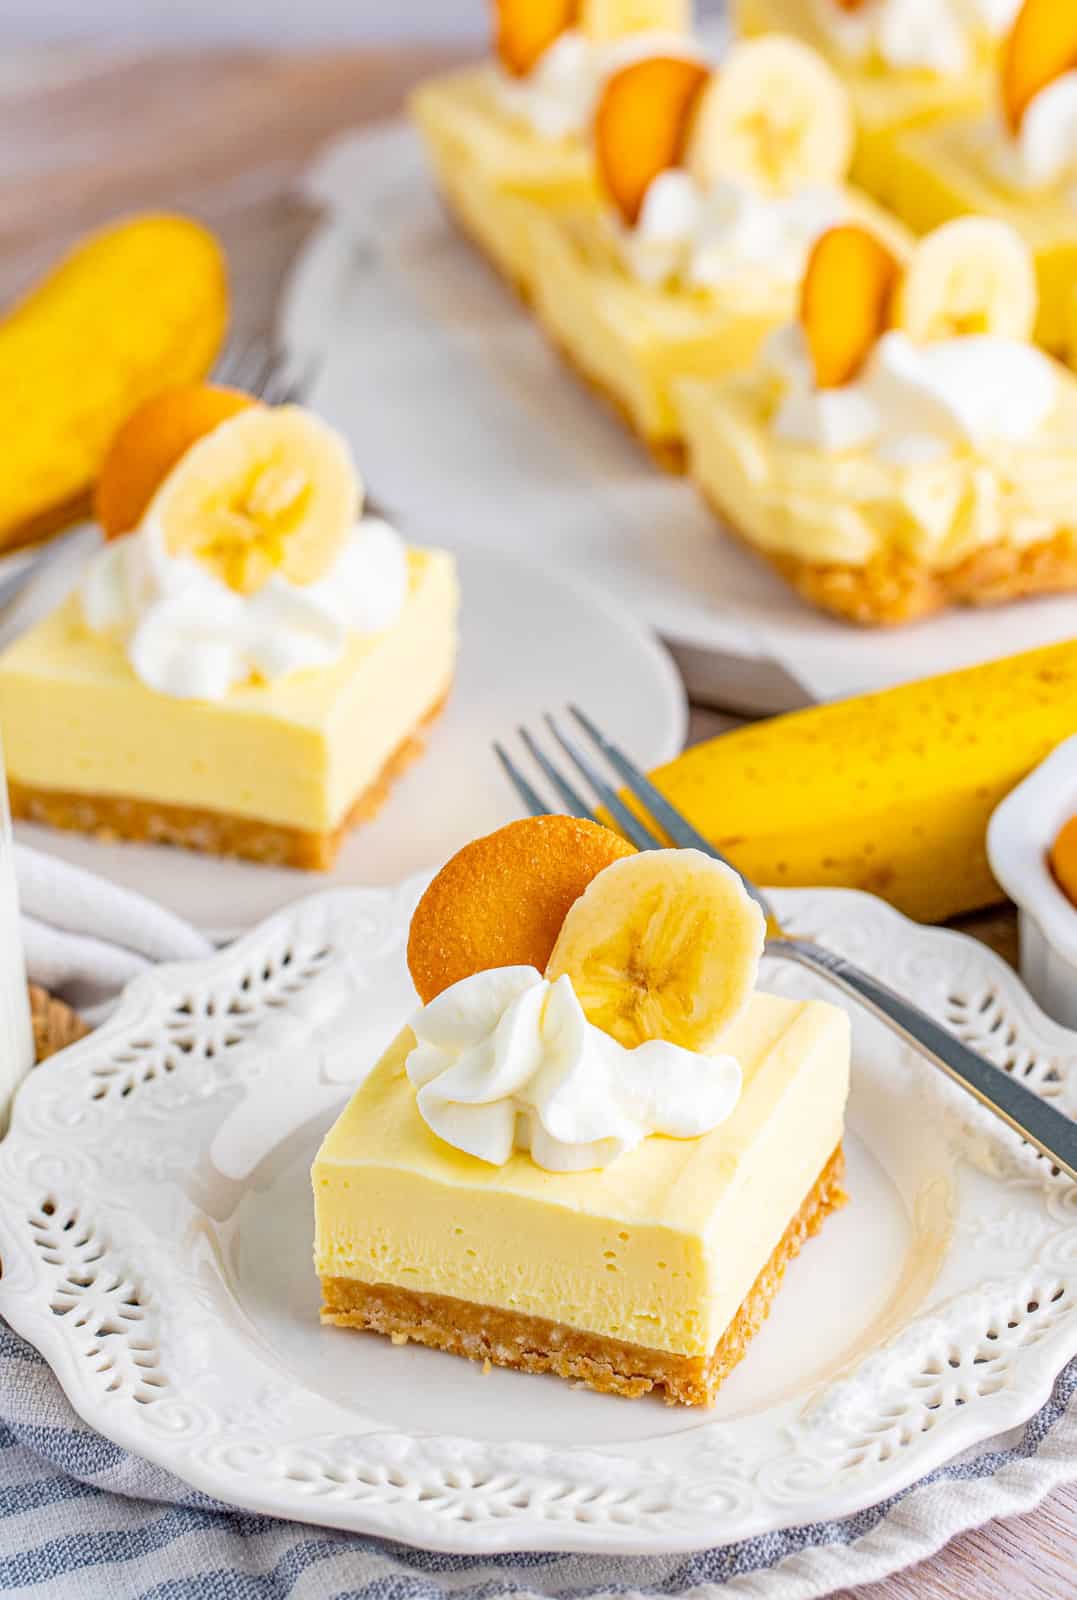
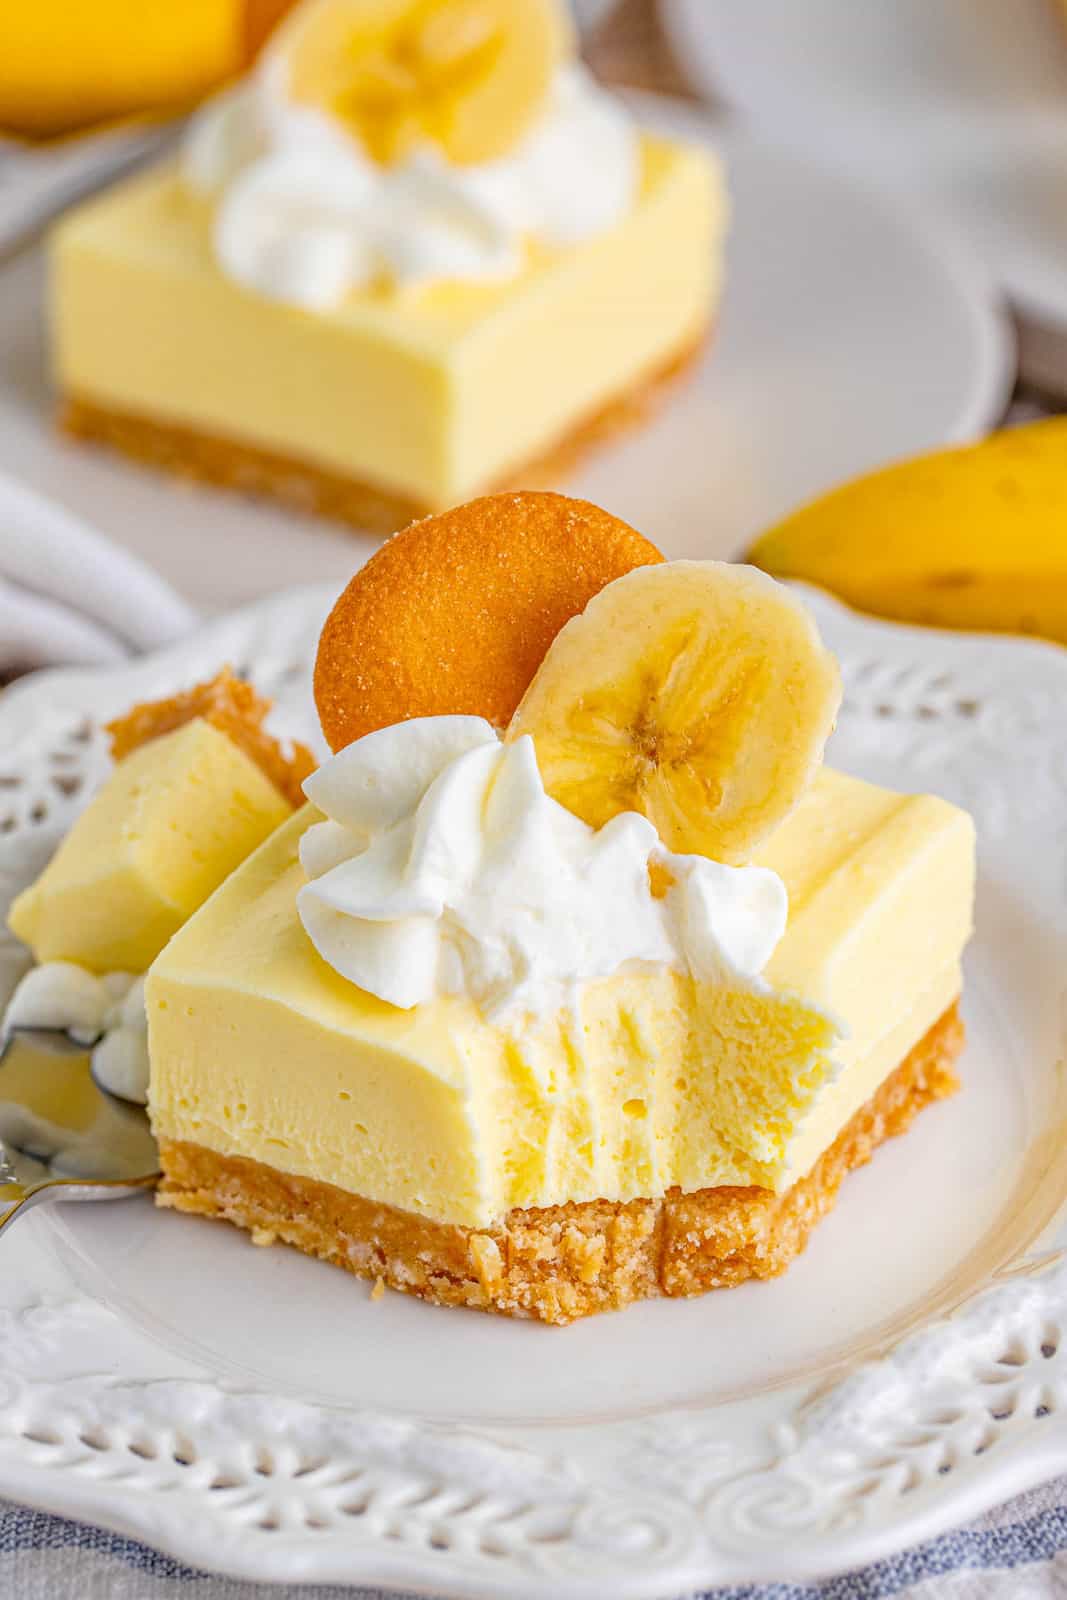
These super simple No Bake Banana Cheesecake Bars have a yummy crushed Nilla wafer crust and a delicious banana cream cheesecake flavor with every bite.
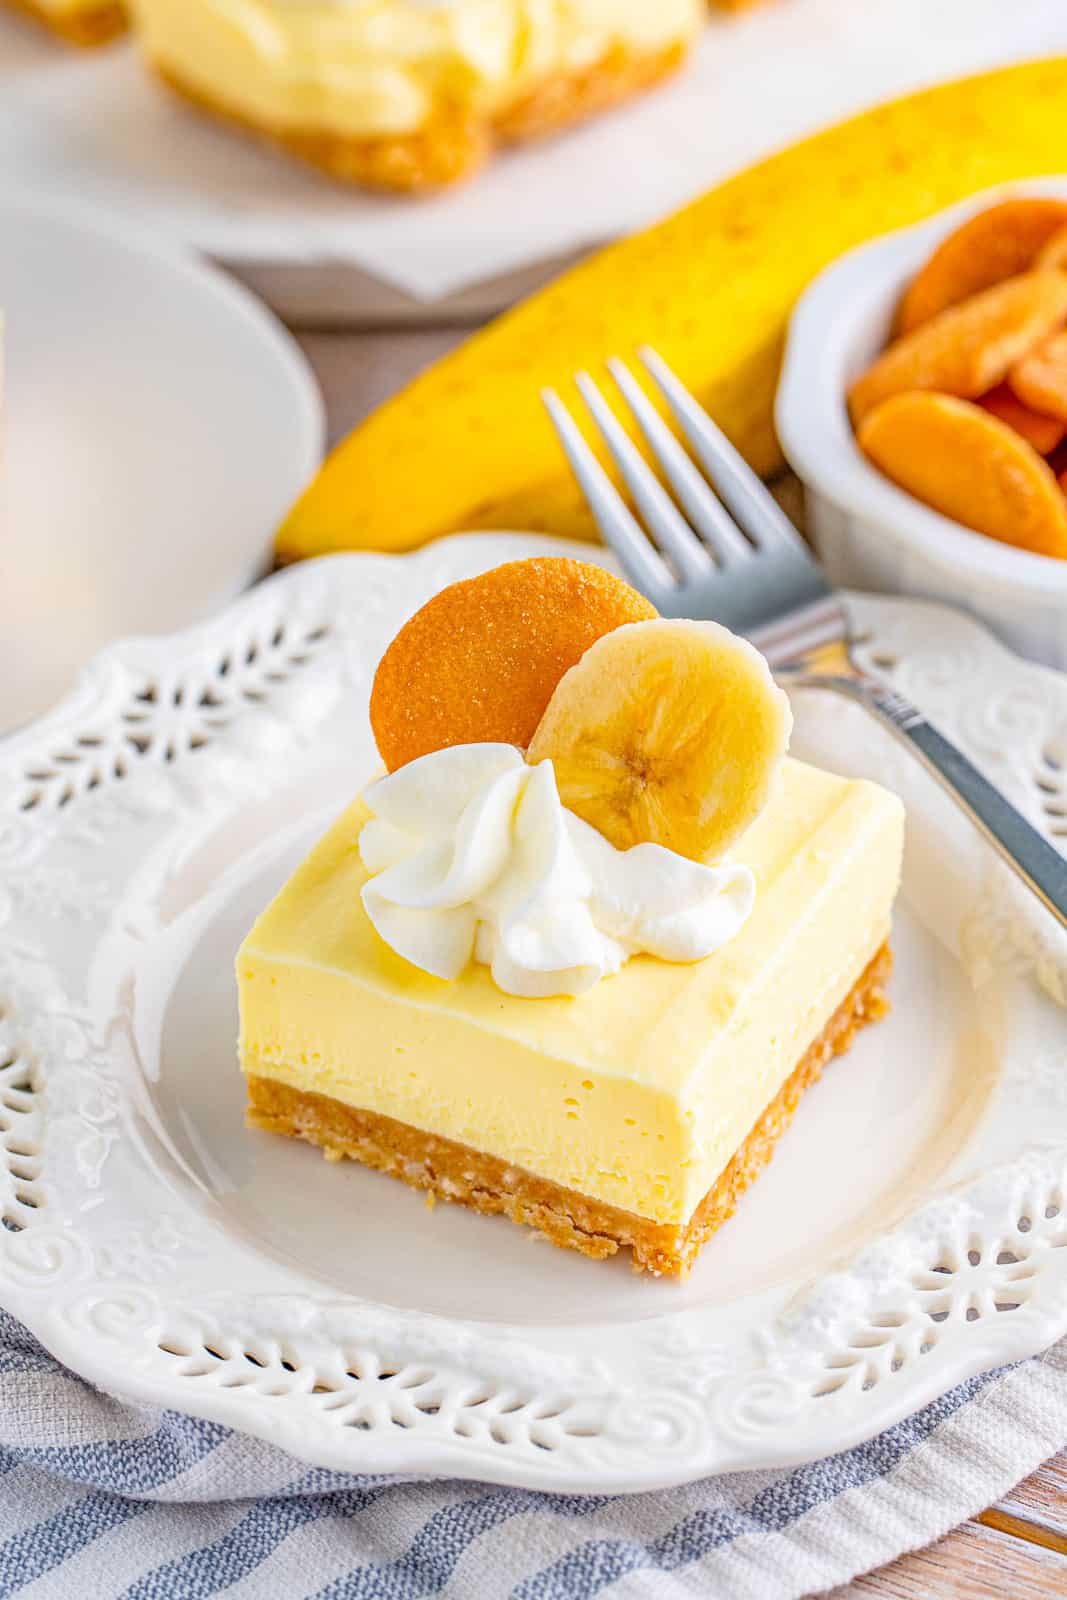
No Bake desserts are one of my favorite kinds of desserts, no heating the house, no long list of ingredients, no hours of work to make a gorgeous dessert necessary.
Instead, you spend a few minutes making a crust and then whip up the cheesecake filling for these No Bake Cheesecake Bars and then let the refrigerator do all the hard work.
I’ve been making these foreverrrrr and they always get devoured the same day I make them. Never any leftovers to have to worry about storing, but if you end up with some leftovers no worries I have you covered with the instructions for storing them below.
This No Bake Banana Cream Cheesecake Bar recipe is like combining the best banana cream pie you’ve ever had with your favorite classic cheesecake and getting the perfect decadent dessert every time.
If you have been reading my site for any length of time, I love anything banana related, cookies, bars, cheesecake, cake. Whatever it is, I’m all about it but these Banana Cheesecake Bars are absolutely one of my favorites.
Some of our other favorite banana recipes we have on our site include: Banana Cream Pie, Banana Cupcakes and Banana Cookies!
WHY THIS RECIPE WORKS:
- Minimal ingredients are need to whip these up.
- No heating up the oven since these are no-bake!
- Perfect for potlucks, parties, and get togethers.
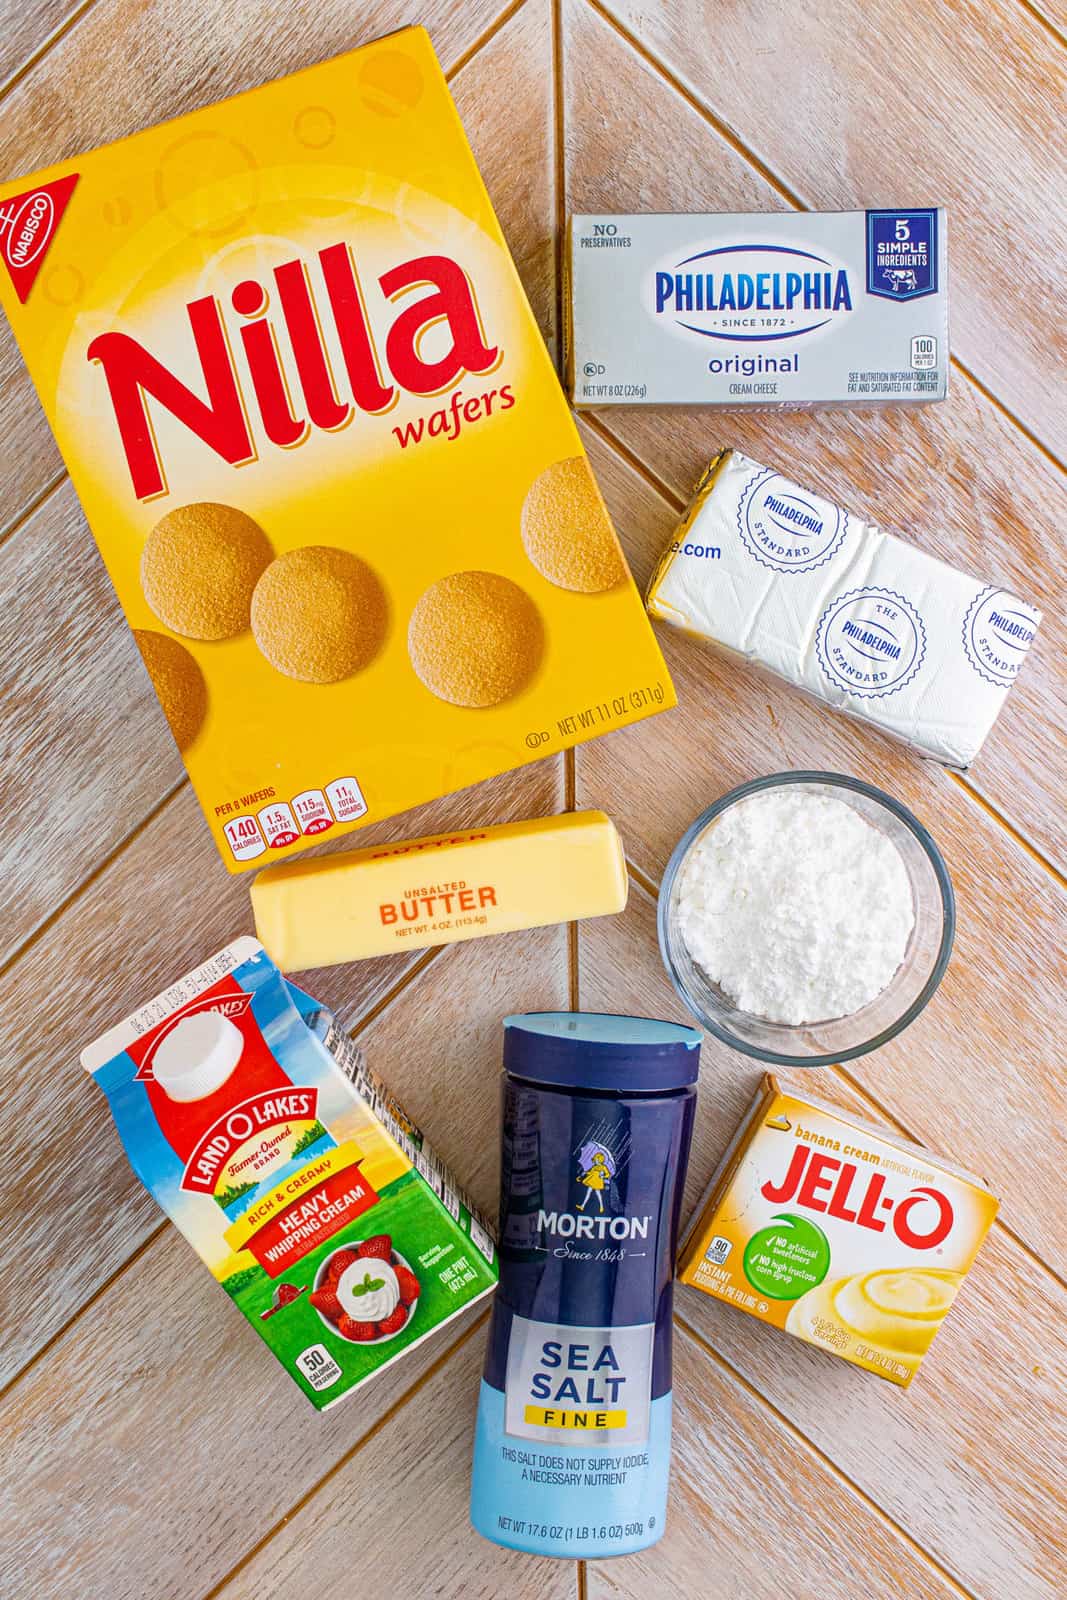
INGREDIENTS NEEDED (FULL RECIPE AT BOTTOM)
Nilla wafers
Unsalted butter
Powdered sugar
Fine sea salt
Cream cheese
Instant banana cream pudding mix
Heavy whipping cream
Whipped cream
Sliced bananas
HOW TO MAKE NO BAKE BANANA CHEESECAKE BARS, STEP BY STEP:
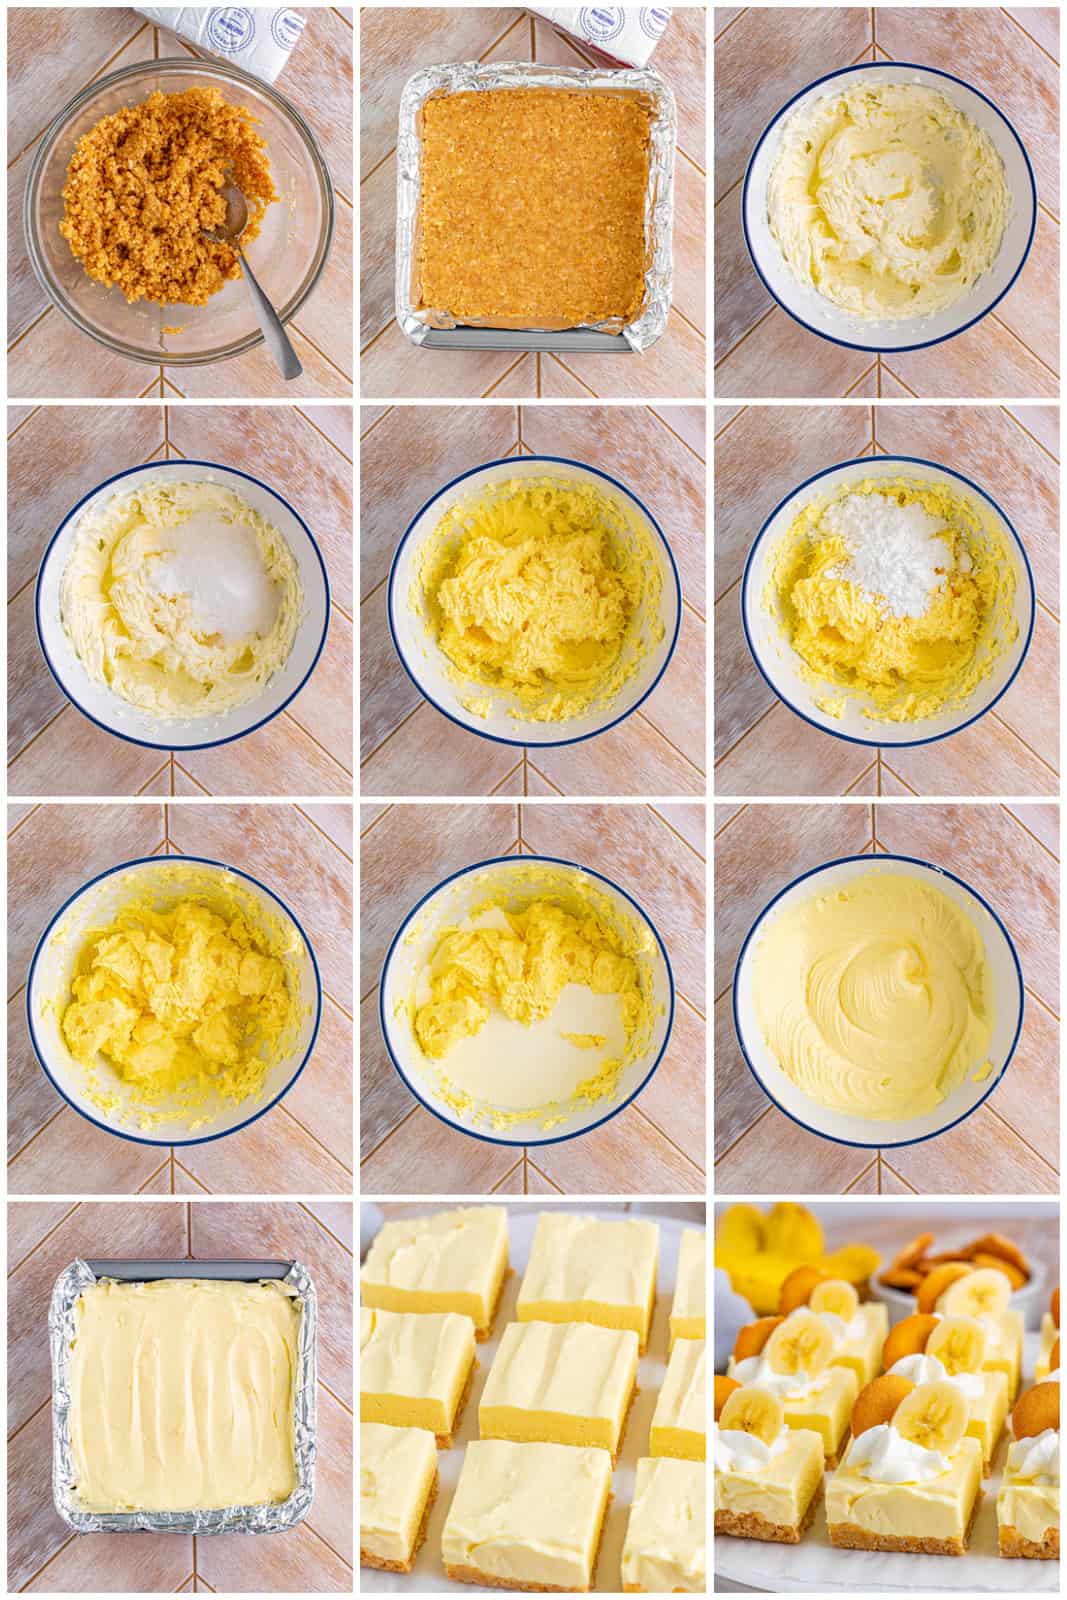
- Grab your 8×8-inch baking dish, line it with aluminum foil, and spray it with cooking spray before setting it aside.
- Place the Nilla wafers in a plastic bag and use a rolling pin to crush them. You can also use a food processor to crush them if desired. Mix the crushed Nilla wafers with the melted butter, powdered sugar, and salt, and stir until well combined to create the crust base.
- Press the crust base you just made into the baking dish. Place your baking dish with the crust in the refrigerator while you work on the filling.
- In a large mixing bowl, add the cream cheese and whip it using an electric hand mixer until it’s nice and smooth.
- Now, add the pudding mix to the whipped cream cheese and mix until smooth.
- Then add the powdered sugar to the mixture and mix until smooth.
- Now, add the cream to the mixture and slowly mix it in until the mixture is smooth, be sure to scrape down the sides to incorporate everything together.
- Pour this no-bake cheesecake mixture on top of the crust and smooth it out over the whole baking dish.
- Cover the bars with plastic wrap and put them in the refrigerator to set for at least 6 hours. Letting it set overnight is best if possible.
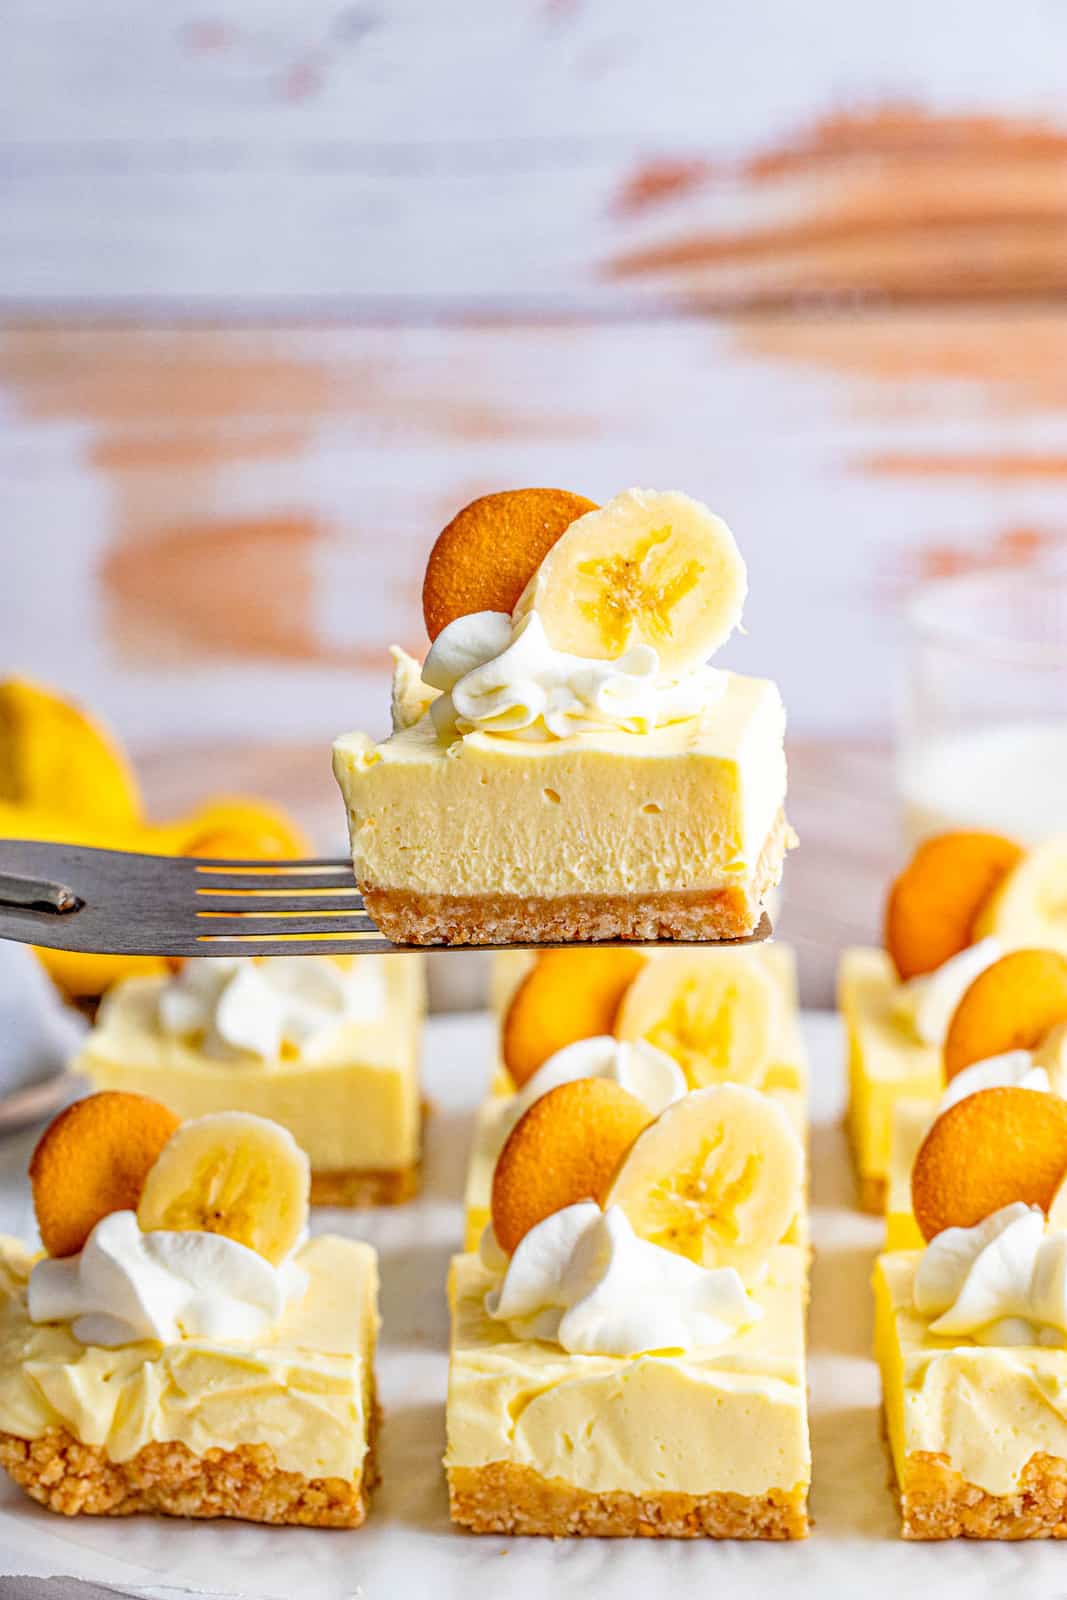
- When ready to serve, remove the cheesecake by using the foil to help you lift it out of the pan. Use a sharp knife to slice the cheesecake into 9 bars and top each bar with more nilla wafers, whipped cream, and fresh banana slices as a garnish, if desired.
HOW DO I CUT THE PERFECT SLICE?
To make a beautiful clean nice, square/rectangular Banana Cheesecake Bars, run some hot water over your knife and wipe it clean with a dry paper towel or kitchen towel before making your initial slice.
Then after each slice that you make, wipe the knife queen with a damp paper towel to get the residual no-bake cheesecake bar off of the life.
HOW LONG DO THESE BARS HAVE TO SET?
I recommend letting your cheesecake bars set for 6 hours at the minimum. For better results you can let the bars set for eight hours, or up to overnight.
The longer they set the firmer the bars will get and this gives the bars plenty of time to develop a deep, delicious, rich banana flavor.
DO I HAVE TO USE NILLA WAFERS FOR THE CRUST?
No, you can use graham cracker crumbs or a shortbread cookie as well. Classic Cheesecake Bars use the graham cracker crumb crust, but we love the flavor of the nilla wafers as it reminds us of banana pudding.
HOW TO STORE:
Store your leftover no bake cheesecake banana bars in an airtight container in the refrigerator for up to 5 days. I recommend storing these in the baking dish you used to make them in if possible, as you just need to cover the top with plastic wrap.
You can also store them in the airtight container, if you need to stack them, you can use parchment or wax paper in between the layers to prevent the bars from sticking together.
These can also be frozen. I recommend putting these cheesecake bars in your baking dish and then wrapping the baking dish with plastic wrap and aluminum foil. The the wrapped baking dish in a freezer safe bag if you have one large enough.
These will keep in the freezer for up to 1 month. You can either enjoy these No Bake Banana Cheesecake Bars frozen or you remove them to the refrigerator to let them thaw before eating them.
TIPS AND TRICKS:
- I like to use a tool with a flat bottom, like a drinking glass, to press the Nilla wafer crust into the baking dish smoothly and evenly.
- Instead of using an electric mixer, you can whip the cream cheese in the body of a stand mixer with the paddle attachment and use it for the rest of the recipe as well.
- You could also make a graham cracker crust instead of the Nilla wafer crust but I find that this Nilla wafers really compliment the overall flavor the best.
- Make sure your cream cheese is nice and soft so it whips easier and doesn’t leave any clumps.
- You can freeze these cheesecake bars to enjoy again later, see my tips above.
- Add drizzled caramel e on top to have a caramel banana flavor!
- This recipe can easily be doubled and made in a 9×13-inch baking pan.
Love Banana Pudding and Cheesecake but don’t want to make and bake a homemade cheesecake? Whip up these No Bake Banana Cheesecake Bars in no time o satisfy that banana craving.
IF YOU LIKE THIS RECIPE YOU MIGHT ALSO LIKE:
If you’ve tried this NO BAKE BANANA CHEESECAKE BARS or any other recipe on my site, let me know in the comment section how it turned out, we love hearing from our readers! You can also follow along with me on PINTEREST, FACEBOOK and INSTAGRAM to see more amazing recipes and what shenanigans I’m getting into!
No Bake Banana Cheesecake Bars
Ingredients
For the crust:
- 2 cups crushed Nilla wafers
- ½ cup unsalted butter melted
- ¼ cup powdered sugar
- Pinch of fine sea salt
For the filling:
- 16 ounces cream cheese softened
- 3.4 ounce package instant banana cream pudding mix
- ¾ cup powdered sugar
- 1 cup heavy whipping cream
- Nilla Wafers whipped cream, and sliced bananas for garnish
Instructions
- Grab your 8x8-inch baking dish, line it with aluminum foil, and spray it with cooking spray before setting it aside.
- Place the Nilla wafers in a plastic bag and use a rolling pin to crush them. You can also use a food processor to crush them if desired. Mix the crushed Nilla wafers with the melted butter, powdered sugar, and salt, and stir until well combined to create the crust base.
- Press the crust base you just made into the baking dish. Place your baking dish with the crust in the refrigerator while you work on the filling.
- In a large mixing bowl, add the cream cheese and whip it using an electric hand mixer until it's nice and smooth.
- Now, add the pudding mix to the whipped cream cheese and mix until smooth.
- Then add the powdered sugar to the mixture and mix until smooth.
- Now, add the cream to the mixture and slowly mix it in until the mixture is smooth, be sure to scrape down the sides to incorporate everything together.
- Pour this no-bake cheesecake mixture on top of the crust and smooth it out over the whole baking dish.
- Cover the bars with plastic wrap and put them in the refrigerator to set for at least 6 hours. Letting it set overnight is best if possible.
- When ready to serve, remove the cheesecake by using the foil to help you lift it out of the pan. Use a sharp knife to slice the cheesecake into 9 bars and top each bar with more nilla wafers, whipped cream, and fresh banana slices as a garnish, if desired.
Notes
- I like to use a tool with a flat bottom, like a drinking glass, to press the Nilla wafer crust into the baking dish smoothly and evenly.
- Instead of using an electric mixer, you can whip the cream cheese in the body of a stand mixer with the paddle attachment and use it for the rest of the recipe as well.
- You could also make a graham cracker crust instead of the Nilla wafer crust but I find that this Nilla wafers really compliment the overall flavor the best.
- Make sure your cream cheese is nice and soft so it whips easier and doesn't leave any clumps.
- You can freeze these cheesecake bars to enjoy again later, see my tips above.
- Add drizzled chocolate on top to have a chocolate banana flavor!
Nutrition
Tornadough Alli is not a nutritionist or dietitian, and any nutritional information shared is an estimate. If calorie count and nutritional value is important to you, we recommend running the ingredients through whichever online nutritional calculator you prefer. Calories and values can vary depending on which brands were used.


Leave a Reply