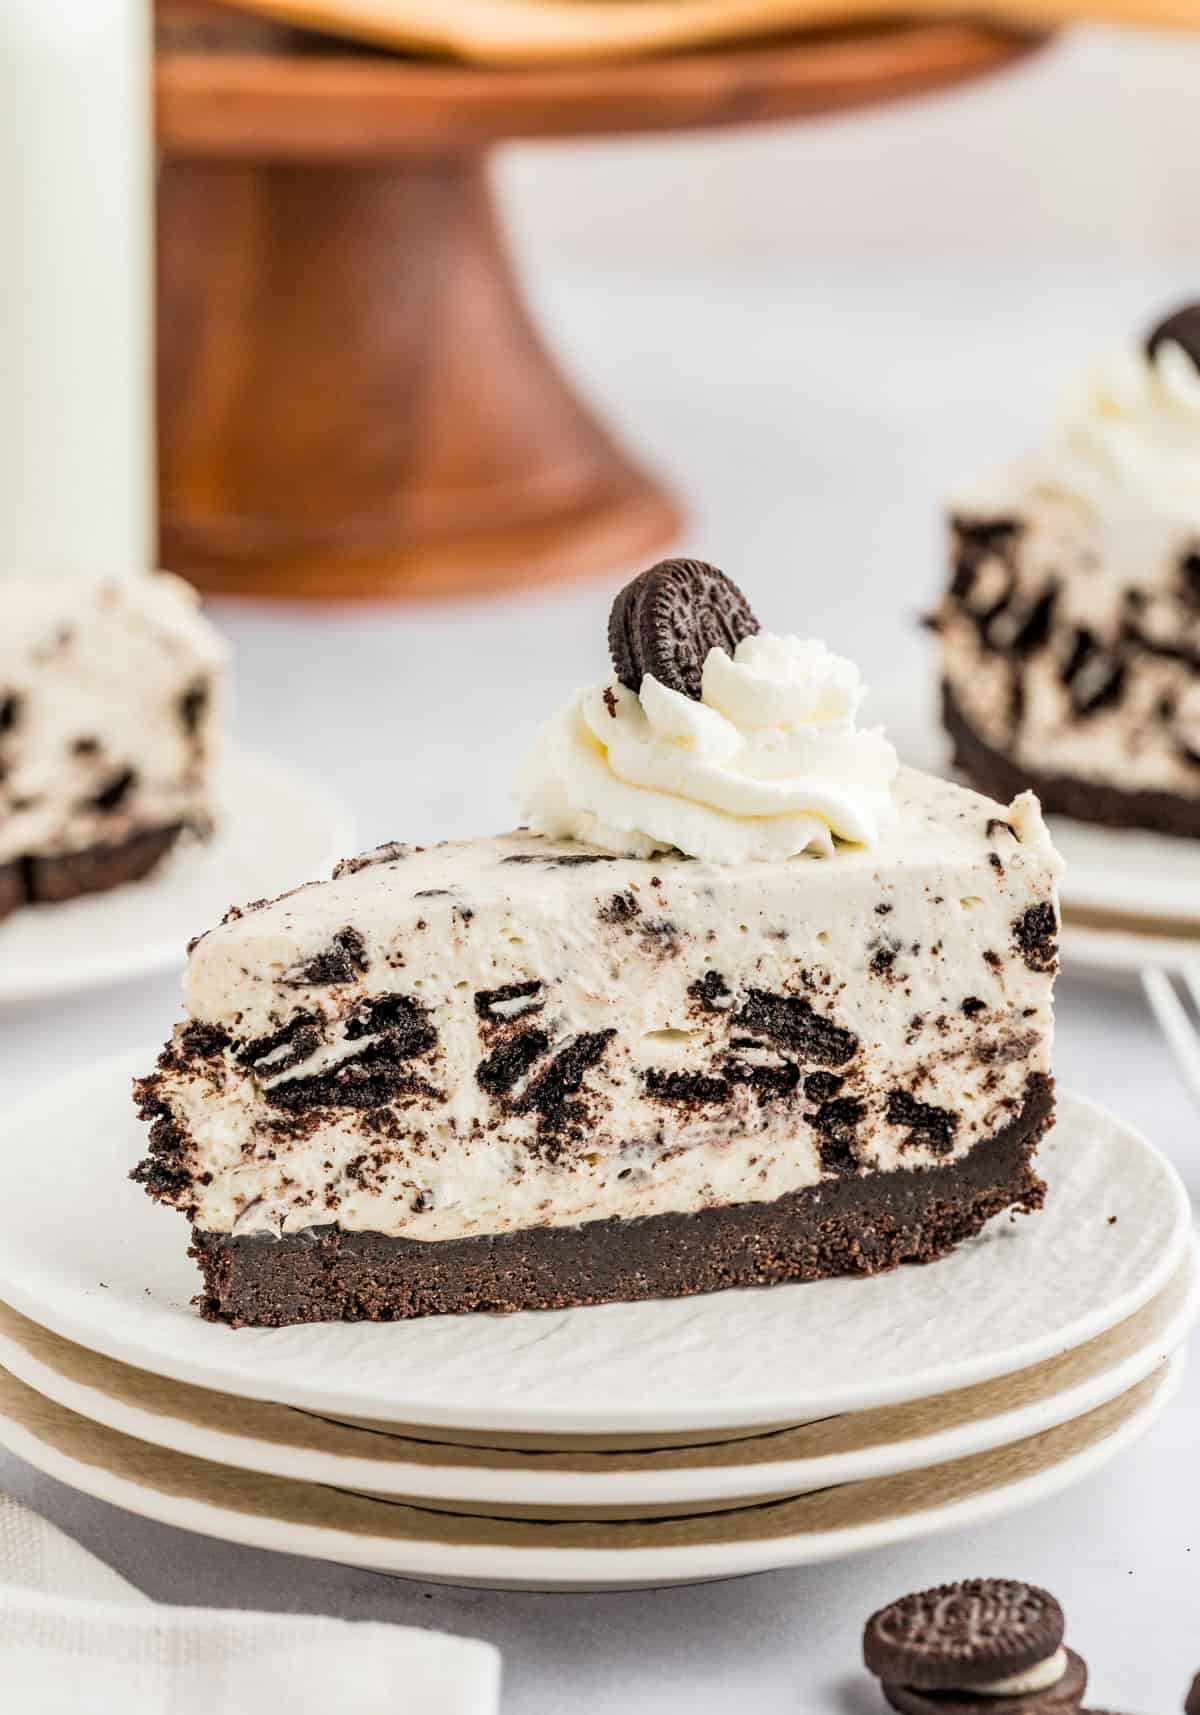
A tasty treat for any time of the year, this No Bake Oreo Cheesecake is filled with Oreos, white chocolate and is literally mouthwatering.
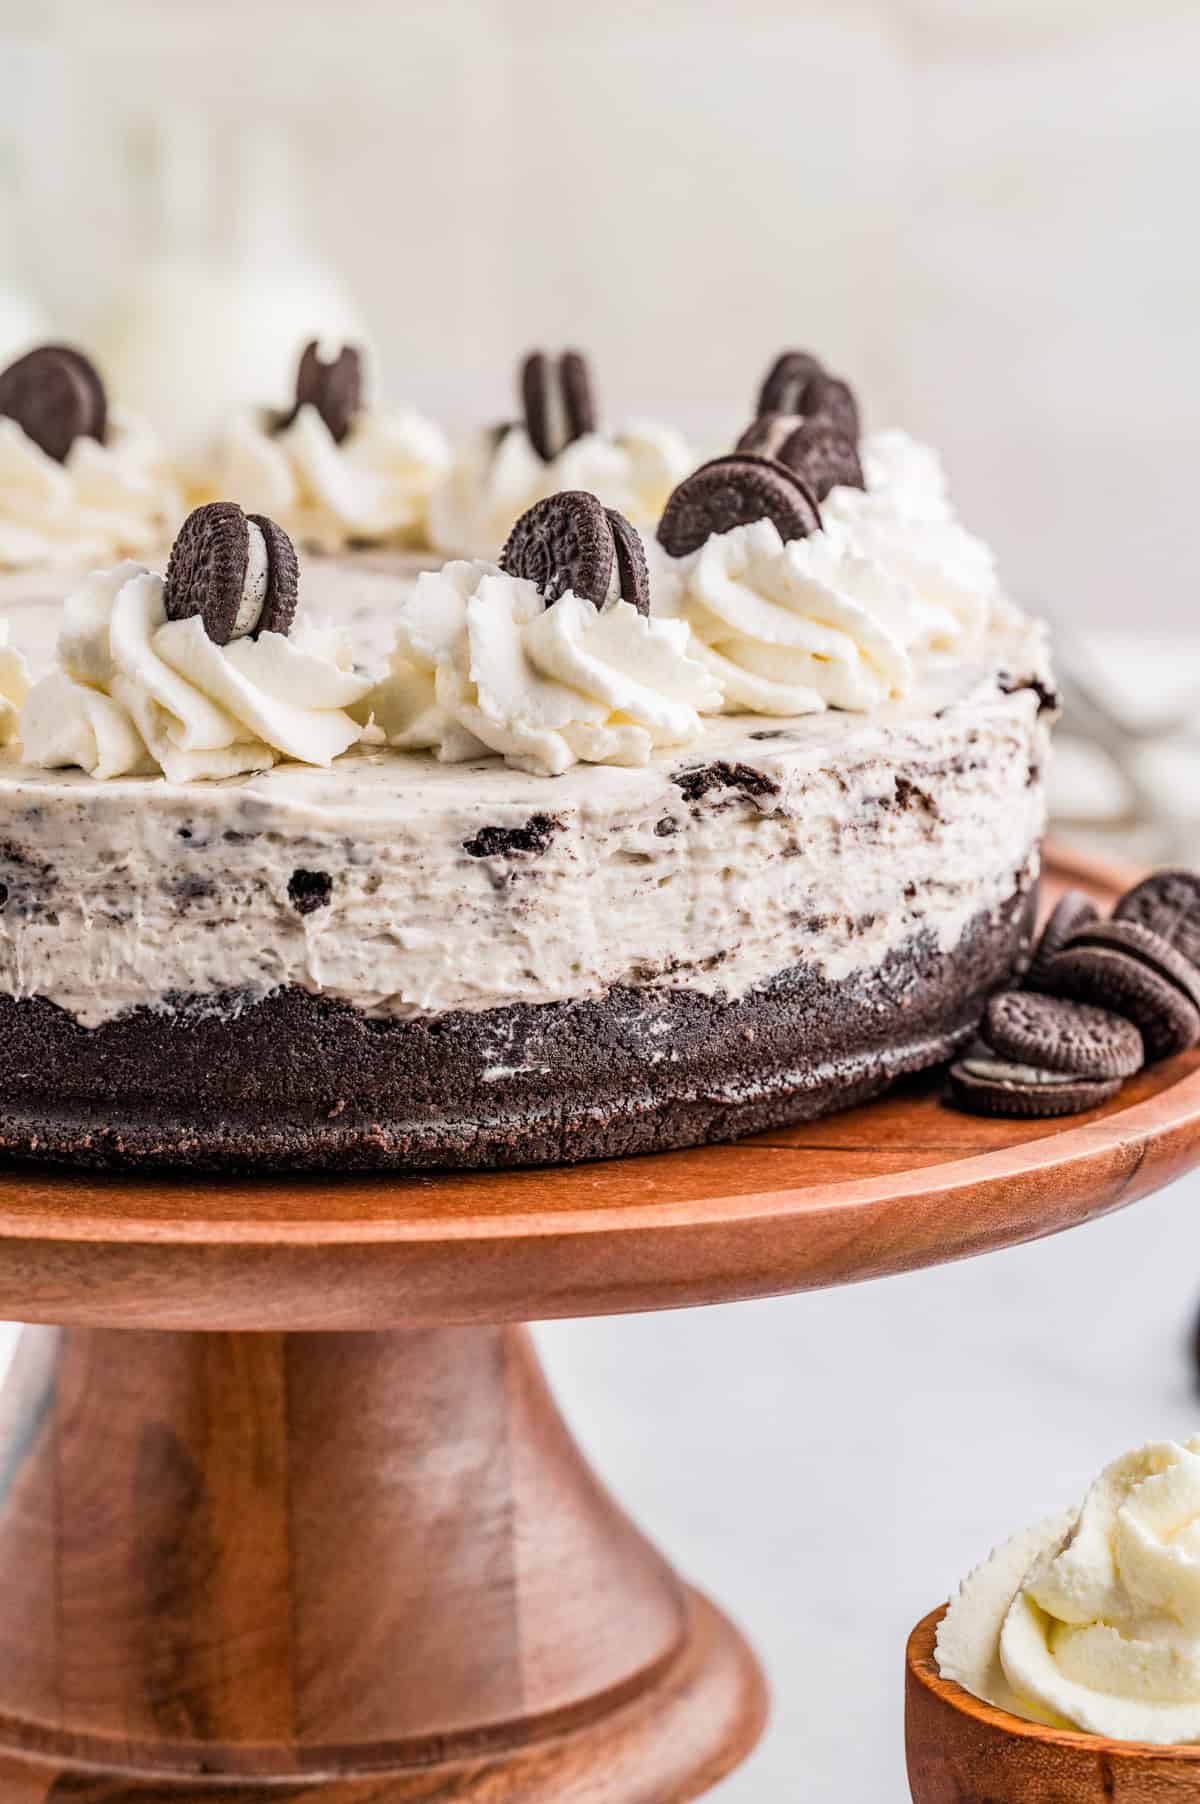
I love a good no bake recipe, and this No Bake Oreo Cheesecake is absolutely one of my favorities.
Dessert you know is high on my list, but cheesecakes are one of my all time favorite desserts ever.
Plus you add Oreos and you have me sold. This is why this recipe gets made more often than not in our household.
Everyone loves, it, its relatively easy – the hardest part is waiting for it to set! But after that you can devour to your hearts delight.
This is also customizable to make fun other flavors if you are not a fan of Oreo as well, but I mean who doesn’t love Oreo?
If you have been looking for that perfect no bake dessert, then this Oreo Cheesecake needs to happen soon.
Some of my other favorite no bake desserts we have on our site include: Easy No Bake Cookies, No Bake Peanut Butter Pie and No Bake Mint Chocolate Cheesecake.
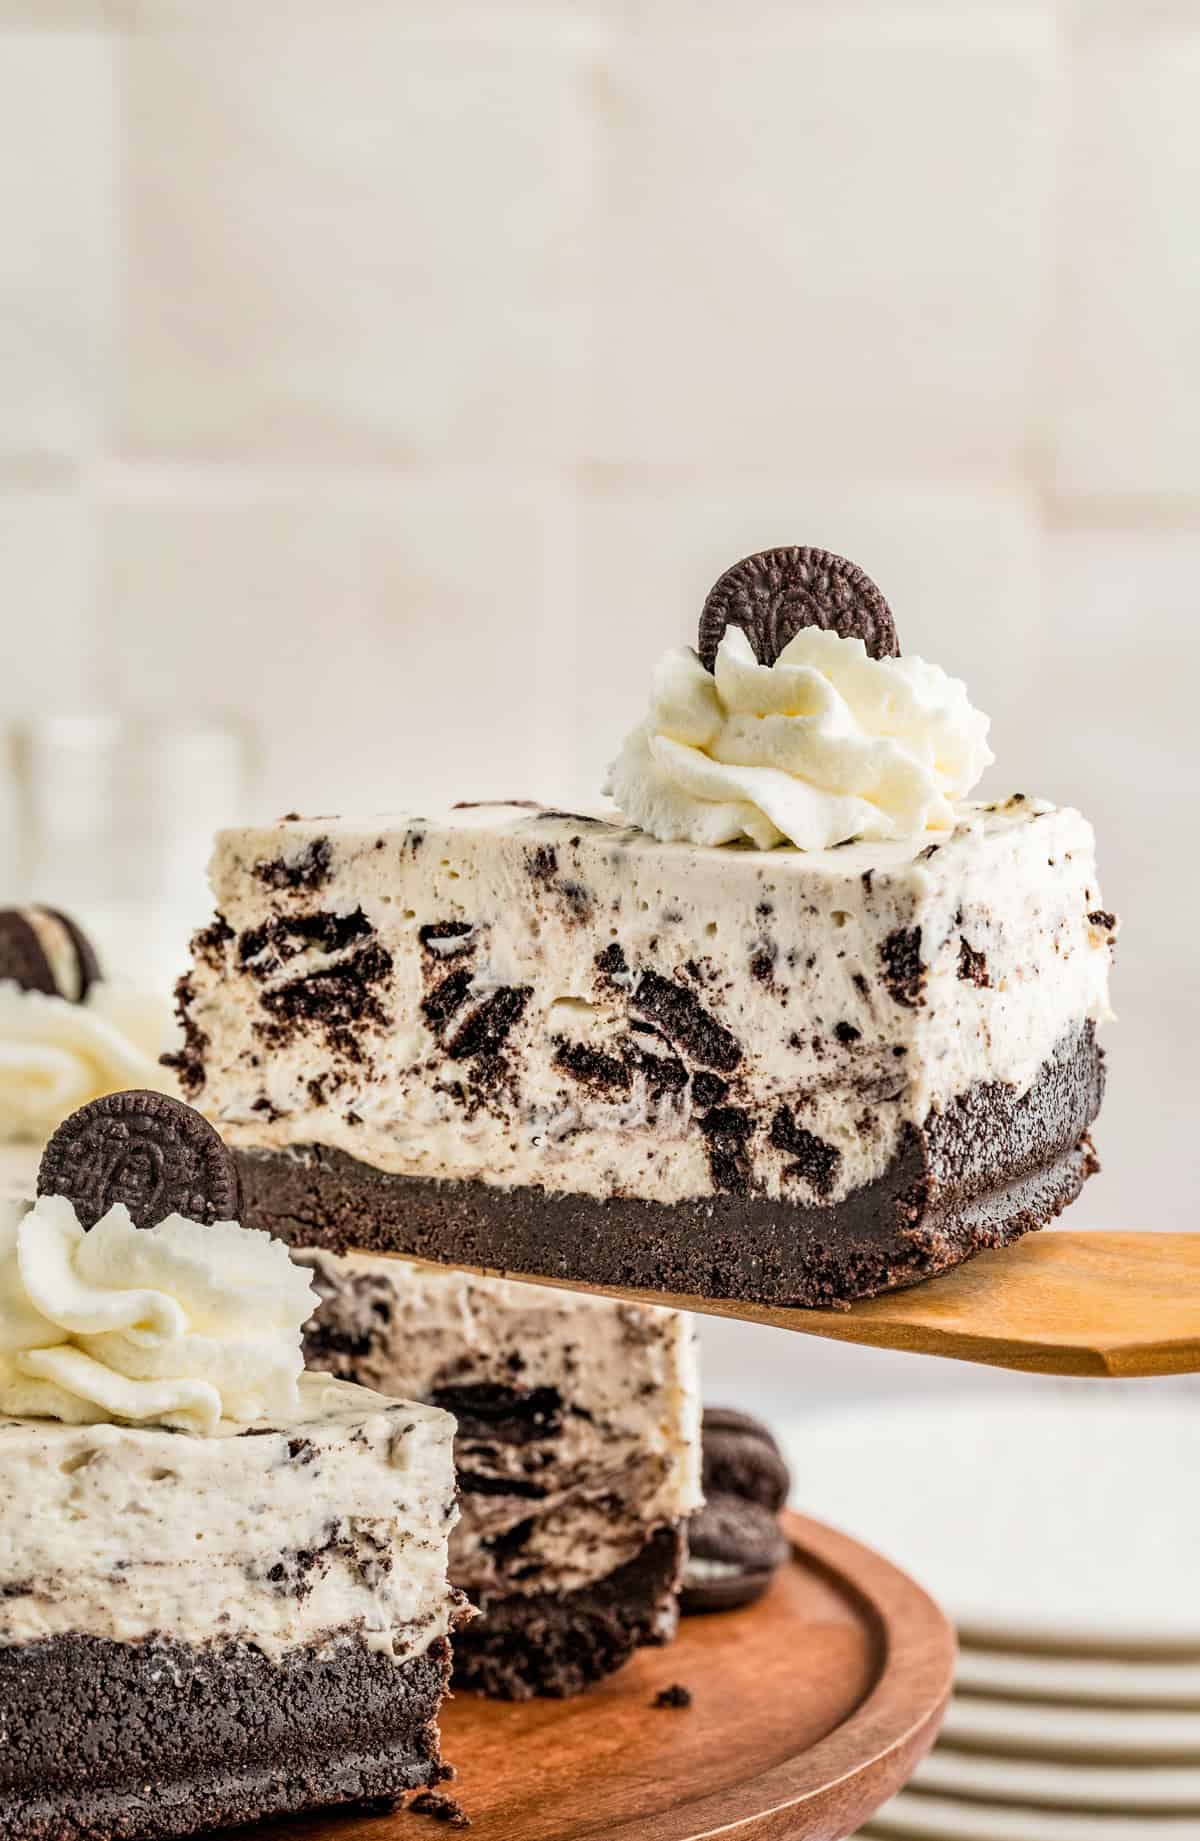
WHY THIS RECIPE WORKS:
- This serves a large crowd so its perfect for gatherings and parties.
- You can swap out the Oreos for other filling.
- This comes together easily, the hardest part is waiting for it to set!
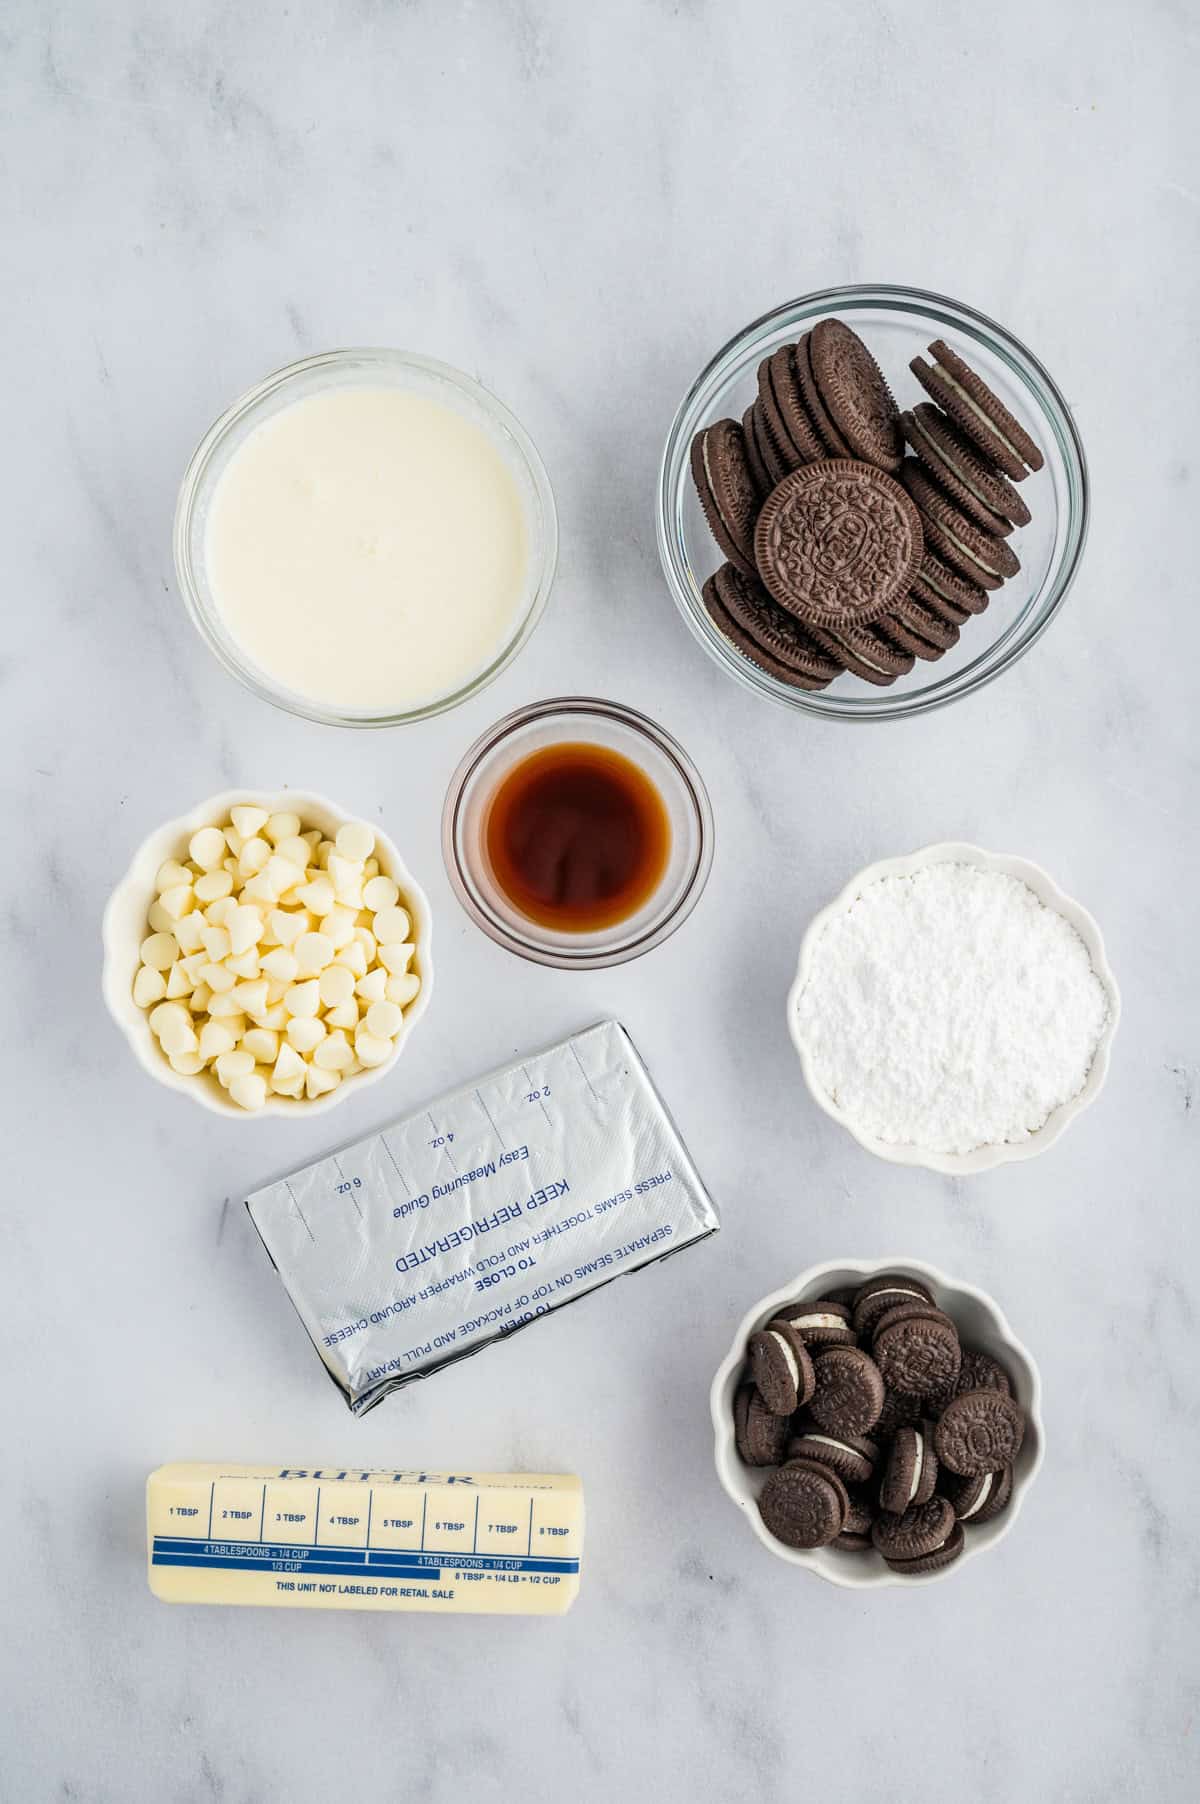
INGREDIENTS NEEDED (FULL RECIPE AT THE BOTTOM OF THE POST):
Oreos
Unsalted butter
White chocolate chips
Heavy cream
Powdered sugar
Cream cheese
Vanilla extract
Mini Oreos, for garnish
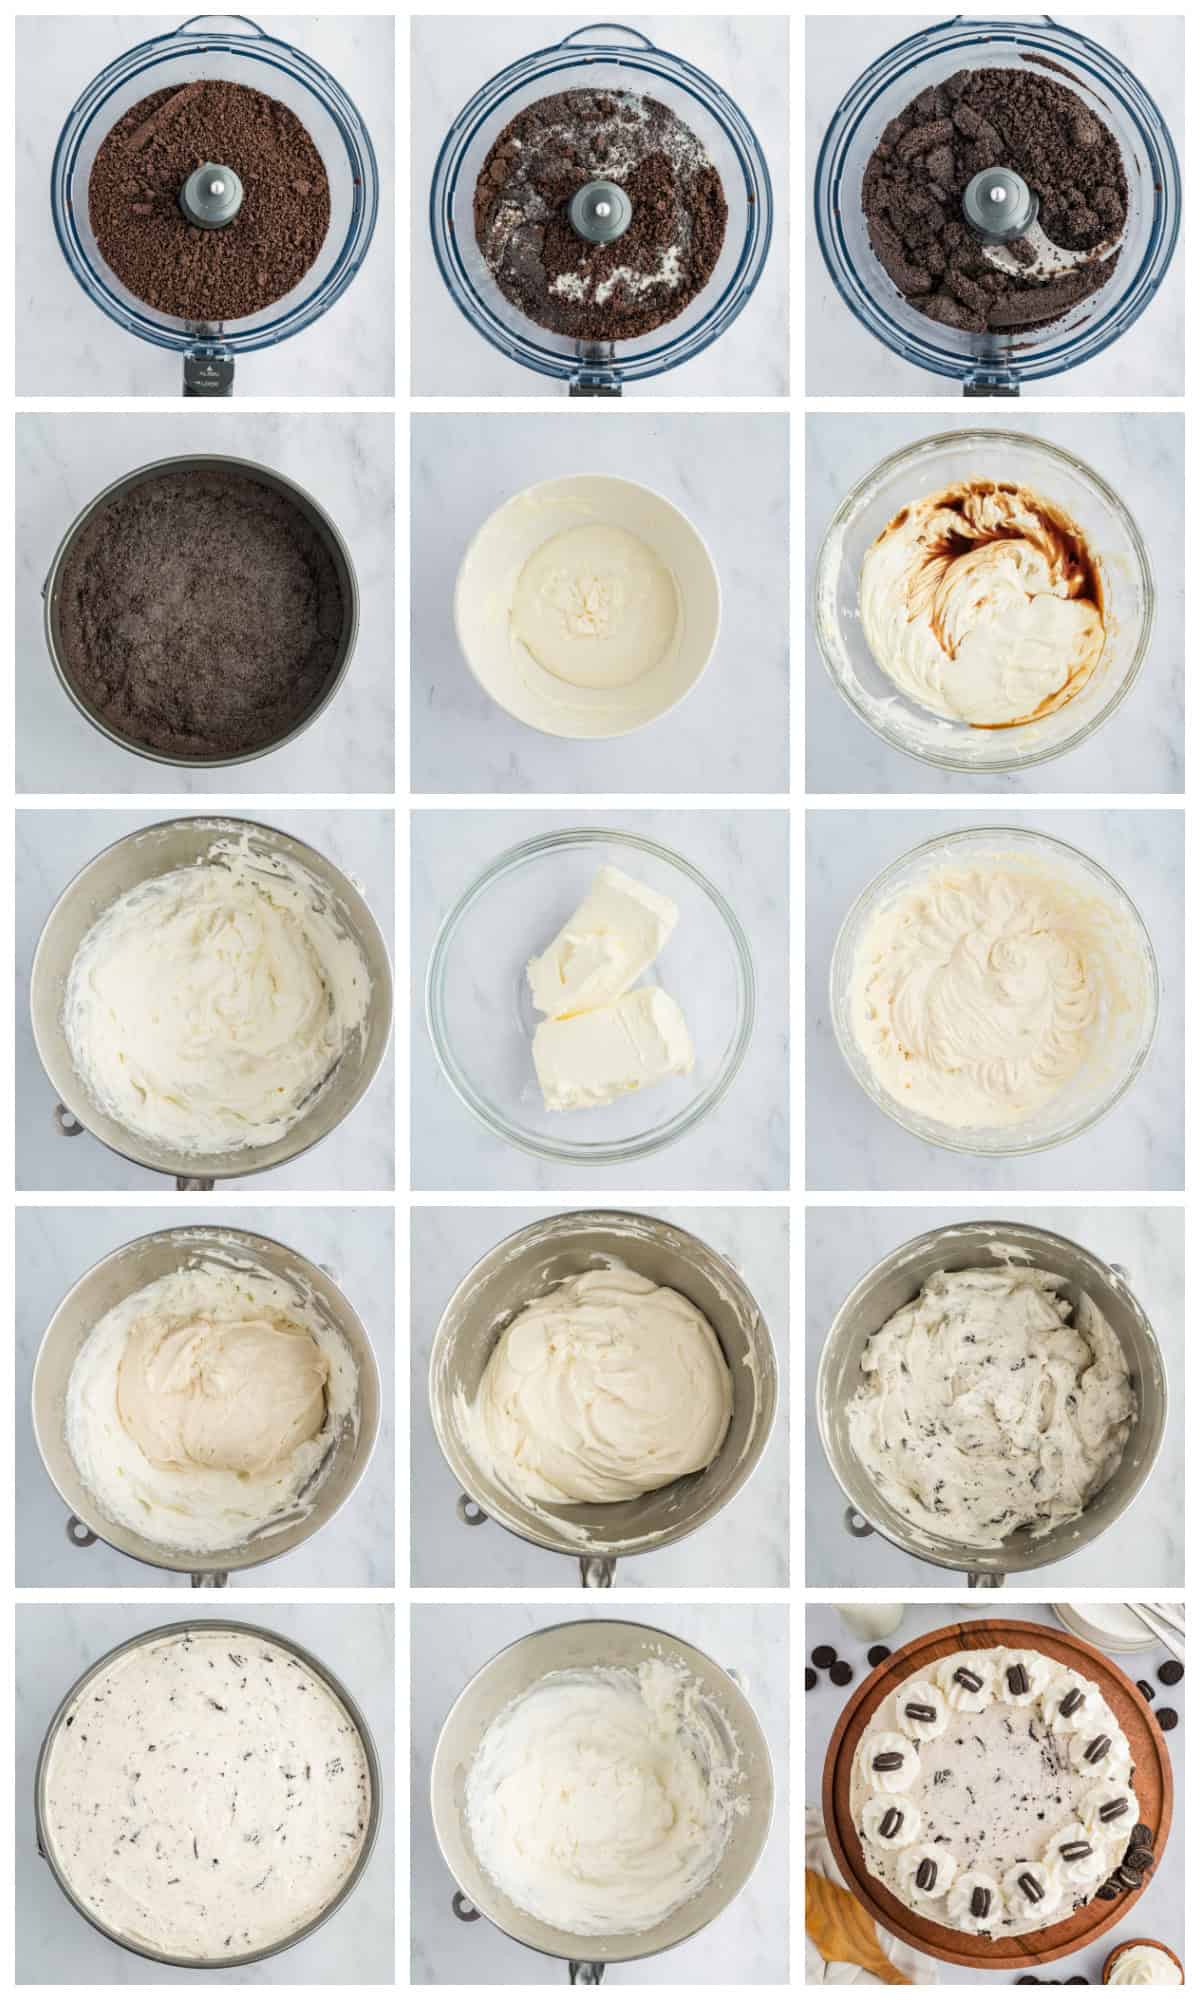
HOW TO MAKE A NO BAKE OREO CHEESECAKE, STEP BY STEP:
- Remove the bottom of a 9-inch springform pan and line it with parchment paper. The edges can overhang or fold over to the bottom. Place the sides back on and spray the inside with cooking spray.
- In a food processor pulse the Oreos till they’re in a fine crumb.
- Add the melted butter and pulse till combined.
- Pour the Oreo crumbs into the prepared pan and press down firmly across the whole bottom and up the sides about 1 inch. Use the bottom of a measuring cup, if needed, to get it firm enough. Place in the refrigerator while you make the no-bake cheesecake filling.
- Melt the white chocolate chips at 50% power in a microwave-safe bowl in 30-second increments. Stir between each time in the microwave. This will take about 2 minutes total. Do not overcook. Cool slightly while you continue with the recipe.
- Using the whisk attachment beat 1 ½ cups heavy cream and 1 ¼ cups powdered sugar until stiff peaks form.
- In a separate bowl, using a hand mixer beat the softened cream cheese till smooth and light.
- Add the melted white chocolate and vanilla and beat again till well combined.
- Scrape the cream cheese mixture into the whipped cream and gently fold the 2 mixtures together.
- Add the roughly chopped Oreos in and fold together again till just barely combined.
- Remove the springform pan from the refrigerator and evenly spread out the no-bake cheesecake mixture. Cover with plastic wrap and refrigerate for at least 6 hours or up to 2 days before serving.
- When ready to serve, make the topping. Using a hand mixer or in the bowl of a stand mixer, beat together the heavy cream, powdered sugar, and vanilla extract till stiff peaks.
- Remove the no-bake cheesecake from the refrigerator and carefully open the springform pan.
- Transfer the cheesecake to a cake stand or plate. Dollop or pipe the whipped cream around the edges of the cheesecake and top with mini Oreos.
CAN THIS BE MADE AHEAD OF TIME?
Yes! Since this has to sit to set up, this is a great recipe to make ahead of time.
You can make it up to 24-48 hours before servings, just make sure that you wait to make the whipped topping until you are ready to serve.
CAN LOW-FAT CREAM CHEESE BE USED?
I would not recommend this. Low fat cream cheese will make your cheesecake be less firm and possibly not hold its shape when you cut it.
WHAT CAN I USE OTHER THAN OREOS?
If you are NOT a fan or Oreos, you can use other fillings and toppings for this recipe.
You can also switch out the crust to make it a graham cracker crust as well.
Some other filling and topping options include:
- Chocolate Chip Cookies
- Chocolate Chips
- Peanut Butter Cups
- Snickers
- Sprinkles
- Fruits
- Toffee Bits
CAN THIS BE MADE IN A PIE DISH?
Yes, but we recommend a springform pan. You will need a large pie dish to make this in as it does make a lot of filling.
So if you are going to use a pie dish, find the largest one that you can find.
HOW TO STORE:
This can be stored in an airtight container or wrapped in plastic wrap in the refrigerator for up to 5 days.
You can also freeze this recipe. Place in a freezer container and it will keep frozen for up to 3 months.
To defrost, remove from the freezer into the refrigerator until thawed.
TIPS AND TRICKS:
- Make sure you are using full-fat cream cheese for this, it makes sure it keeps its shape.
- You will need to refrigerate this for at least 6 hours to set up.
- This is a great make ahead dessert.
- Change up the flavors in the filling and topping, see above for some options.
- This can be frozen, see above on how to do that.
- You can make this 24-48 hours ahead of time.
- If your kitchen is really warm, you can put the bowl you’re using to make the whipped cream into the freezer for 10 minutes before you make the whipped cream to ensure stiff peaks.
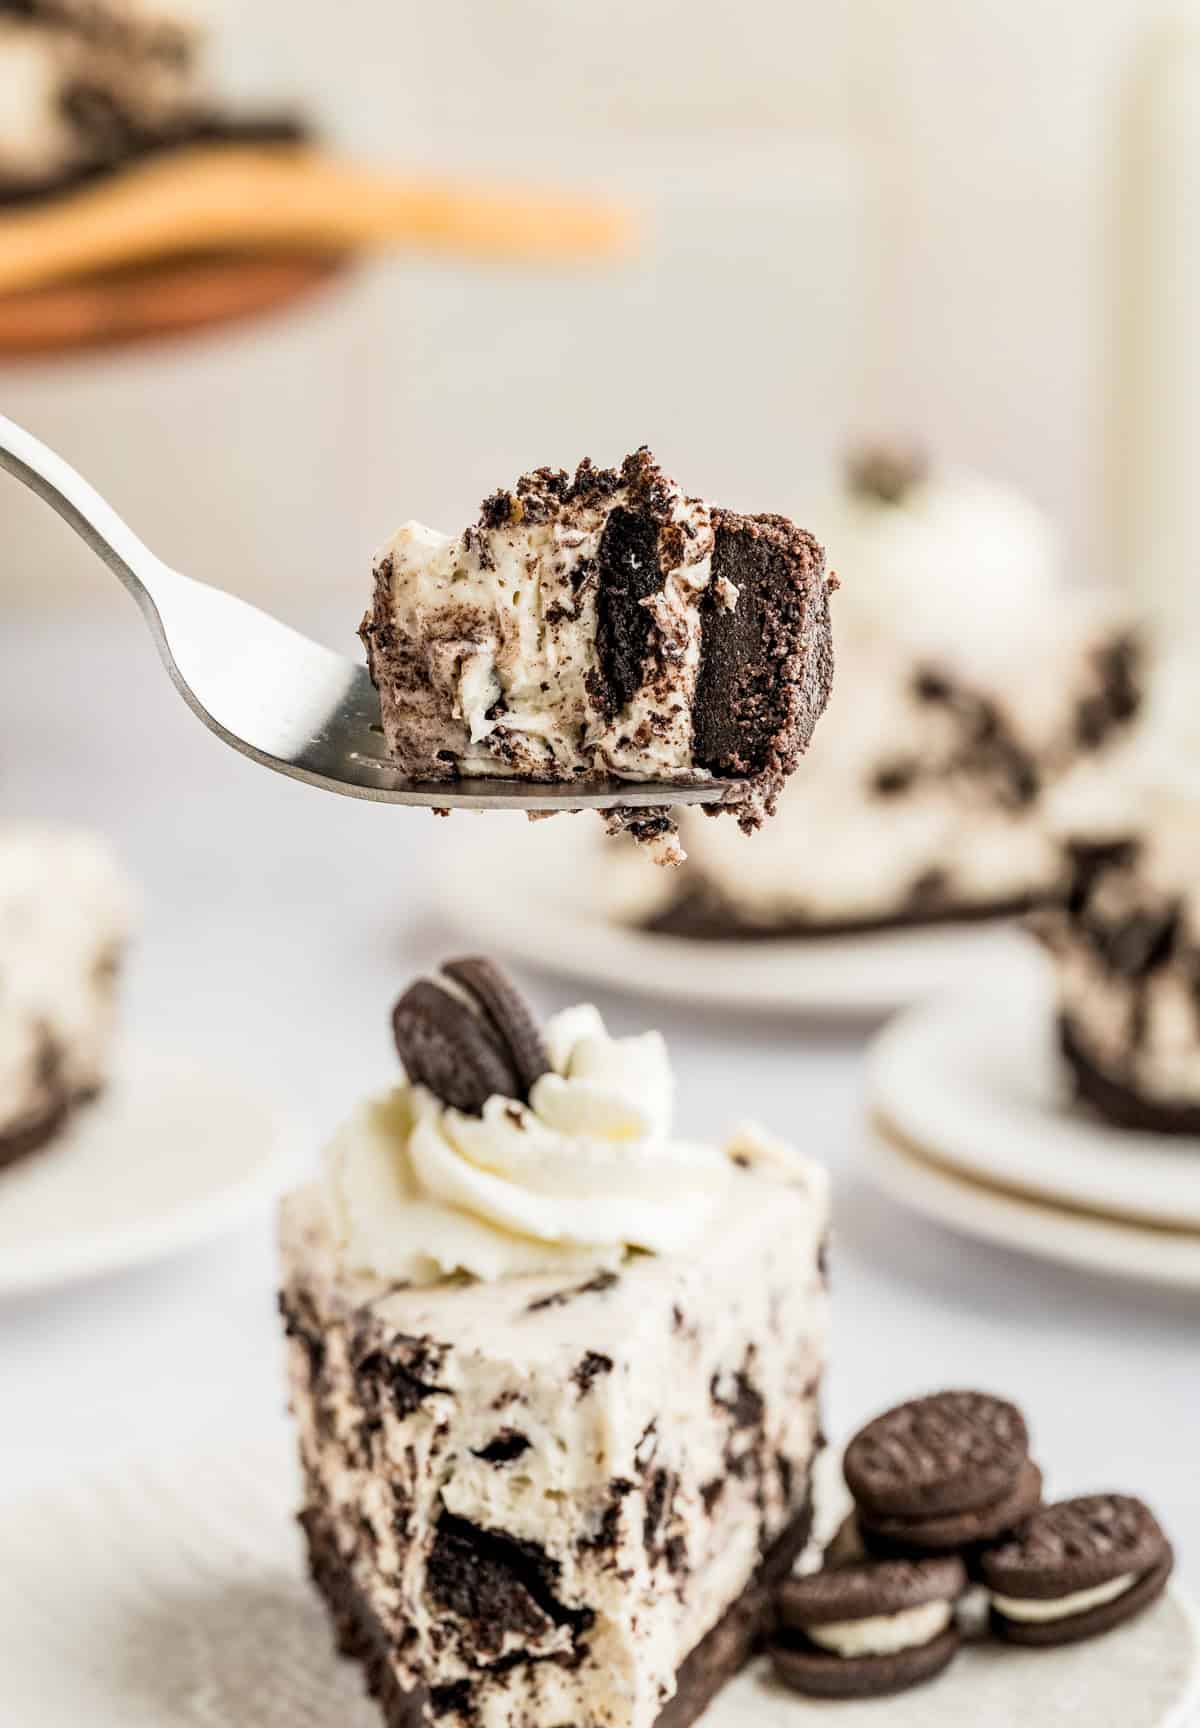
Can’t resist a good no bake recipe? Then this No Bake Oreo Cheesecake will become your new favorite.
If you like this recipe you might also like:
If you’ve tried this NO BAKE OREO CHEESECAKE or any other recipe on my site, let me know in the comment section how it turned out, we love hearing from our readers! You can also follow along with me on PINTEREST, FACEBOOK and INSTAGRAM to see more amazing recipes and what shenanigans I’m getting into!
No Bake Oreo Cheesecake
Ingredients
Crust:
- 34 whole Oreos
- 11 Tablespoons melted butter
No-bake cheesecake:
- 2/3 cup white chocolate chips
- 1 ½ cups heavy cream
- 1 ¼ cup powdered sugar
- 16 ounces cream cheese- full fat softened
- 1 Tablespoon vanilla extract
- 22 Oreos roughly chopped
Topping:
- 1 cup heavy cream
- ½ cup powdered sugar
- ¼ teaspoon vanilla extract
- 12 Mini Oreos for garnish
Instructions
- Remove the bottom of a 9-inch springform pan and line it with parchment paper. The edges can overhang or fold over to the bottom. Place the sides back on and spray the inside with cooking spray.
- In a food processor pulse the Oreos till they’re in a fine crumb.
- Add the melted butter and pulse till combined.
- Pour the Oreo crumbs into the prepared pan and press down firmly across the whole bottom and up the sides about 1 inch. Use the bottom of a measuring cup, if needed, to get it firm enough. Place in the refrigerator while you make the no-bake cheesecake filling.
- Melt the white chocolate chips at 50% power in a microwave-safe bowl in 30-second increments. Stir between each time in the microwave. This will take about 2 minutes total. Do not overcook. Cool slightly while you continue with the recipe.
- Using the whisk attachment beat 1 ½ cups heavy cream and 1 ¼ cups powdered sugar until stiff peaks form.
- In a separate bowl, using a hand mixer beat the softened cream cheese till smooth and light.
- Add the melted white chocolate and vanilla and beat again till well combined.
- Scrape the cream cheese mixture into the whipped cream and gently fold the 2 mixtures together.
- Add the roughly chopped Oreos in and fold together again till just barely combined.
- Remove the springform pan from the refrigerator and evenly spread out the no-bake cheesecake mixture. Cover with plastic wrap and refrigerate for at least 6 hours or up to 2 days before serving.
- When ready to serve, make the topping. Using a hand mixer or in the bowl of a stand mixer, beat together the heavy cream, powdered sugar, and vanilla extract till stiff peaks.
- Remove the no-bake cheesecake from the refrigerator and carefully open the springform pan.
- Transfer the cheesecake to a cake stand or plate. Dollop or pipe the whipped cream around the edges of the cheesecake and top with mini Oreos.
Notes
- Make sure you are using full-fat cream cheese for this, it makes sure it keeps its shape.
- You will need to refrigerate this for at least 6 hours to set up.
- This is a great make ahead dessert.
- Change up the flavors in the filling and topping, see above for some options.
- This can be frozen, see above on how to do that.
- You can make this 24-48 hours ahead of time.
- If your kitchen is really warm, you can put the bowl you’re using to make the whipped cream into the freezer for 10 minutes before you make the whipped cream to ensure stiff peaks.
Nutrition
Tornadough Alli is not a nutritionist or dietitian, and any nutritional information shared is an estimate. If calorie count and nutritional value is important to you, we recommend running the ingredients through whichever online nutritional calculator you prefer. Calories and values can vary depending on which brands were used.


Susan
I’m rating this a 5! I love your recipes so much! So I KNOW it will be delicious! I will be back to tell you how much we enjoyed it! Swooooooon…….